
Plaster Molds Workshop
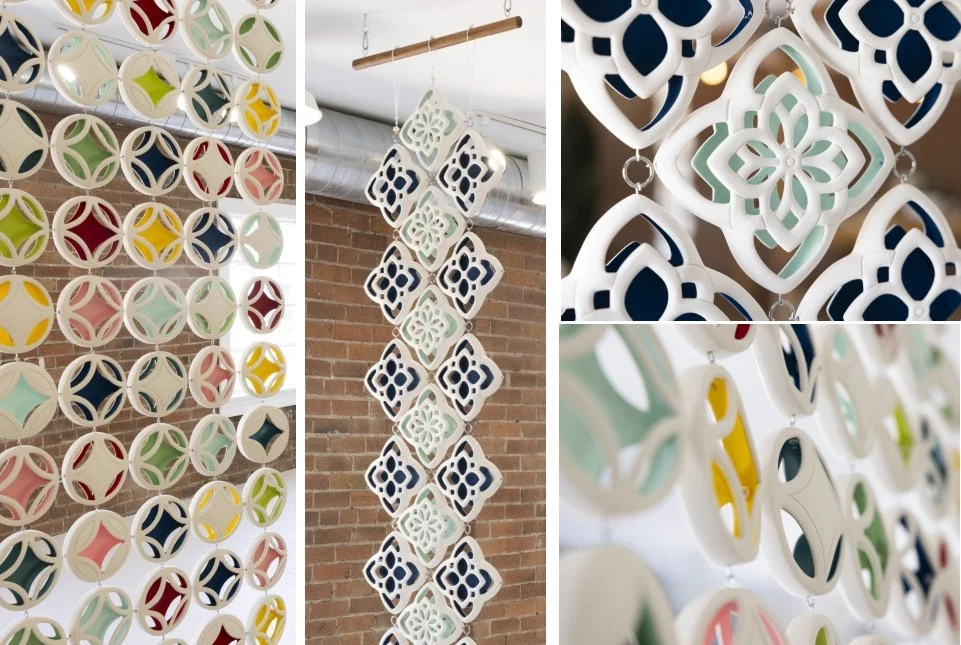
In early May several BRPG members met up at Common Clay Collective for a workshop organized by our Programs committee. The topic was making plaster molds that can be used for slip casting and as press molds. The workshop was led by Dara Hartman, a ceramic artist from Salt Lake City, Utah, who was working as the artist-in-residence at Hollins University in Roanoke. Dara has extensive experience with making plaster molds and slip casting as these are a routine part of her own work. Below you can see how she meticulously connects slip cast pieces to create ceramic sculptures inspired by patterning from quilts handmade by her grandmothers.
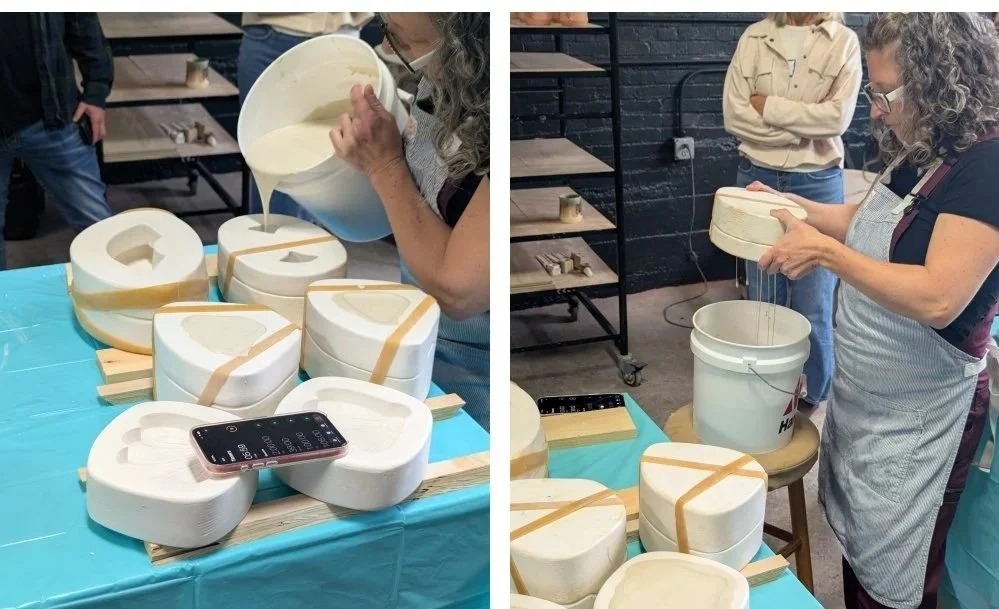
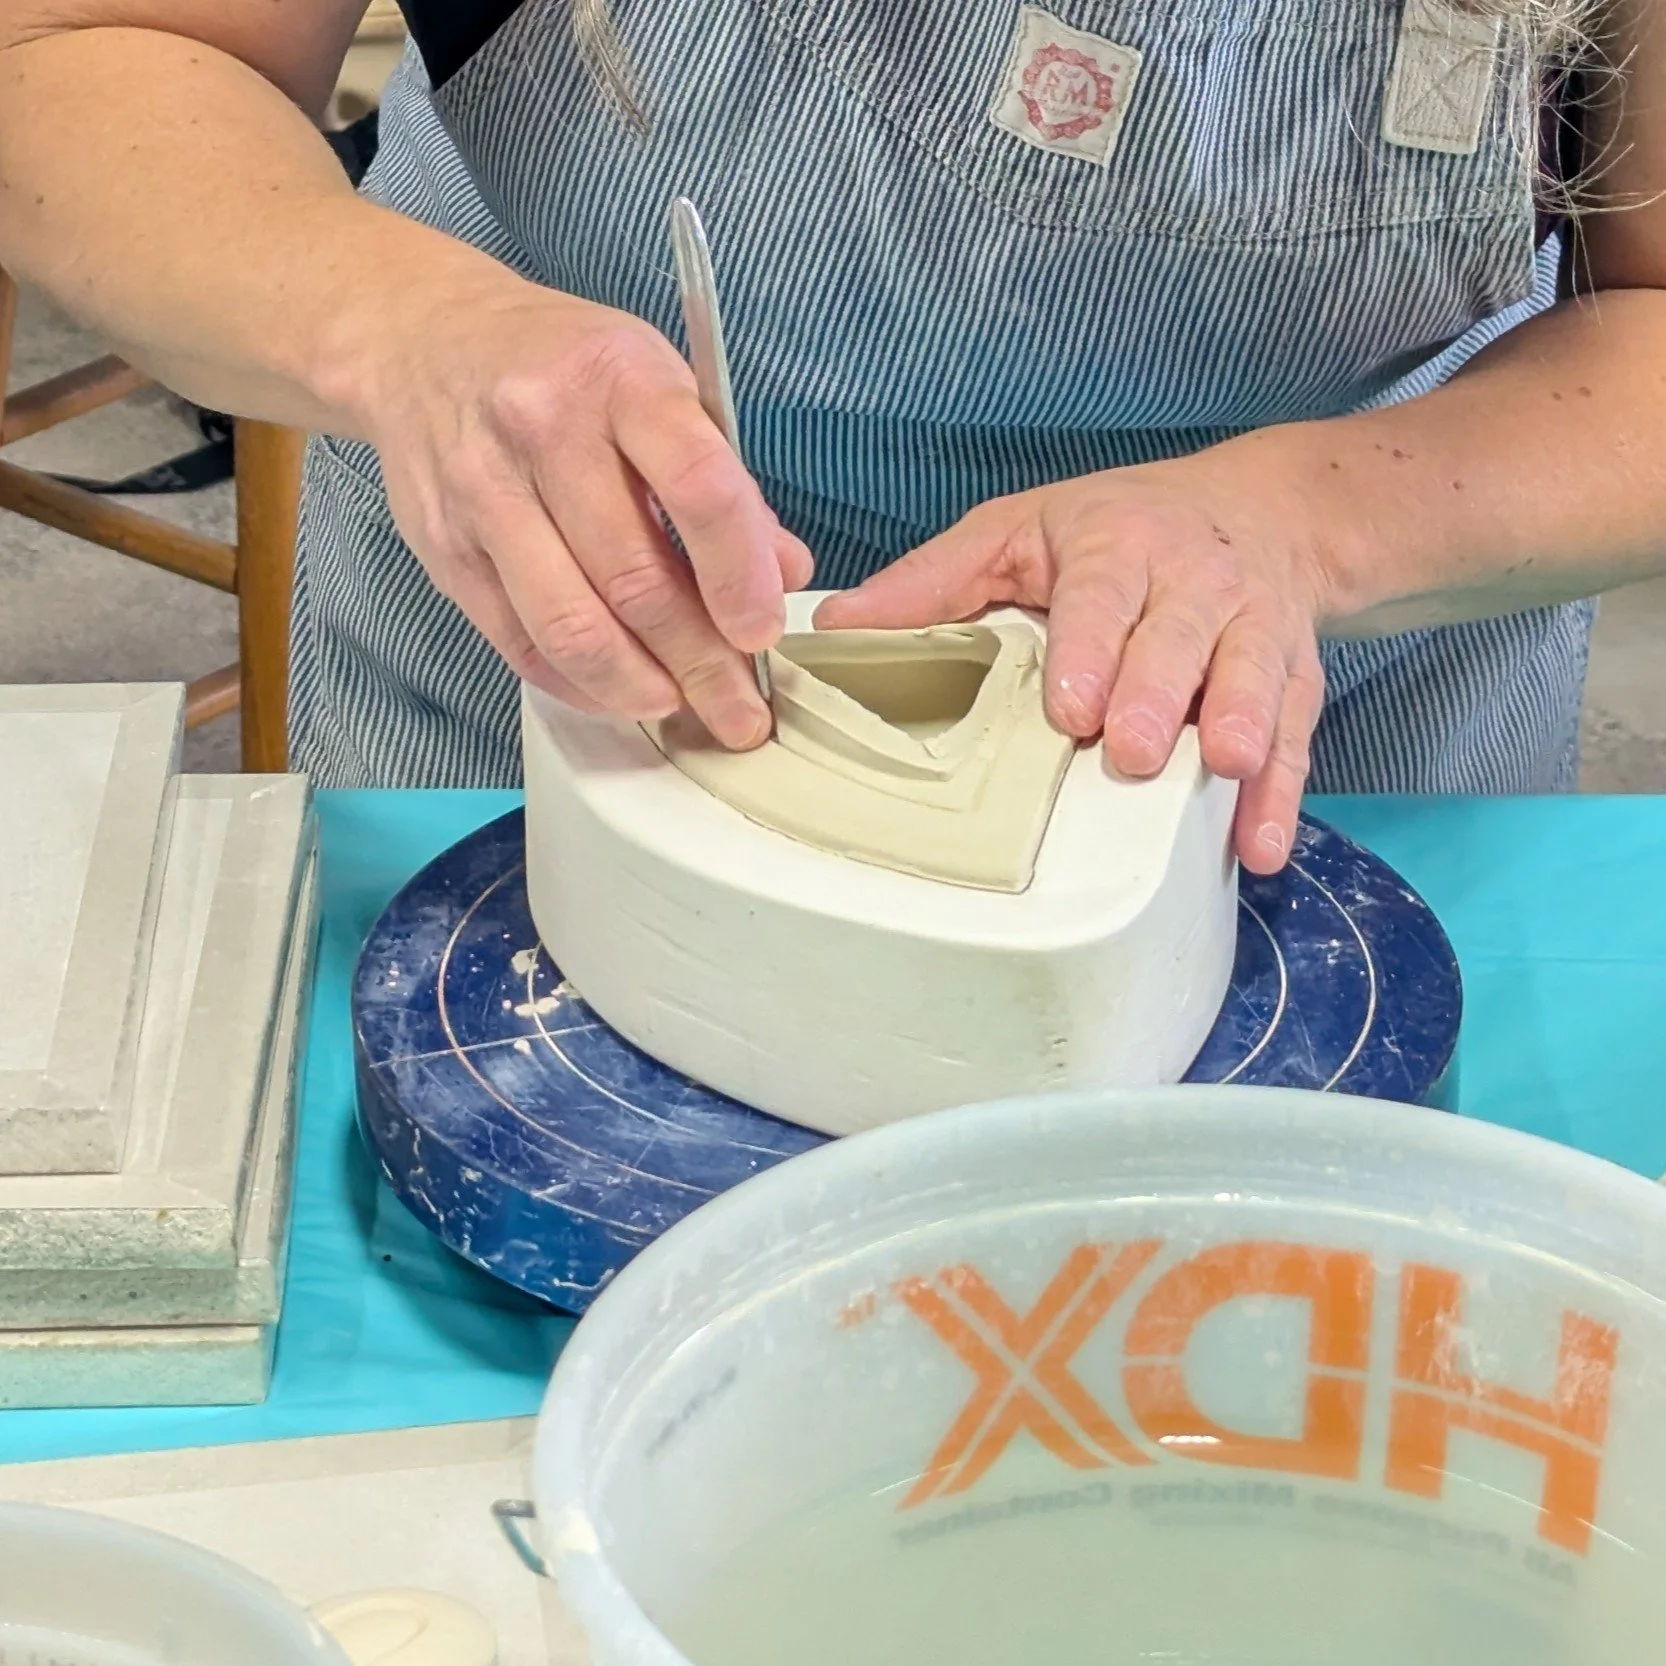
Slipcasting Demo
Dara brought several one- and two-part plaster molds to use for demonstrations. Some were empty so she could work through examples of pouring in slip and, after the appropriate amount of time, draining the excess. Others were filled with slip earlier that morning, allowing enough time for the clay to set so she could show us how to remove and clean up the casts.
Making a Plaster Mold Demo
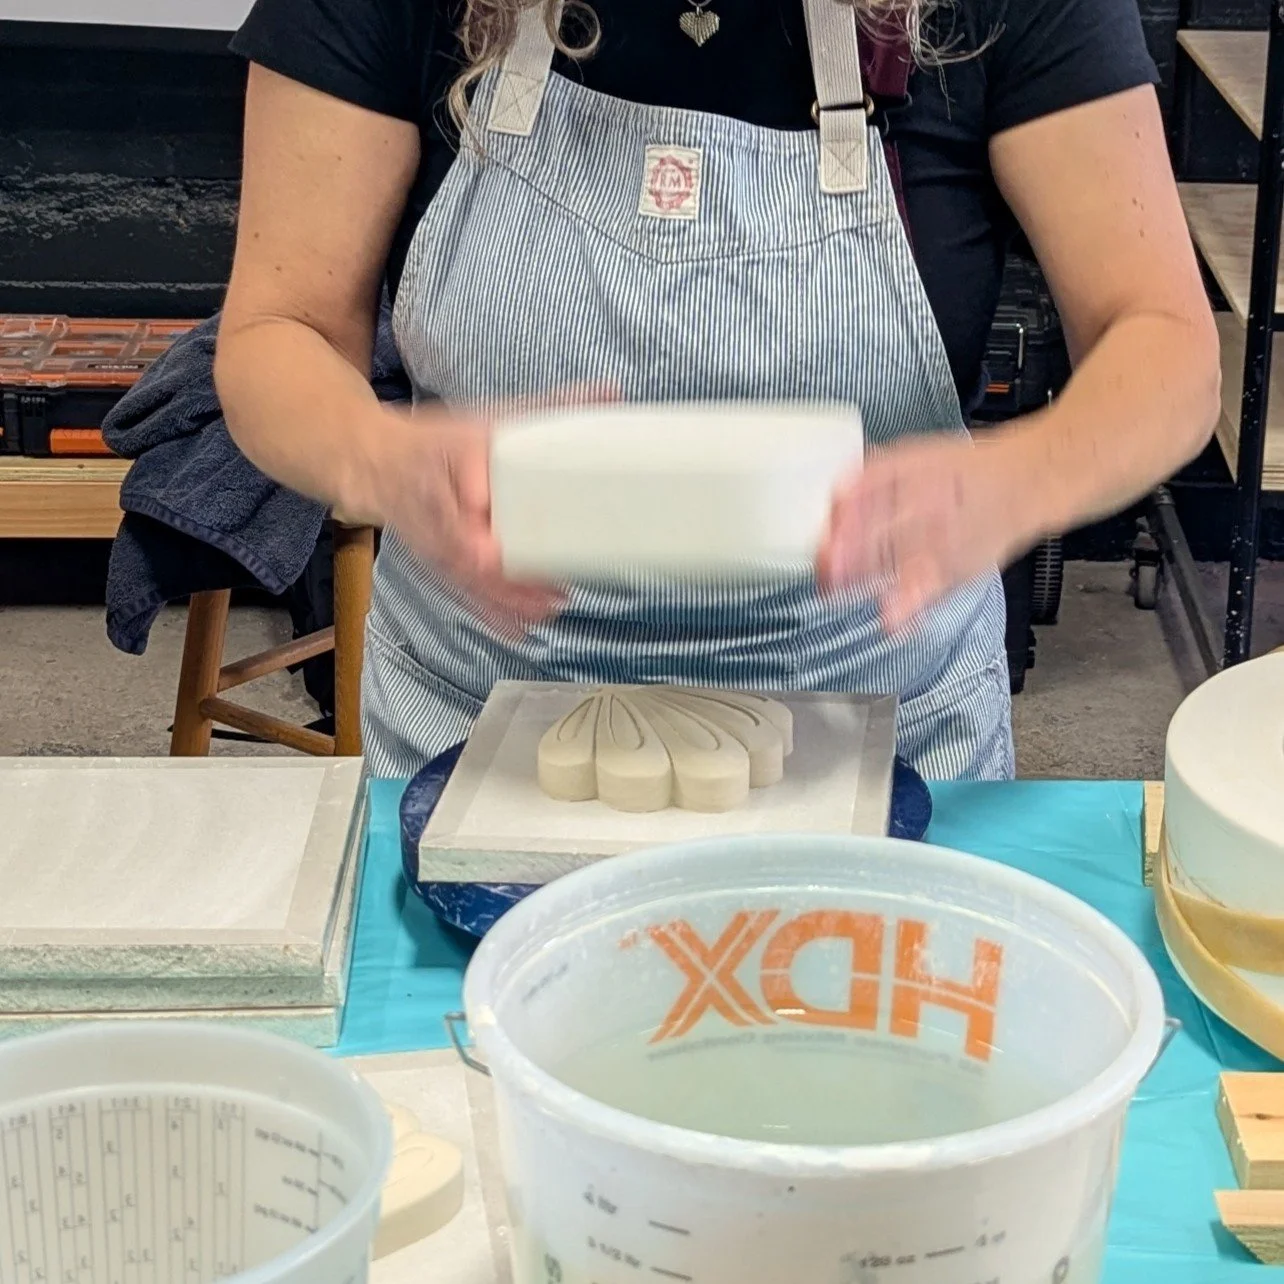
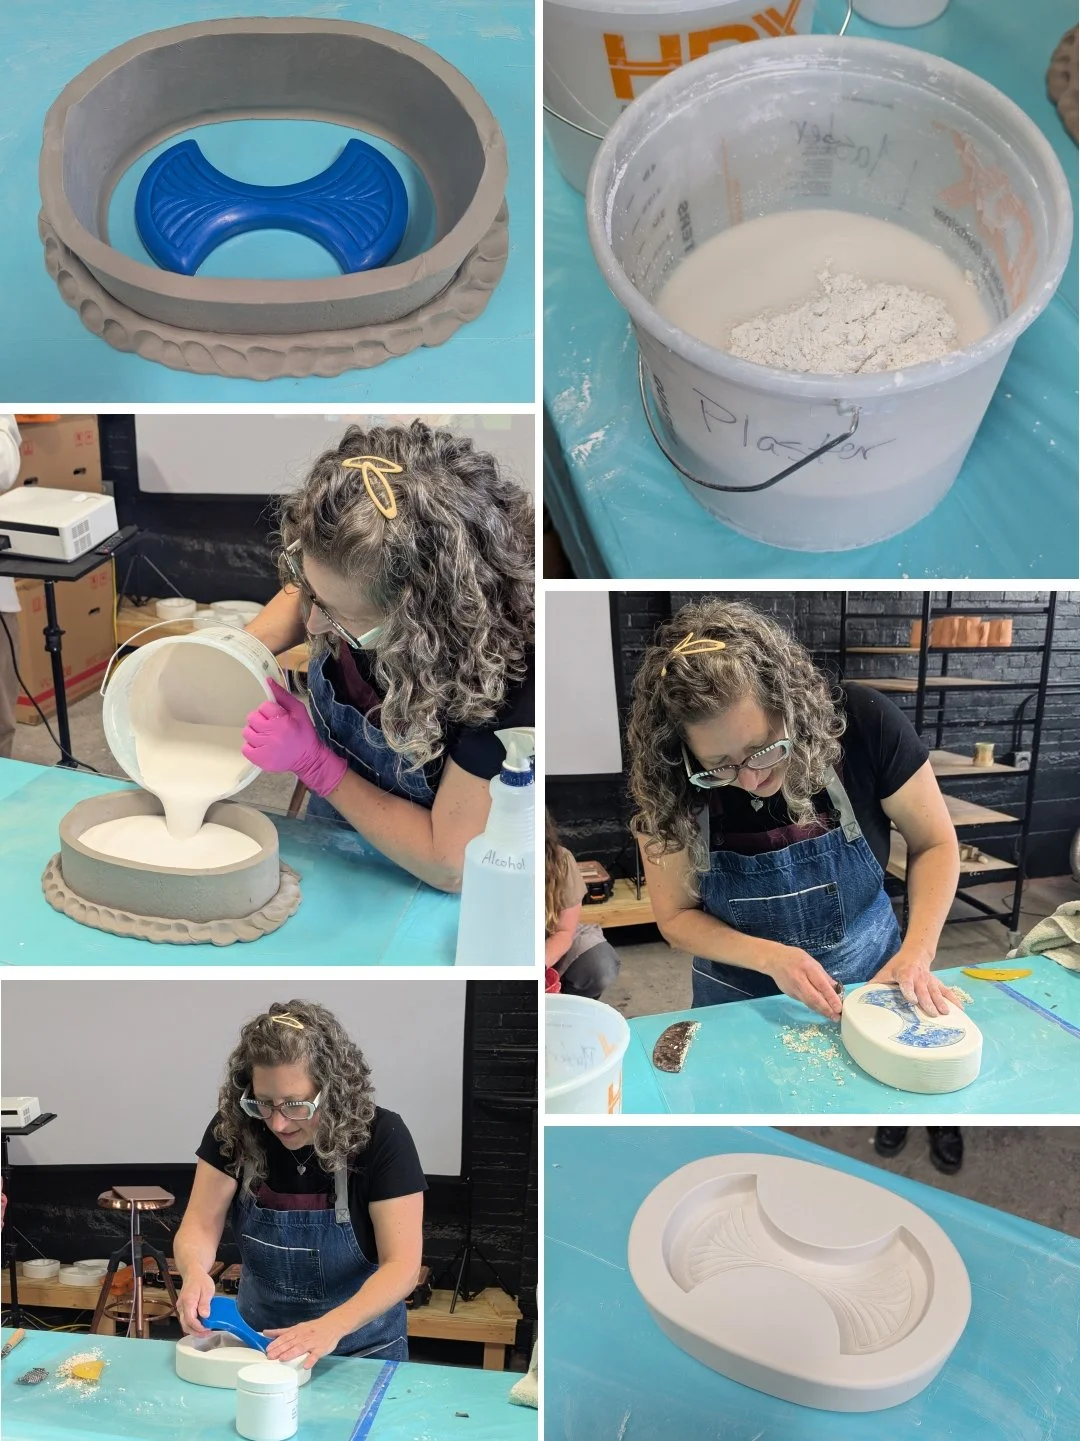
Dara walked us through the basic steps of
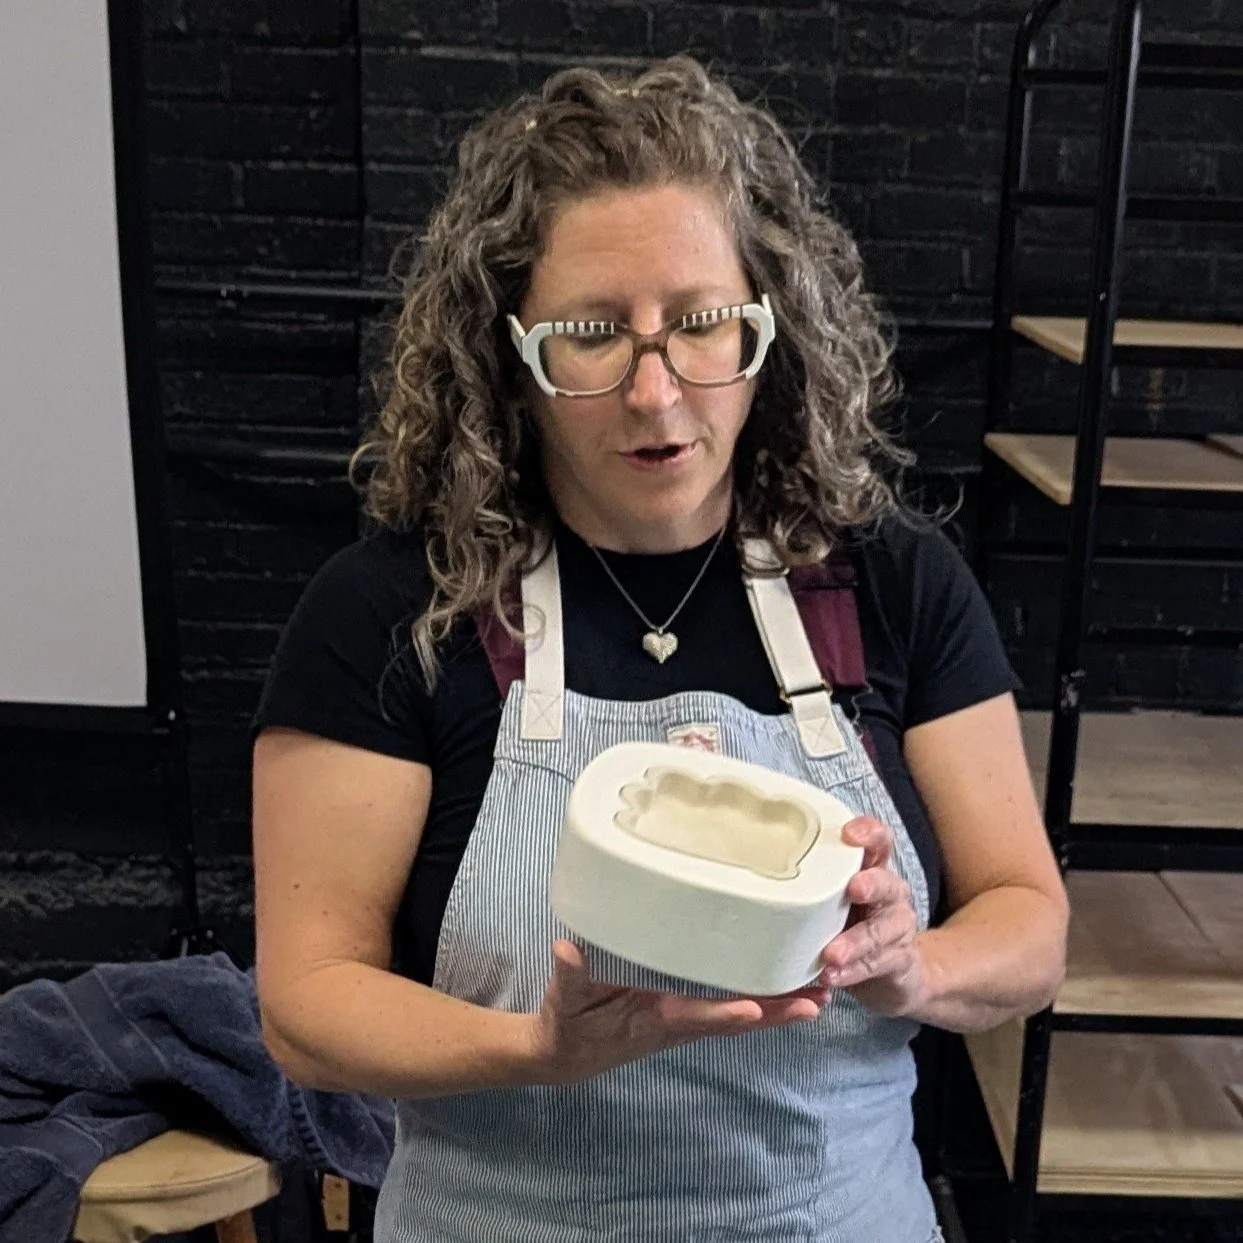
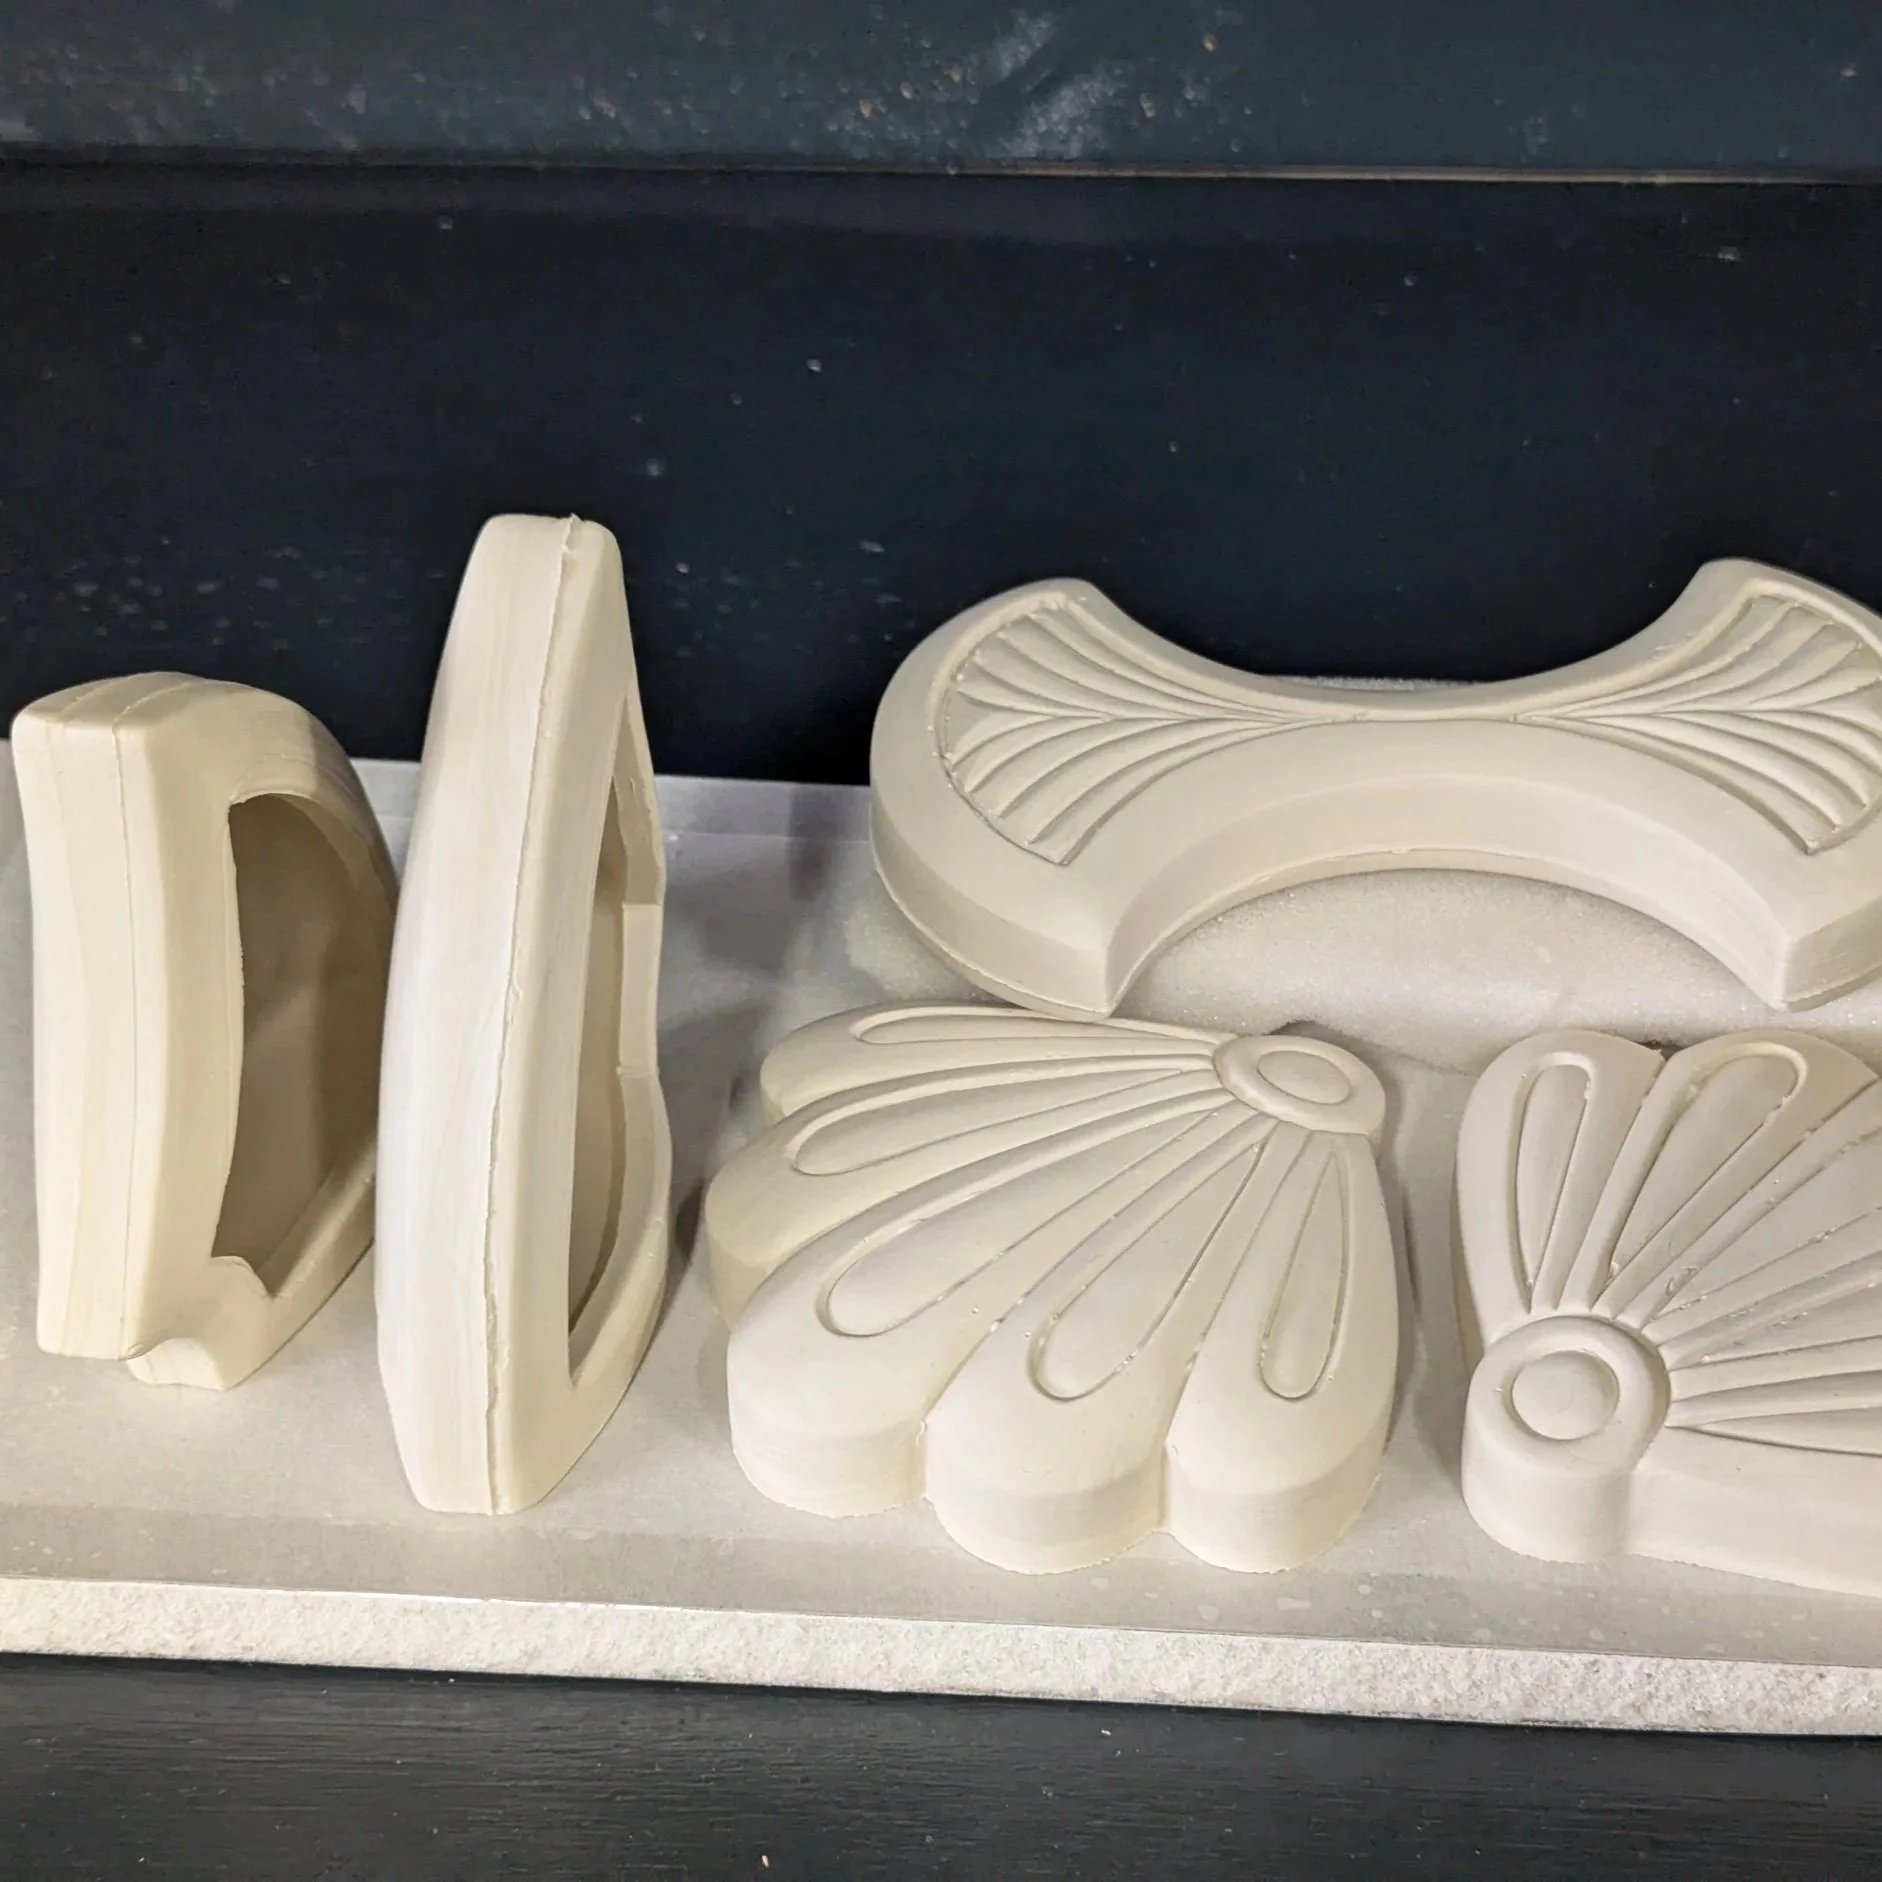
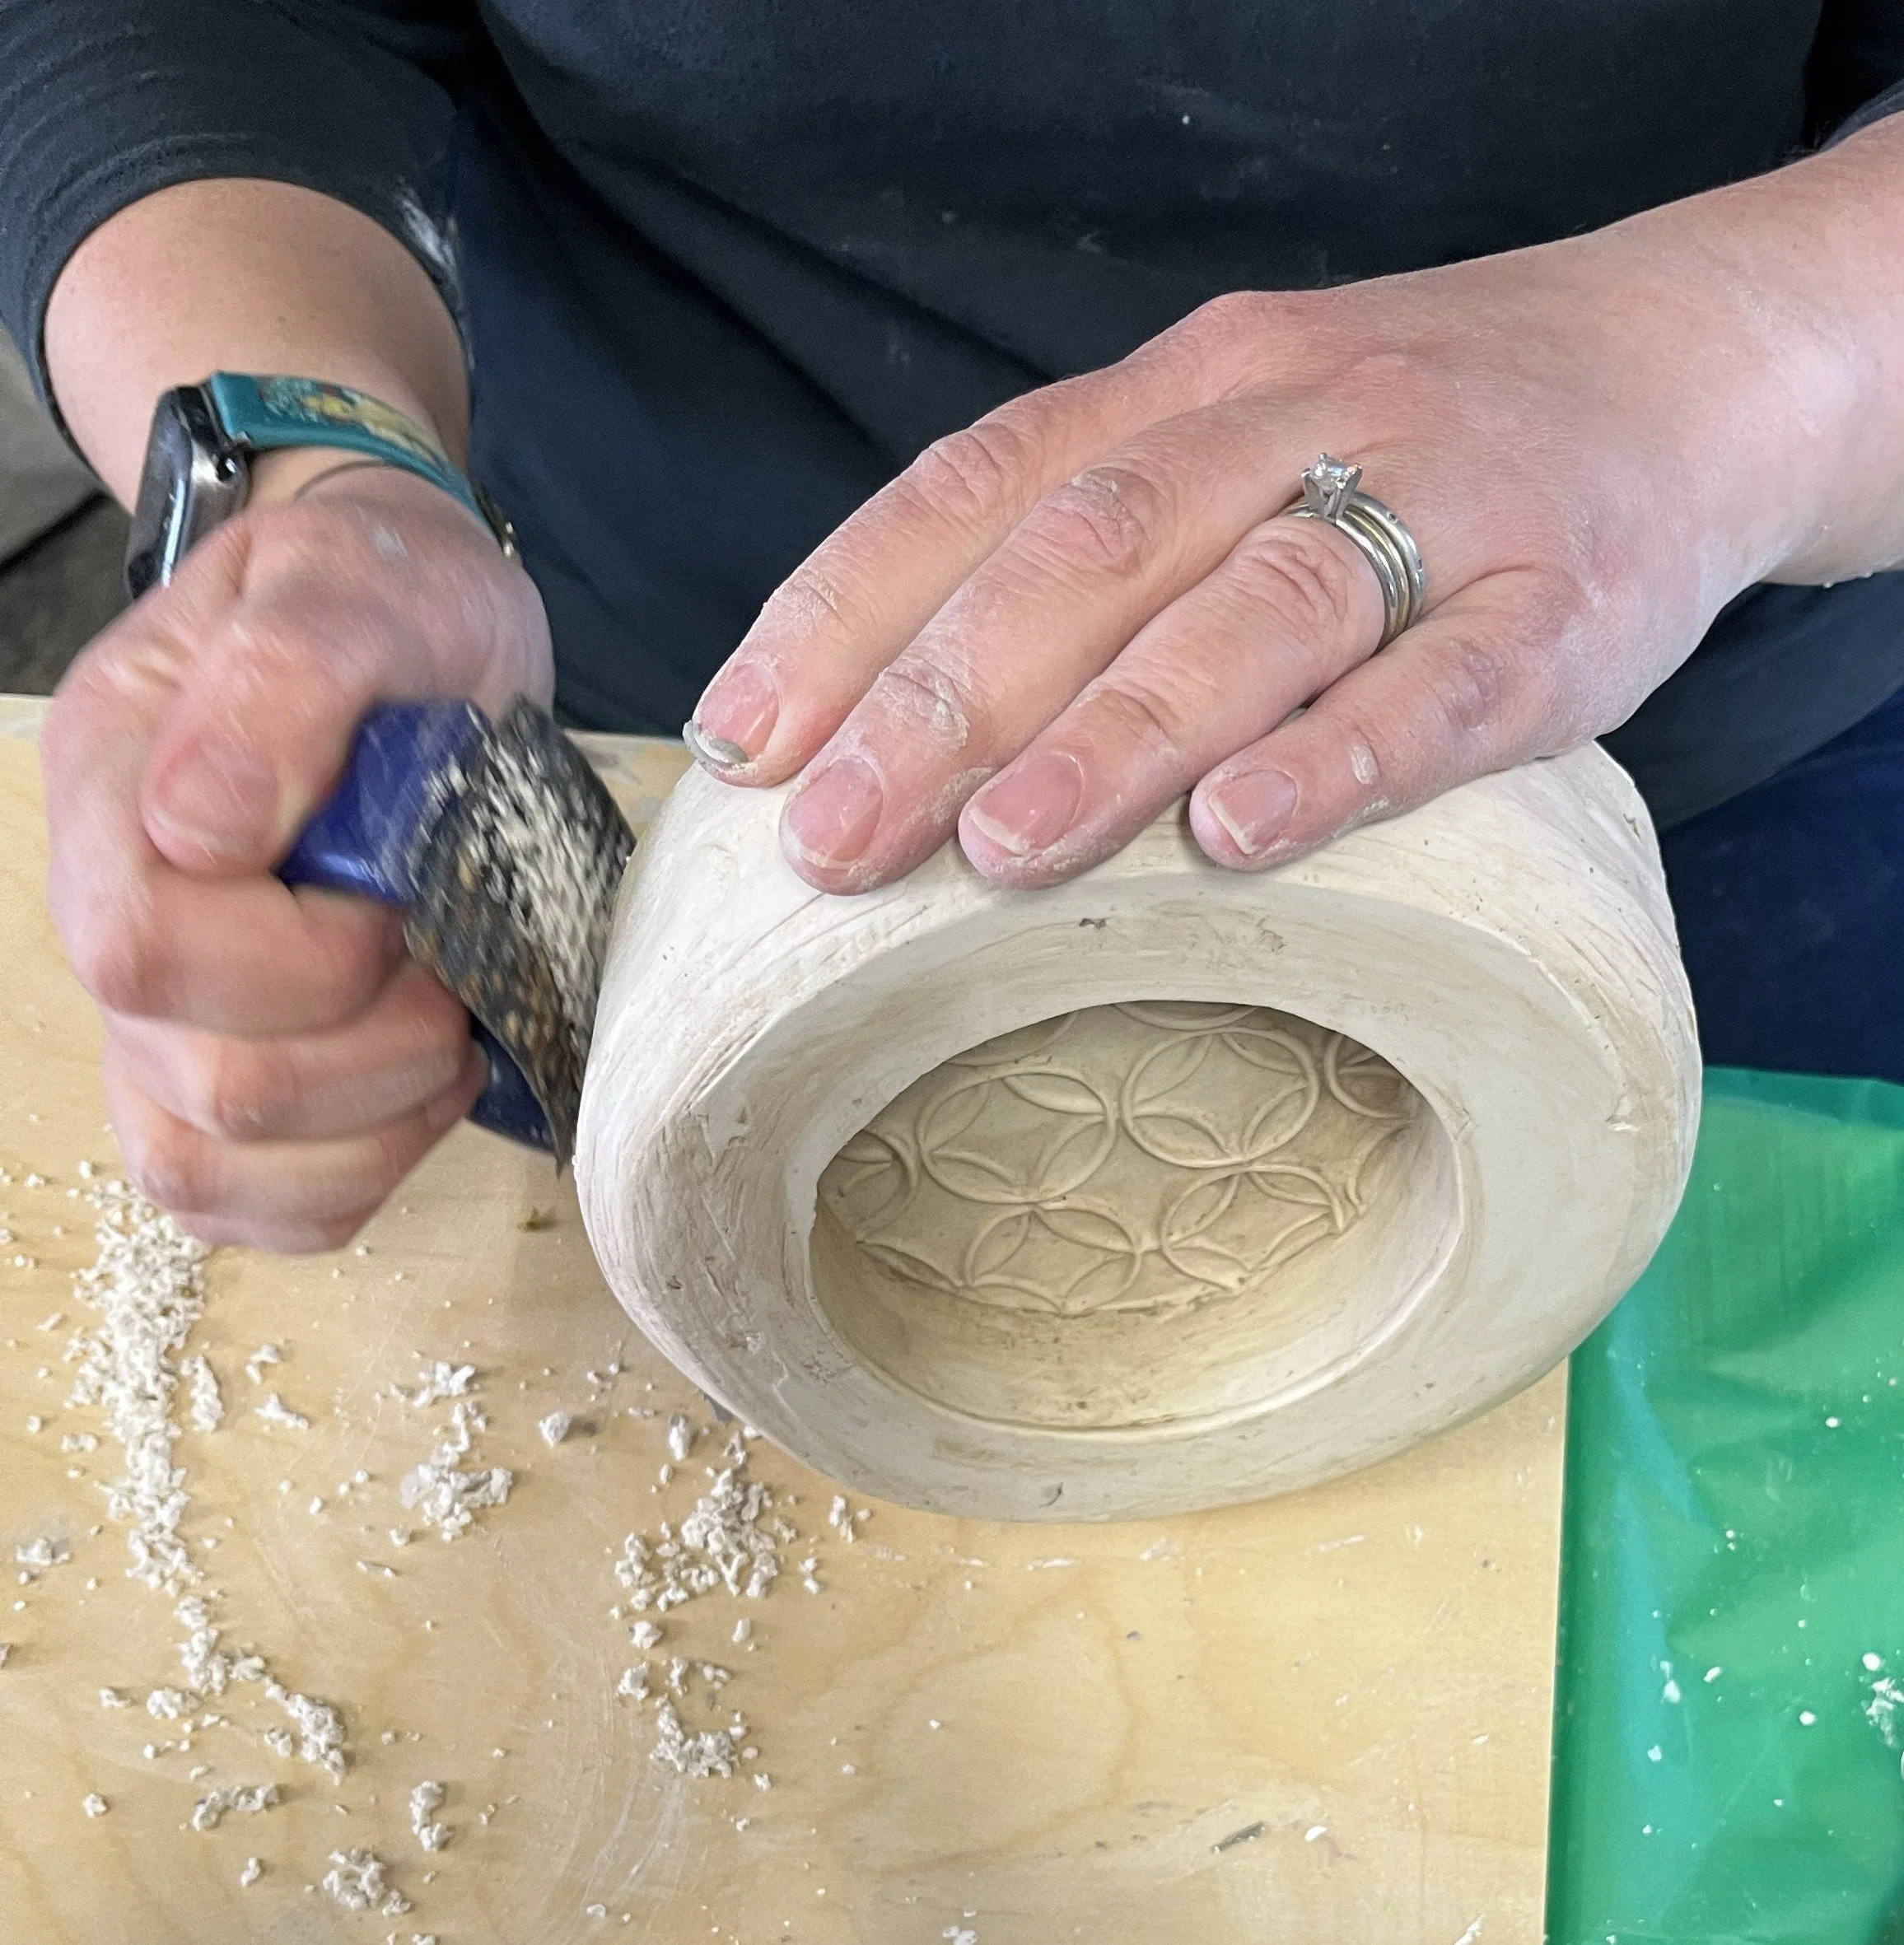
building clay walls around a model, calculating the volume of plaster needed to fill in that space, mixing dry plaster with water, pouring the slurry over the object, and finally - after about an hour when the plaster was adequately set - removing the clay walls and the model. At this stage the plaster mold is still soft so the interior can be carved to add further detail, and the sides can readily be cleaned and smoothed using a surform tool (grater), scrubby pads, and sponges. The mold should dry for at least a week before using it. Plaster molds breakdown with use, and while average lifespan is variable, making 60 - 80 casts from one mold is a reasonable expectation. Dara suggested making silicone casts - like the one shown here - to have sturdy templates for making replacement molds.
Making Our Own One-piece Plaster Molds
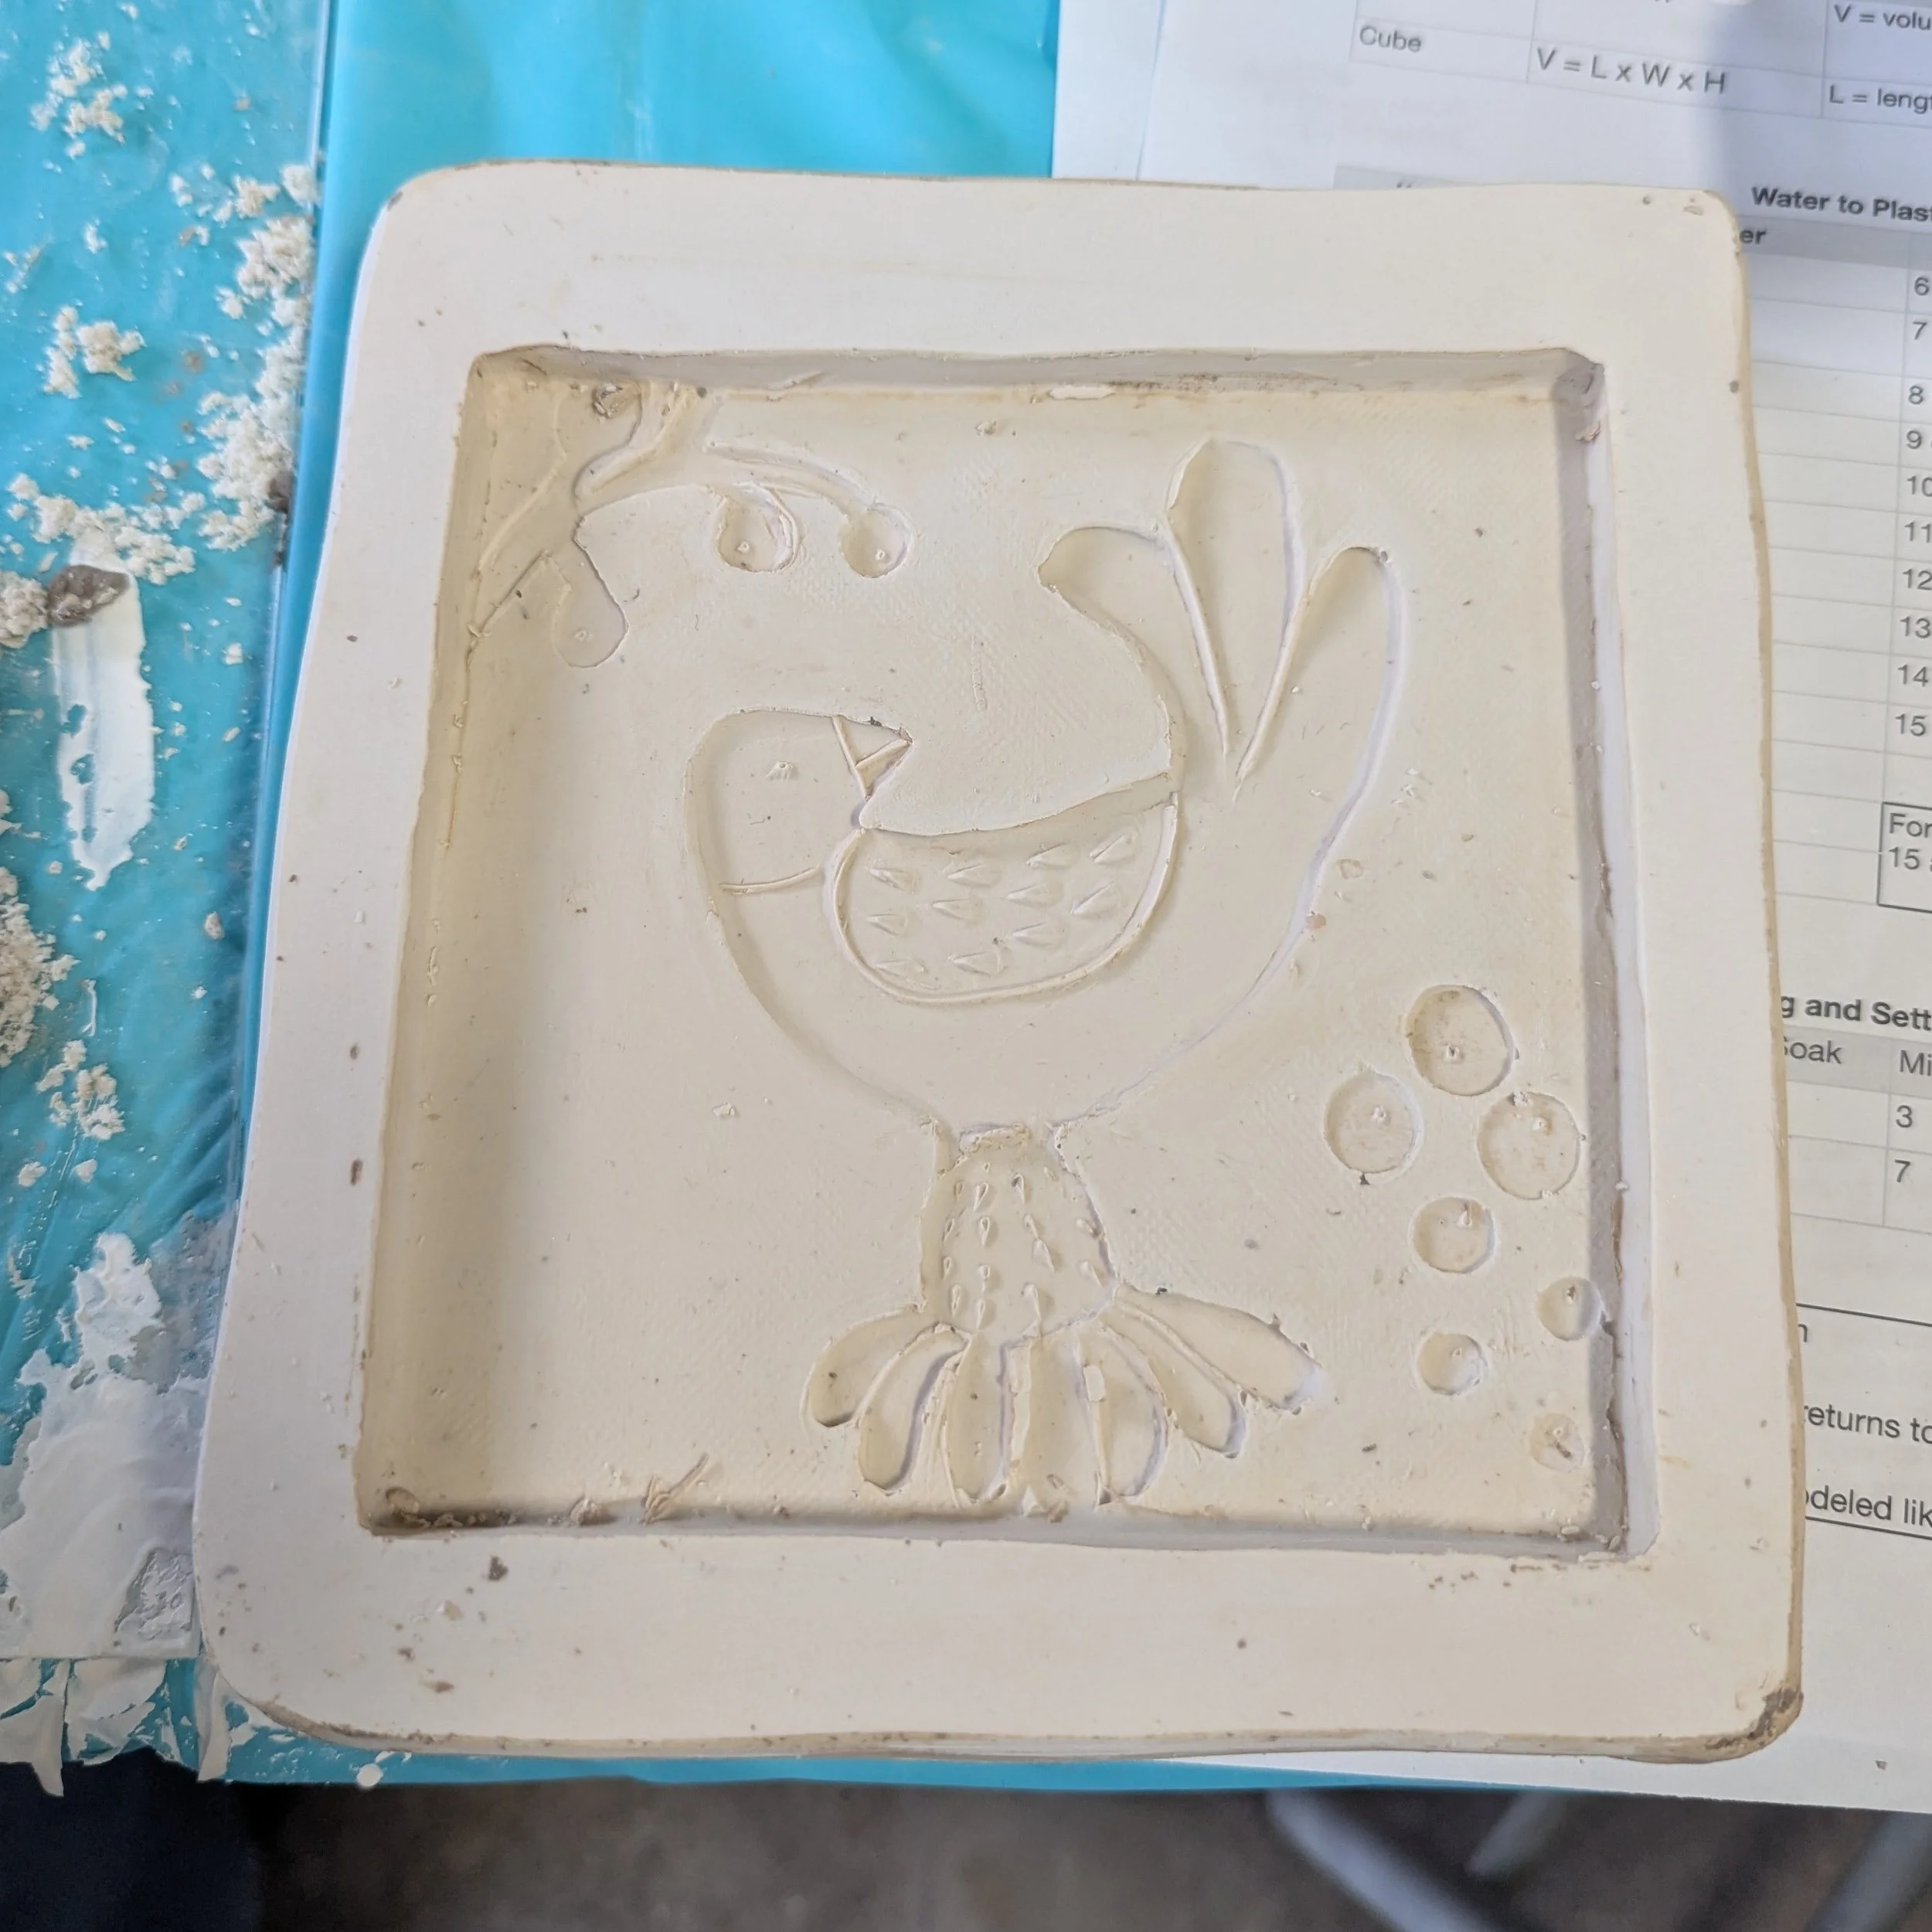
Prior to the workshop participants were instructed to prepare a small model for casting, ideally a leather-hard carved tile, approximately 1” thick, and no more than 6”x6”. The carved design could be relief (design projects outward while background is removed) or intaglio (design is carved into the clay so it’s below the background surface), but either way it was important to avoid undercuts that could trap plaster. Trapped plaster makes it difficult to remove the model without damaging the mold. Even if the clay is gently scraped out and the mold remains intact subsequent use of the mold would be difficult without breaking either the mold or the cast/pressed form.
We were also advised to bring an 18” x 18” (approximate) sheet of plexiglass, laminate shelving, or something similar, to use for the base. The tile was placed directly on this base and clay walls were built with a 1” buffer all around the tile. Our wall height was about 2.5-3” tall, designed to be an inch taller than the height of the tile plus some room to spare. Dara emphasized the importance of reinforcing the base of the walls with additional clay so that they’re well sealed to the base thus preventing a “plaster disaster”.
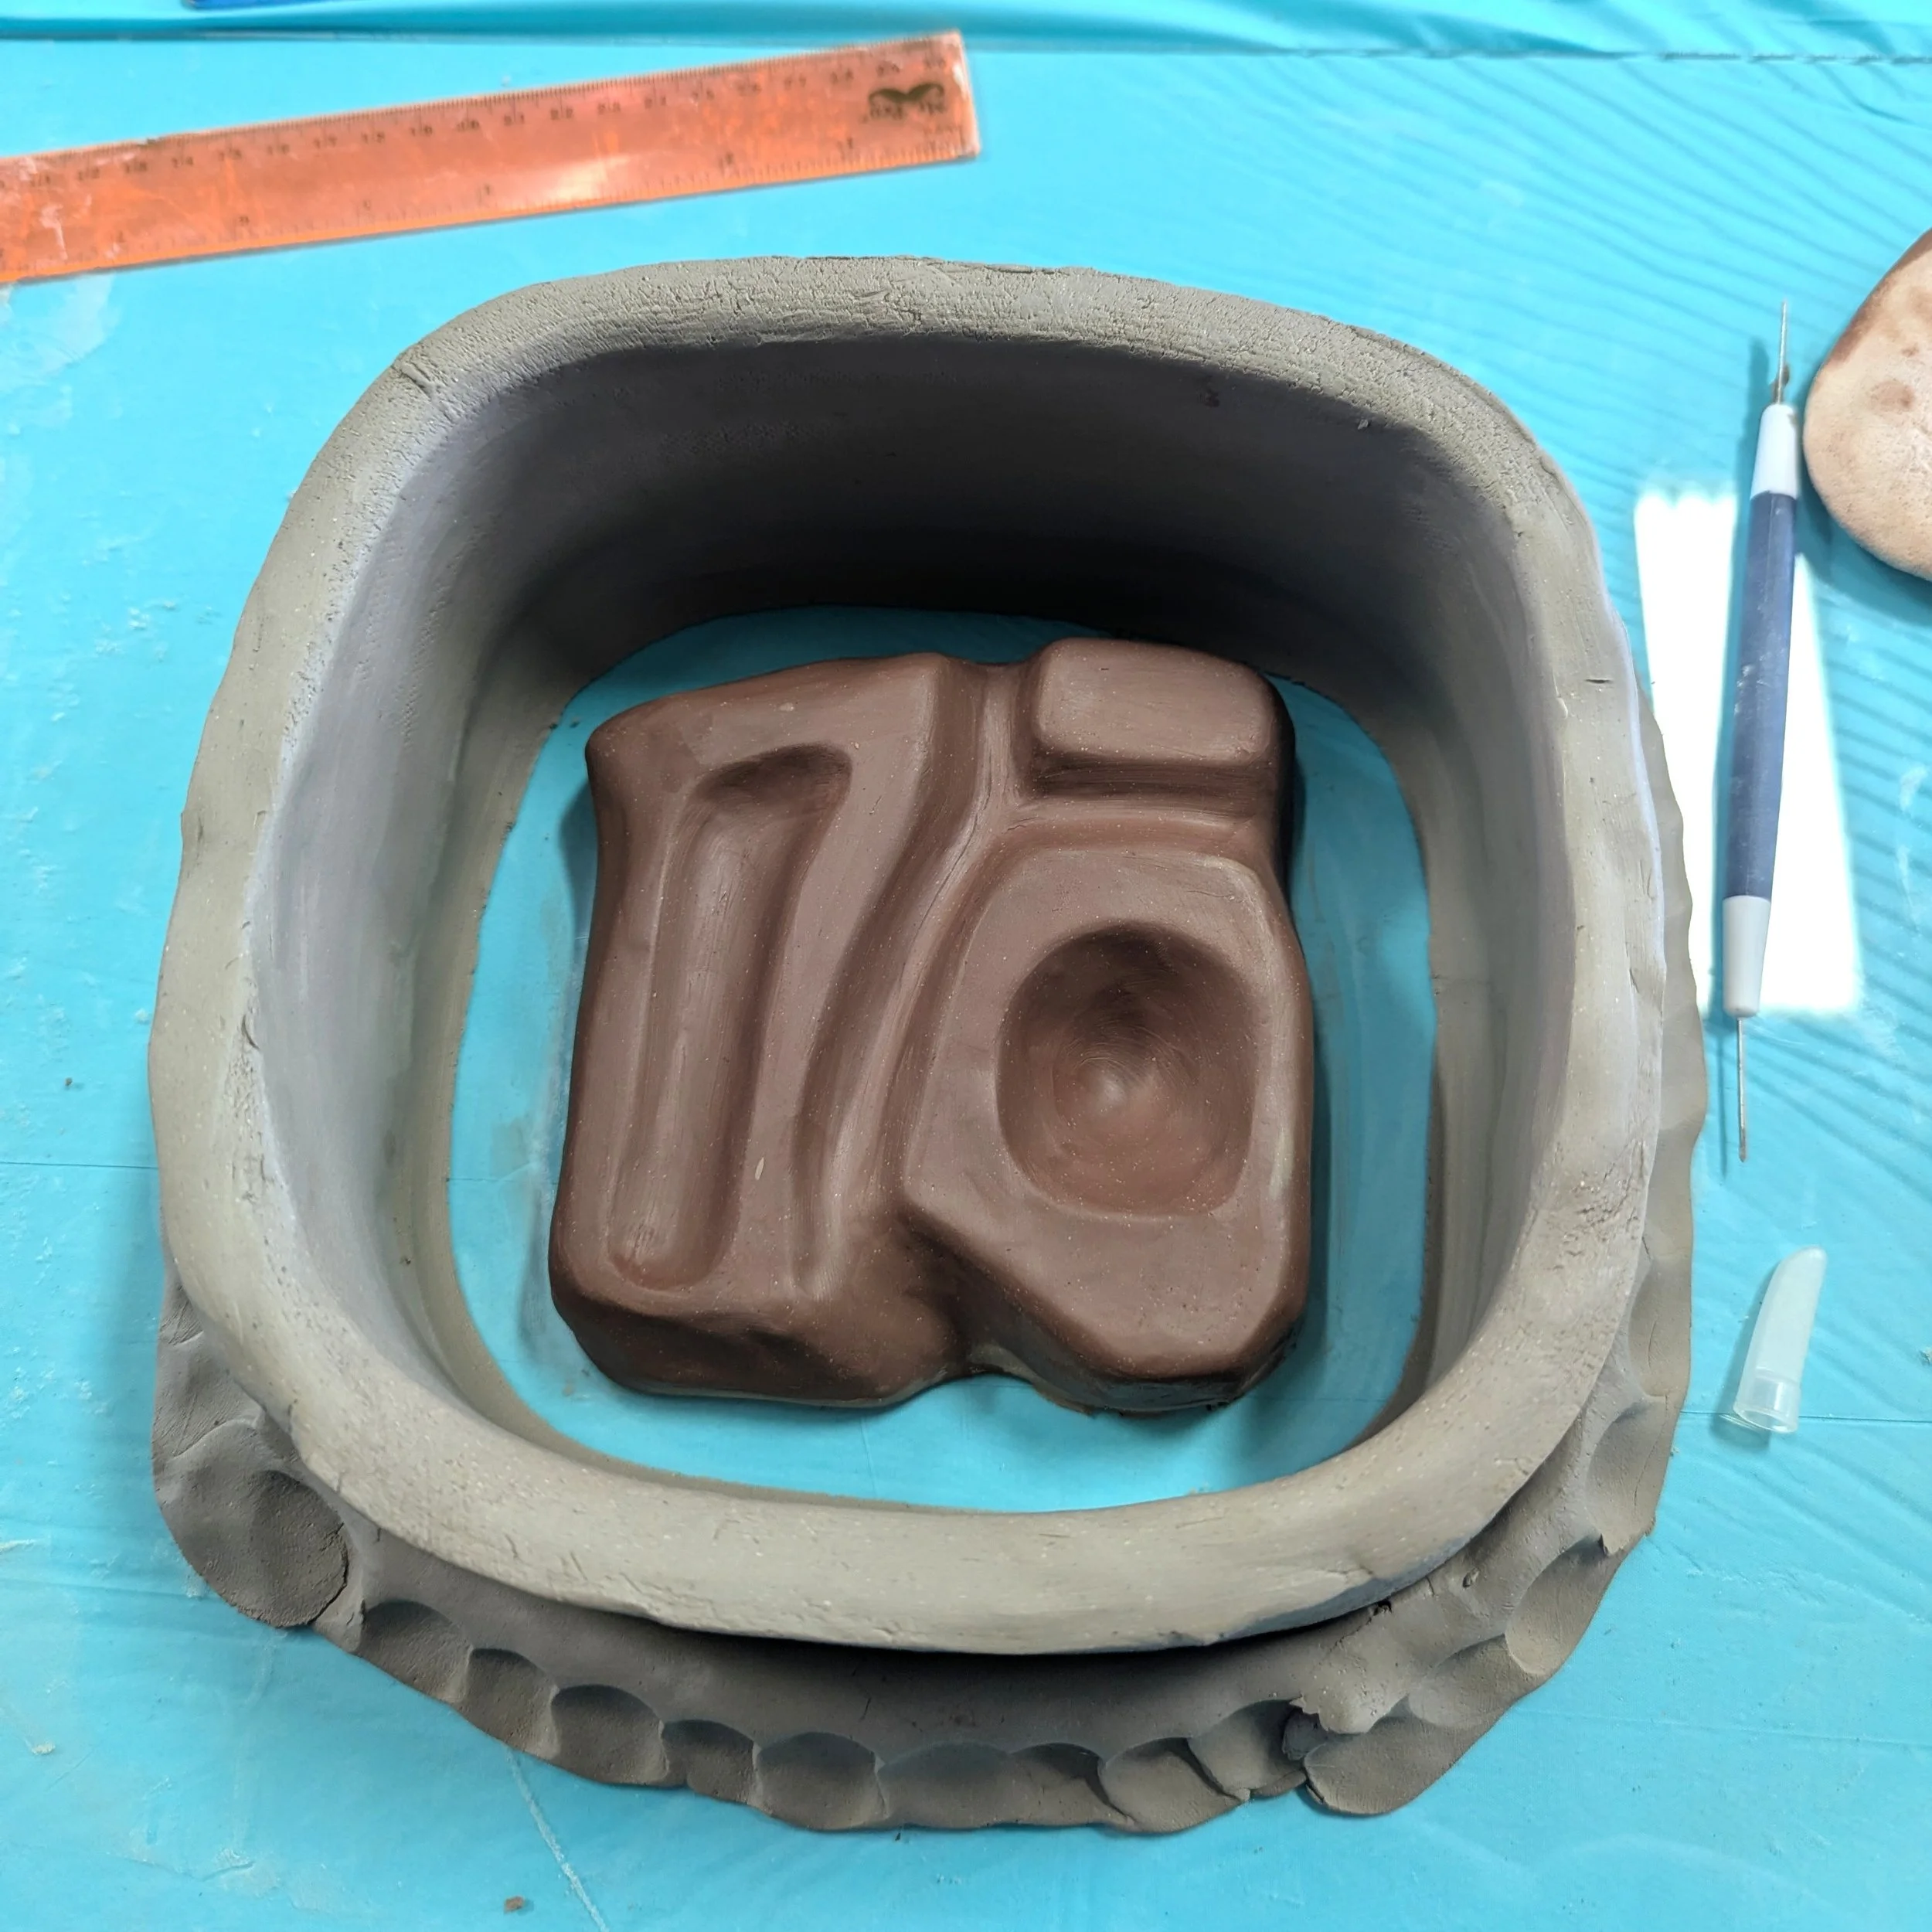
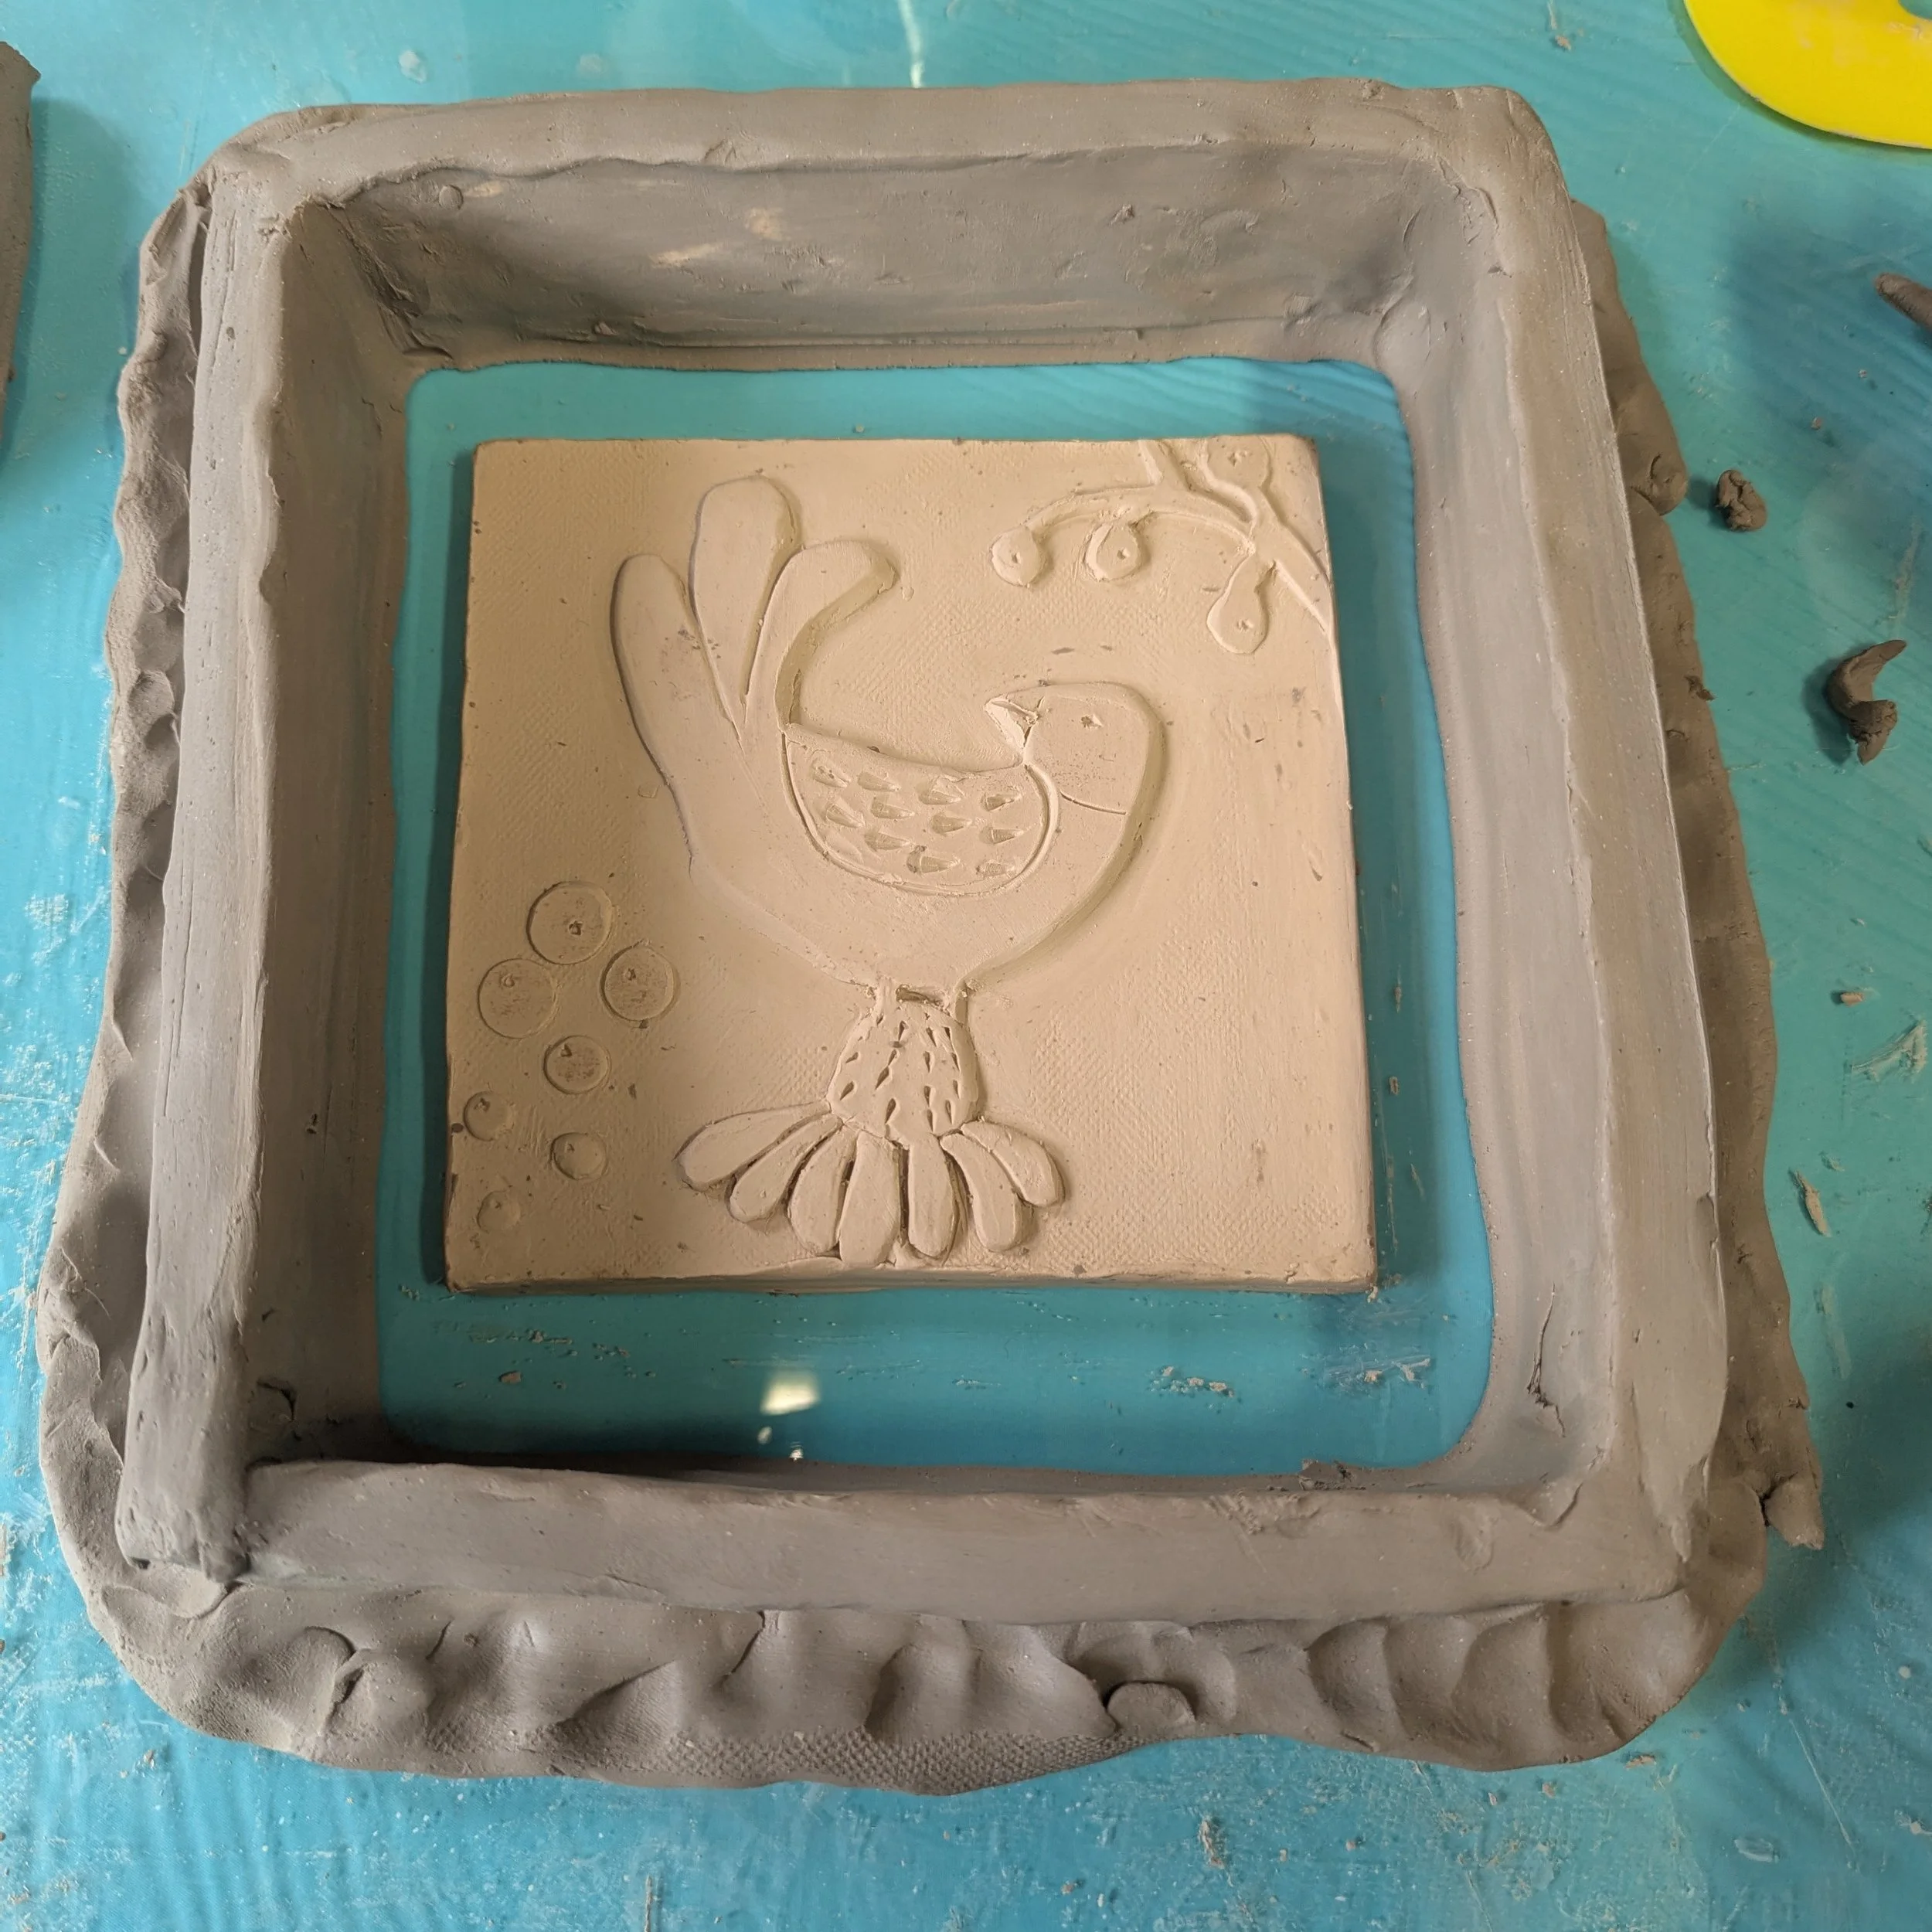
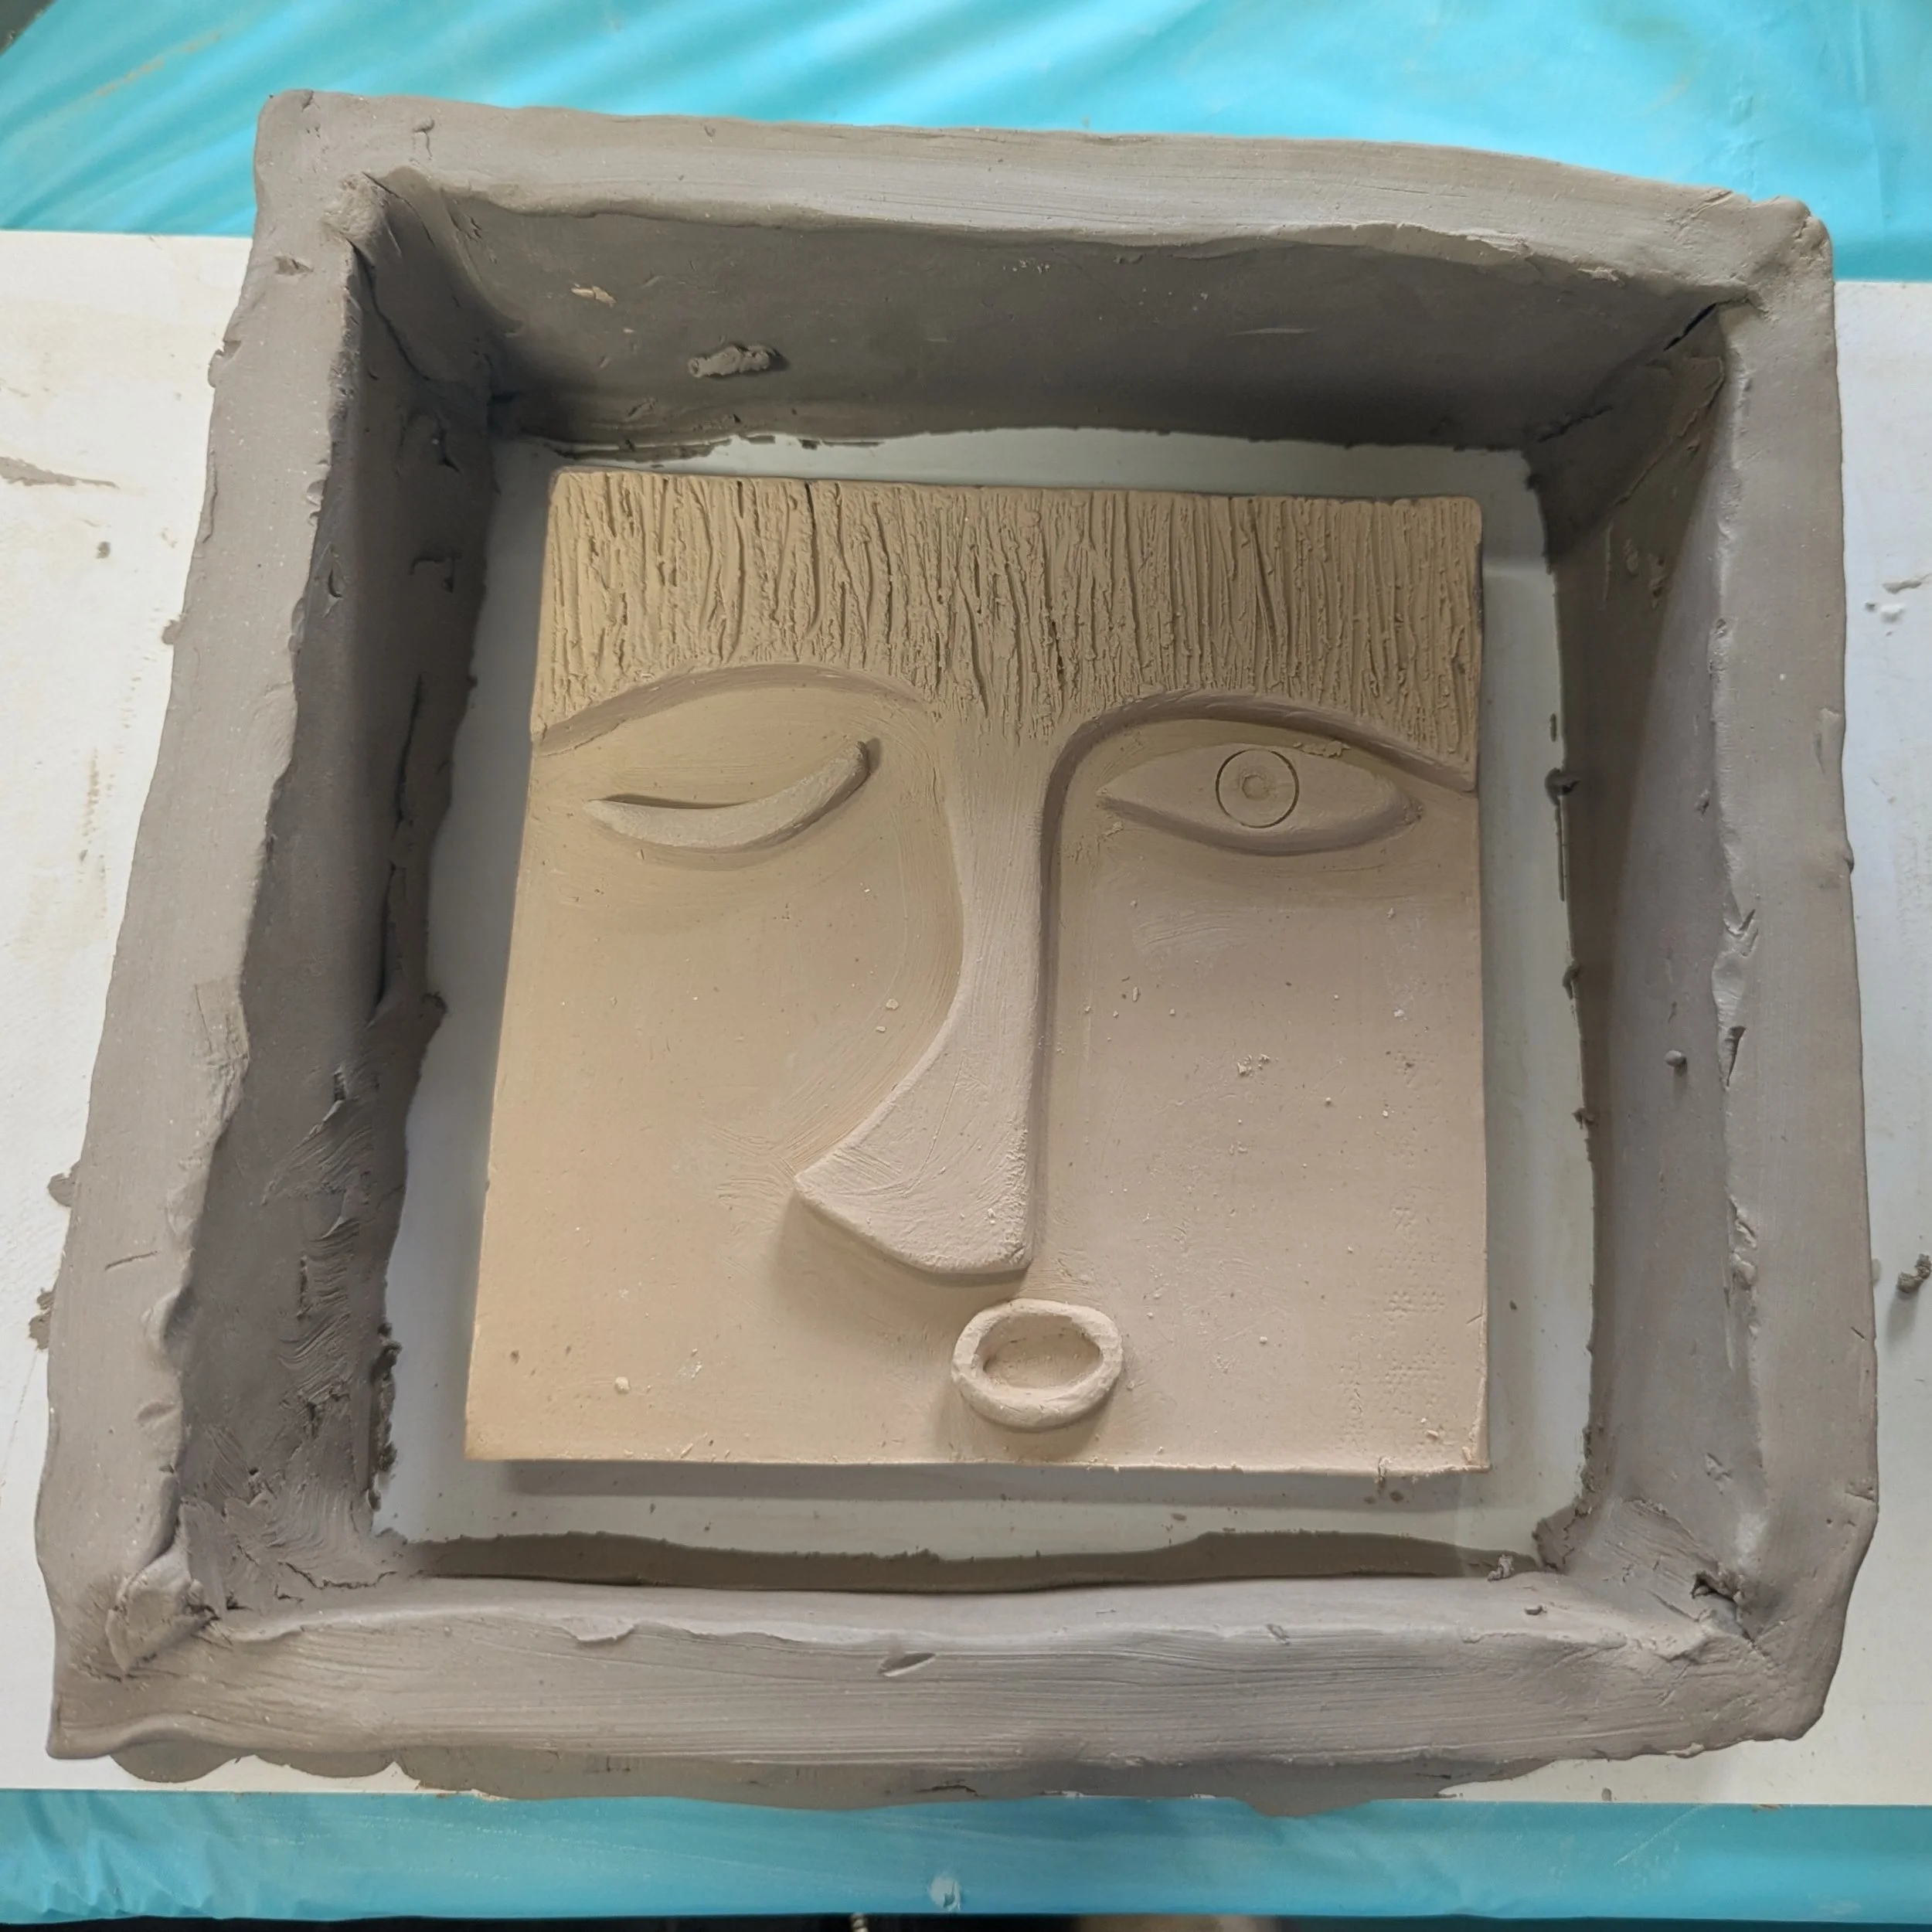
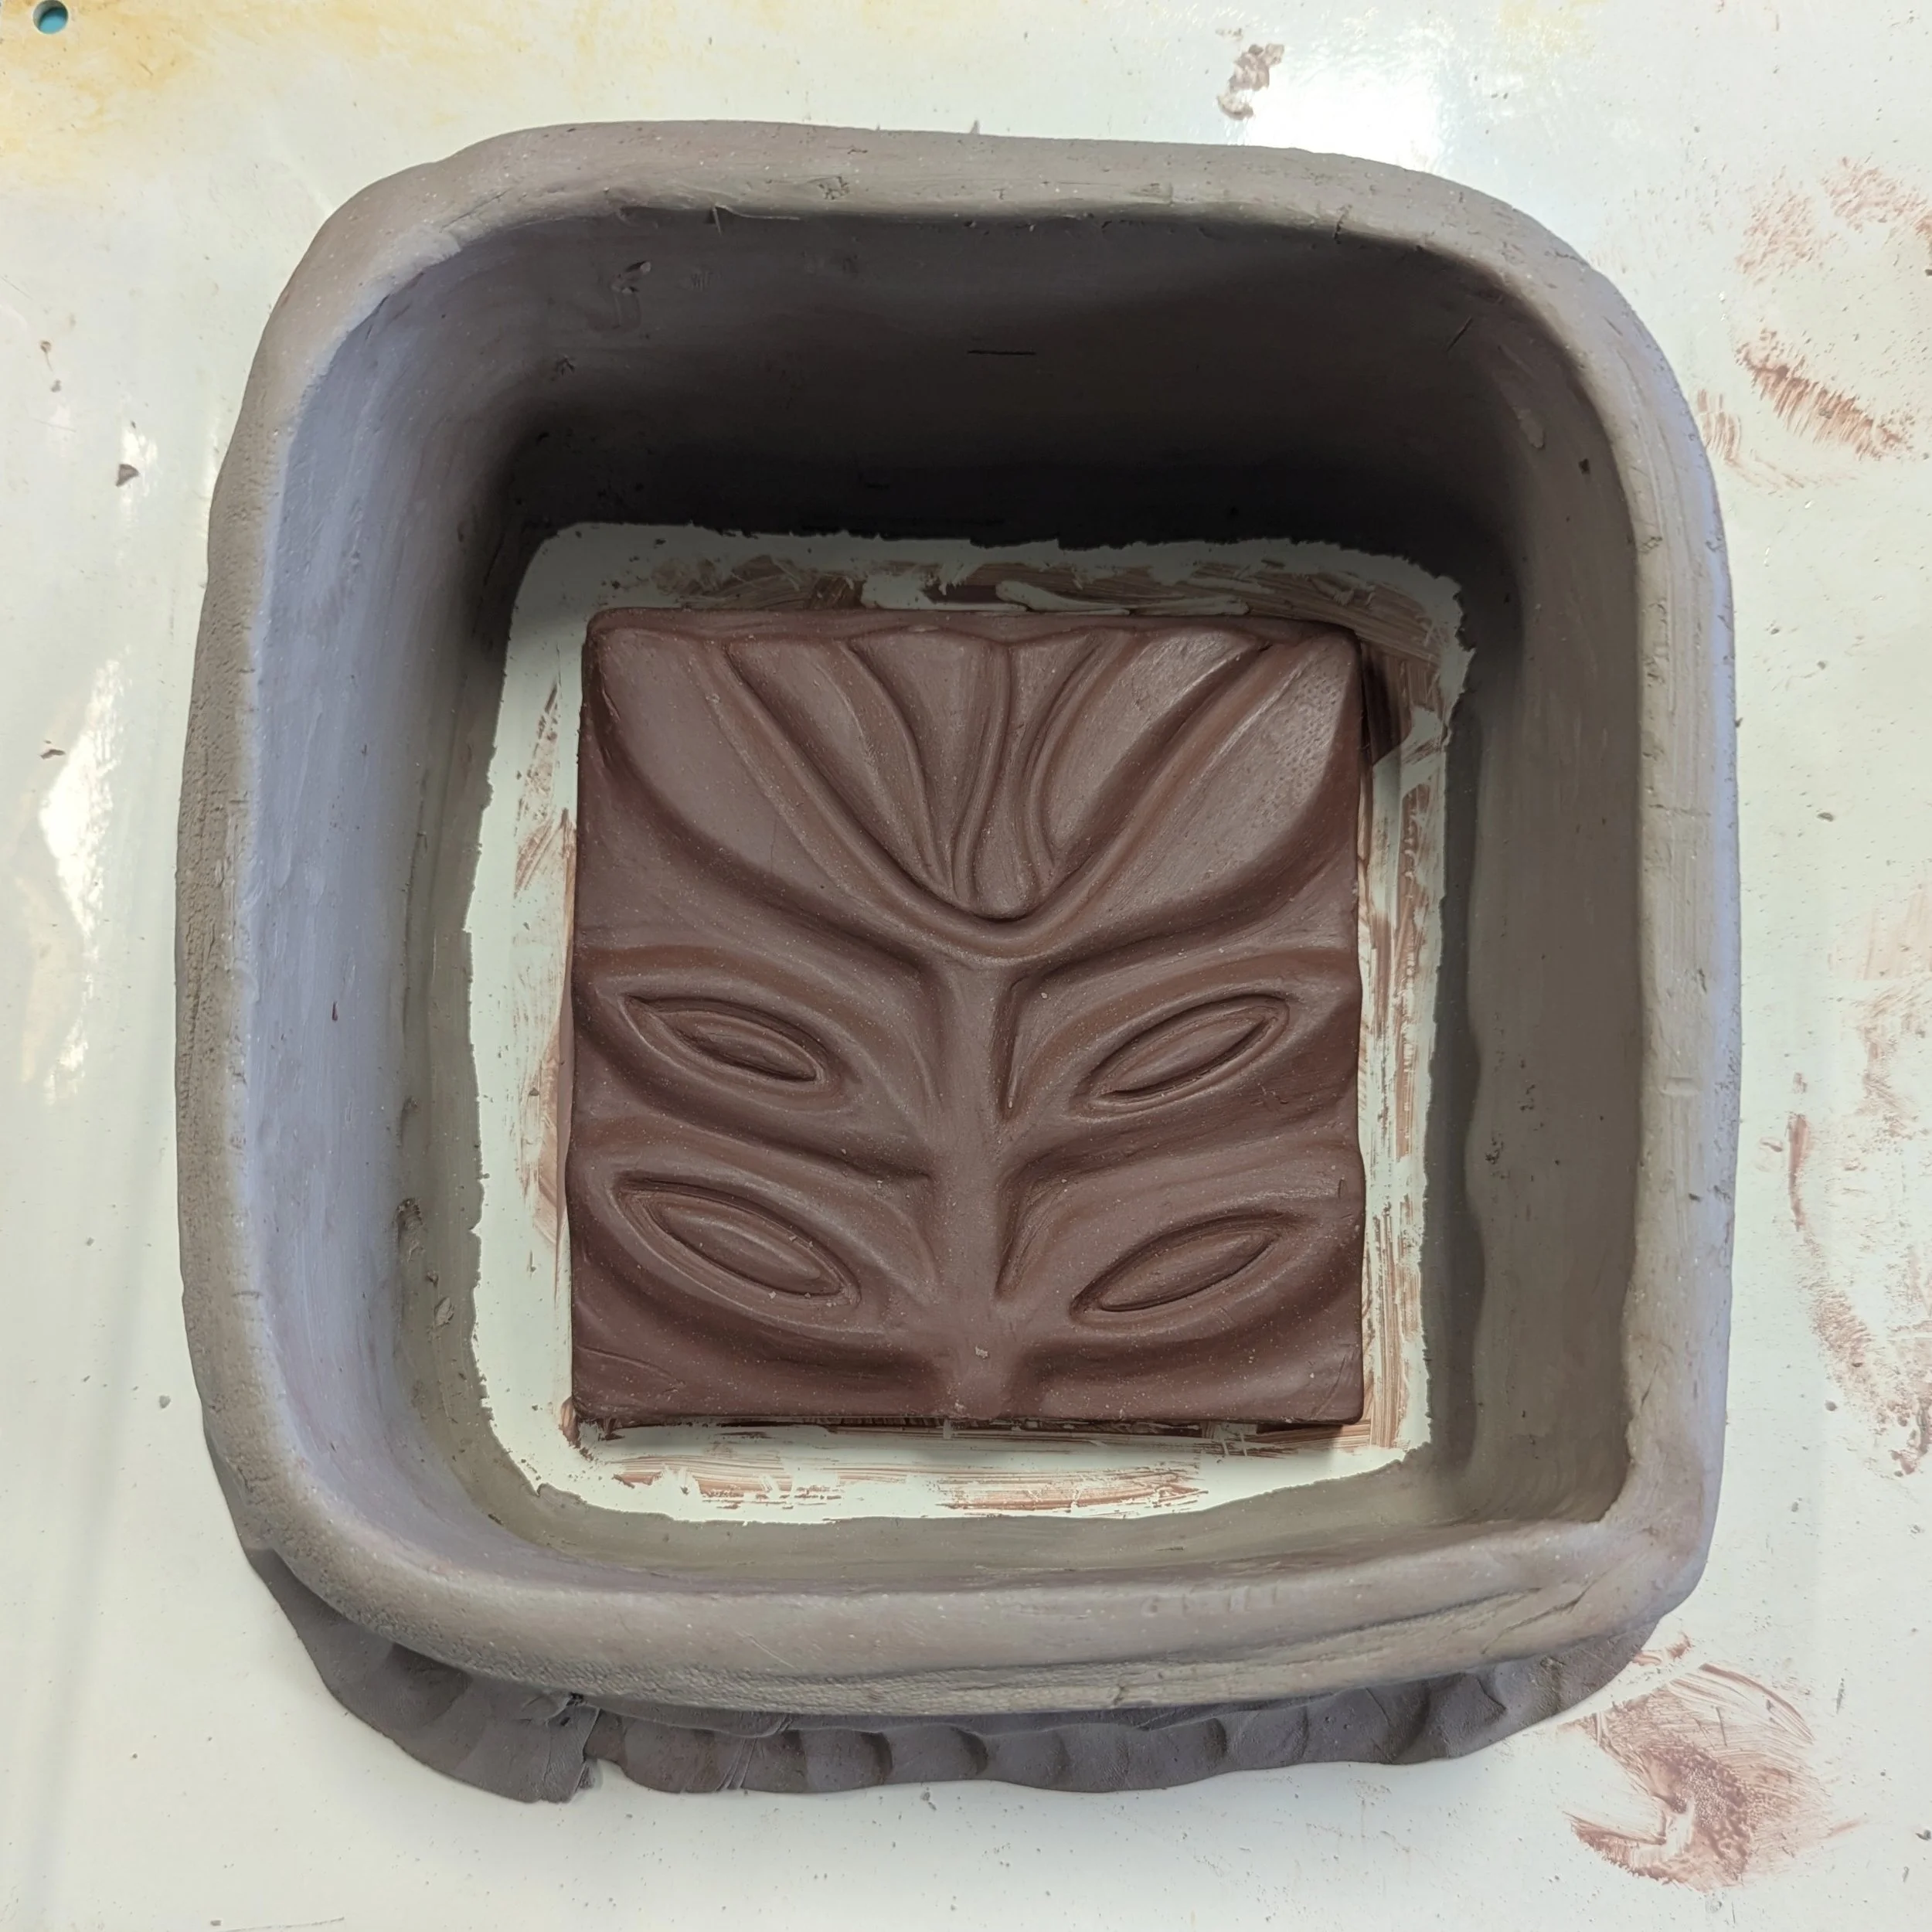
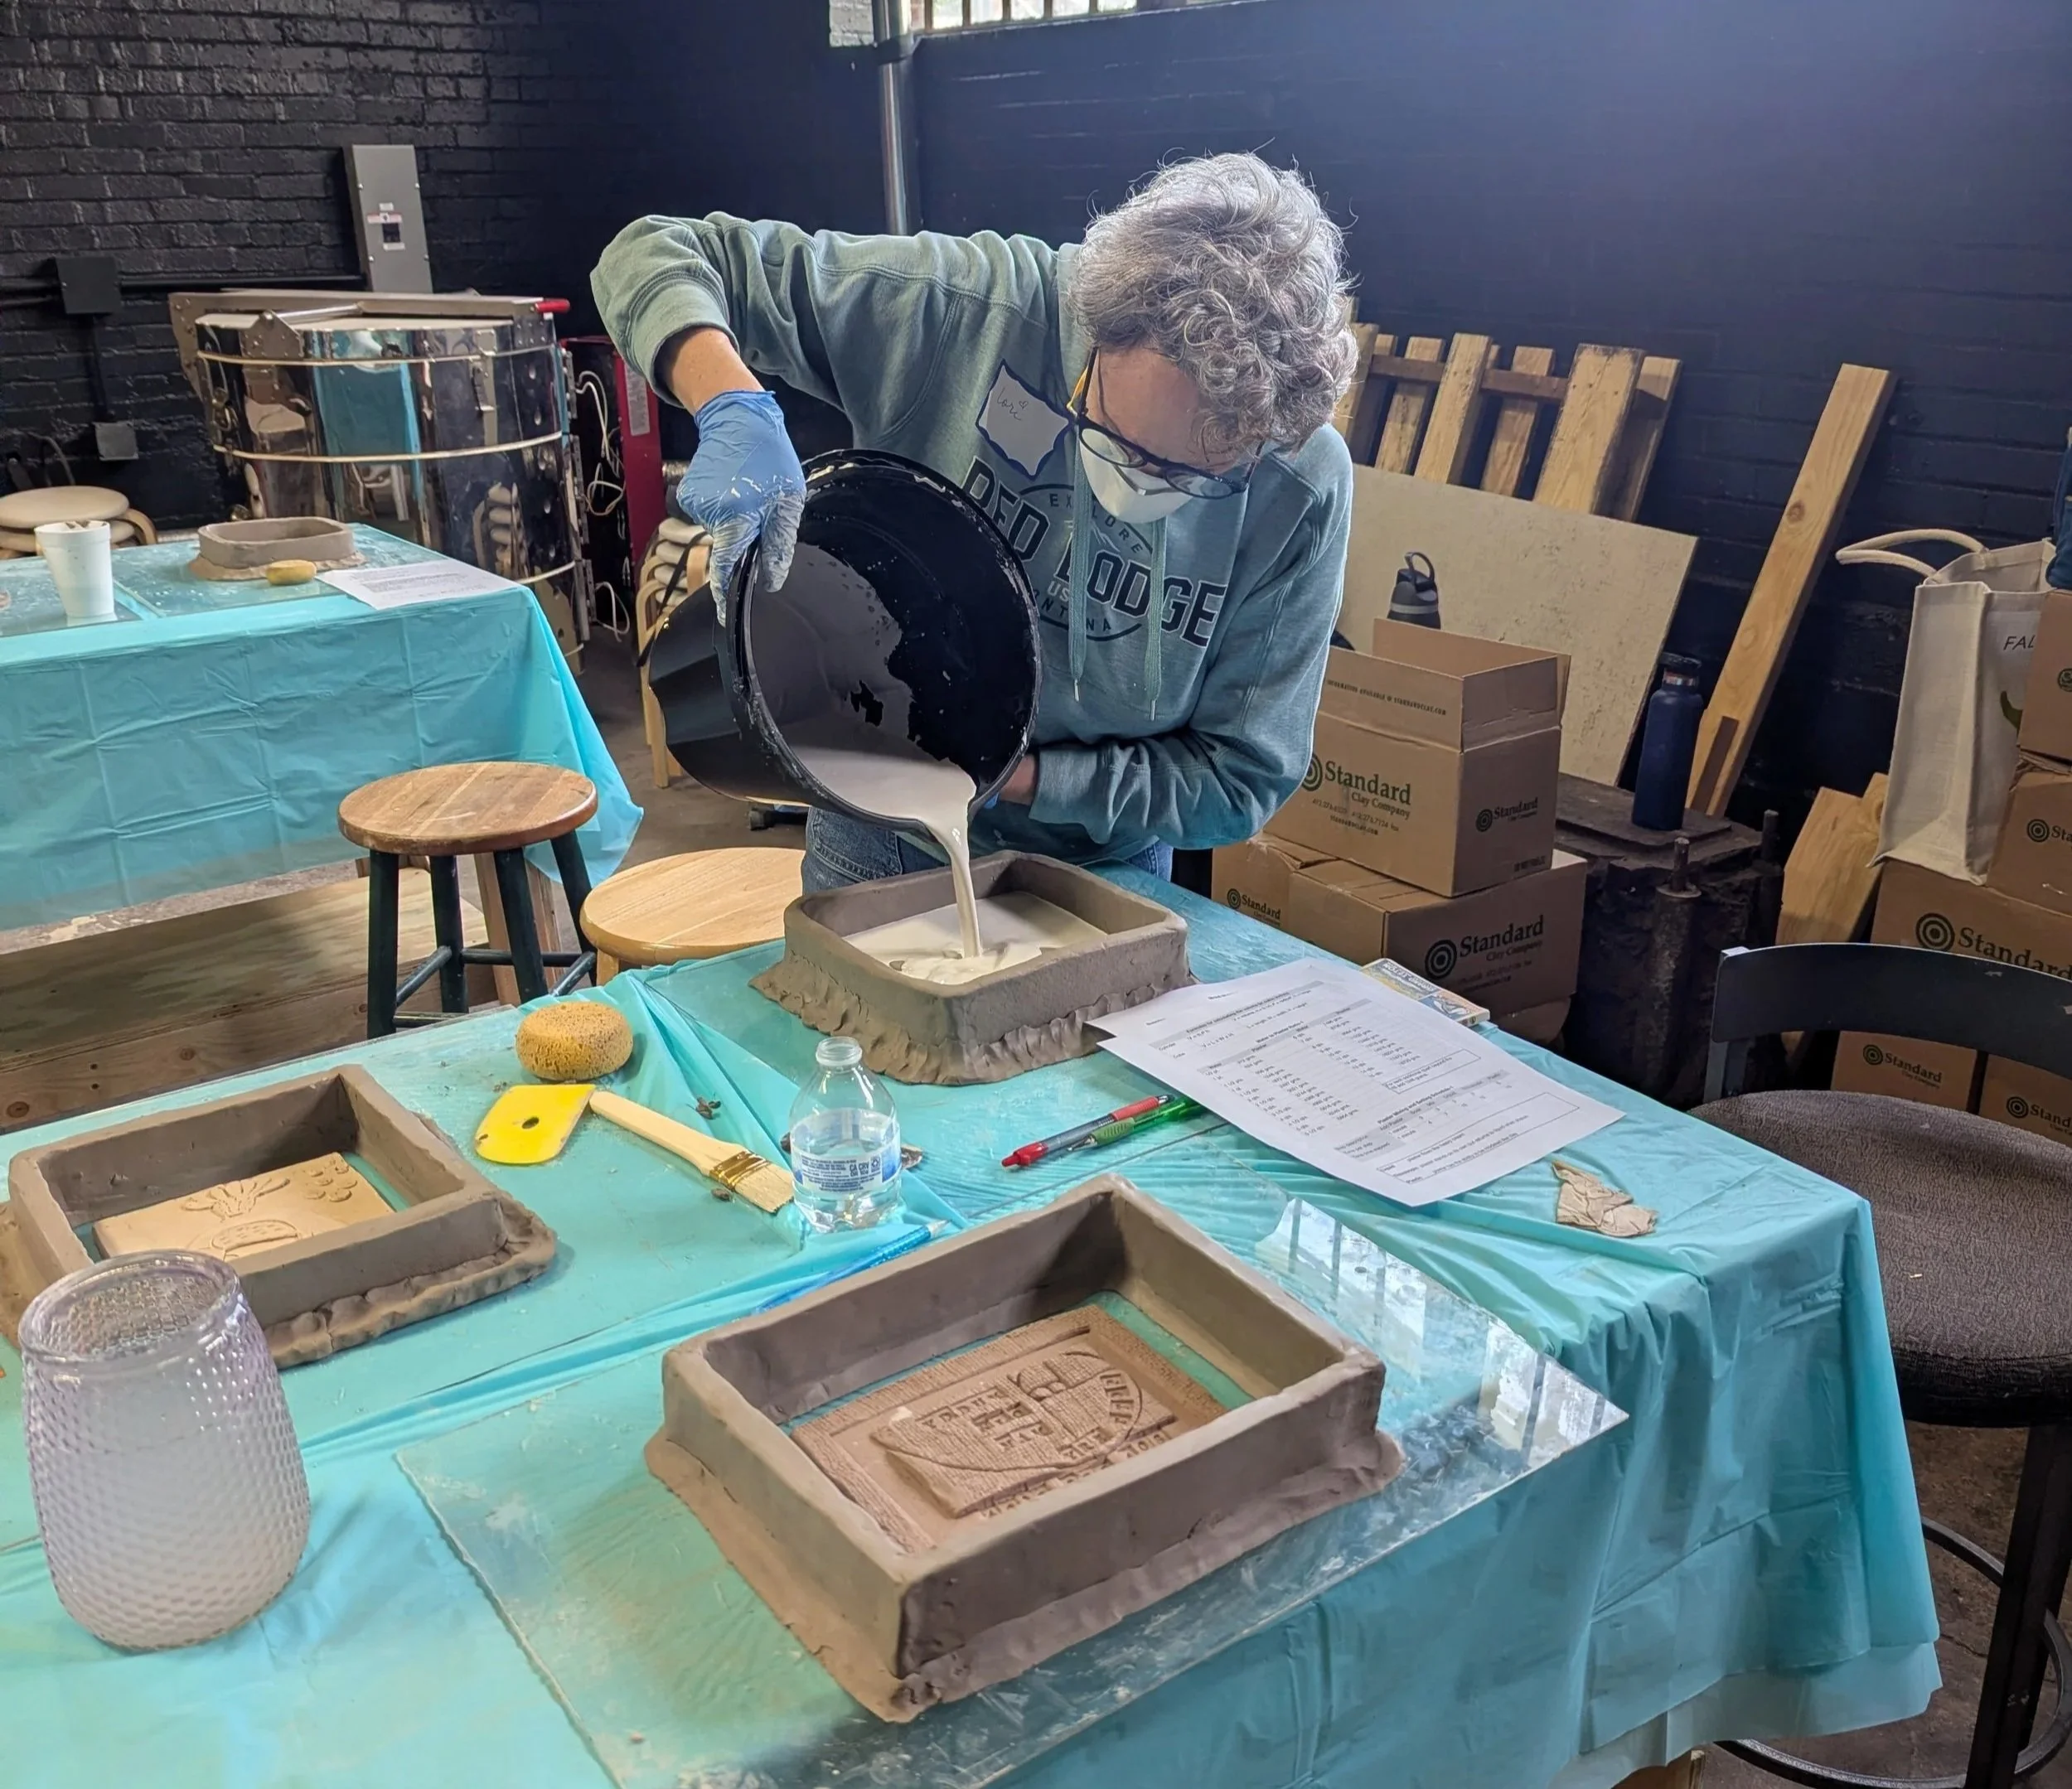
After our little fortresses were built, we each calculated the volume (length x width x height) to a height of 1” above the highest point of our tile, then subtracted the approximate volume of our tile to determine how much plaster was needed to fill the space. Dara carefully explained how to calculate the volume measurements and then convert those measurements to grams of dry plaster and water needed. She discussed important points for mixing and pouring plaster such as timing, and tips such as lightly spraying the plaster surface with alcohol if bubbles form. Masks and gloves were highly recommended!
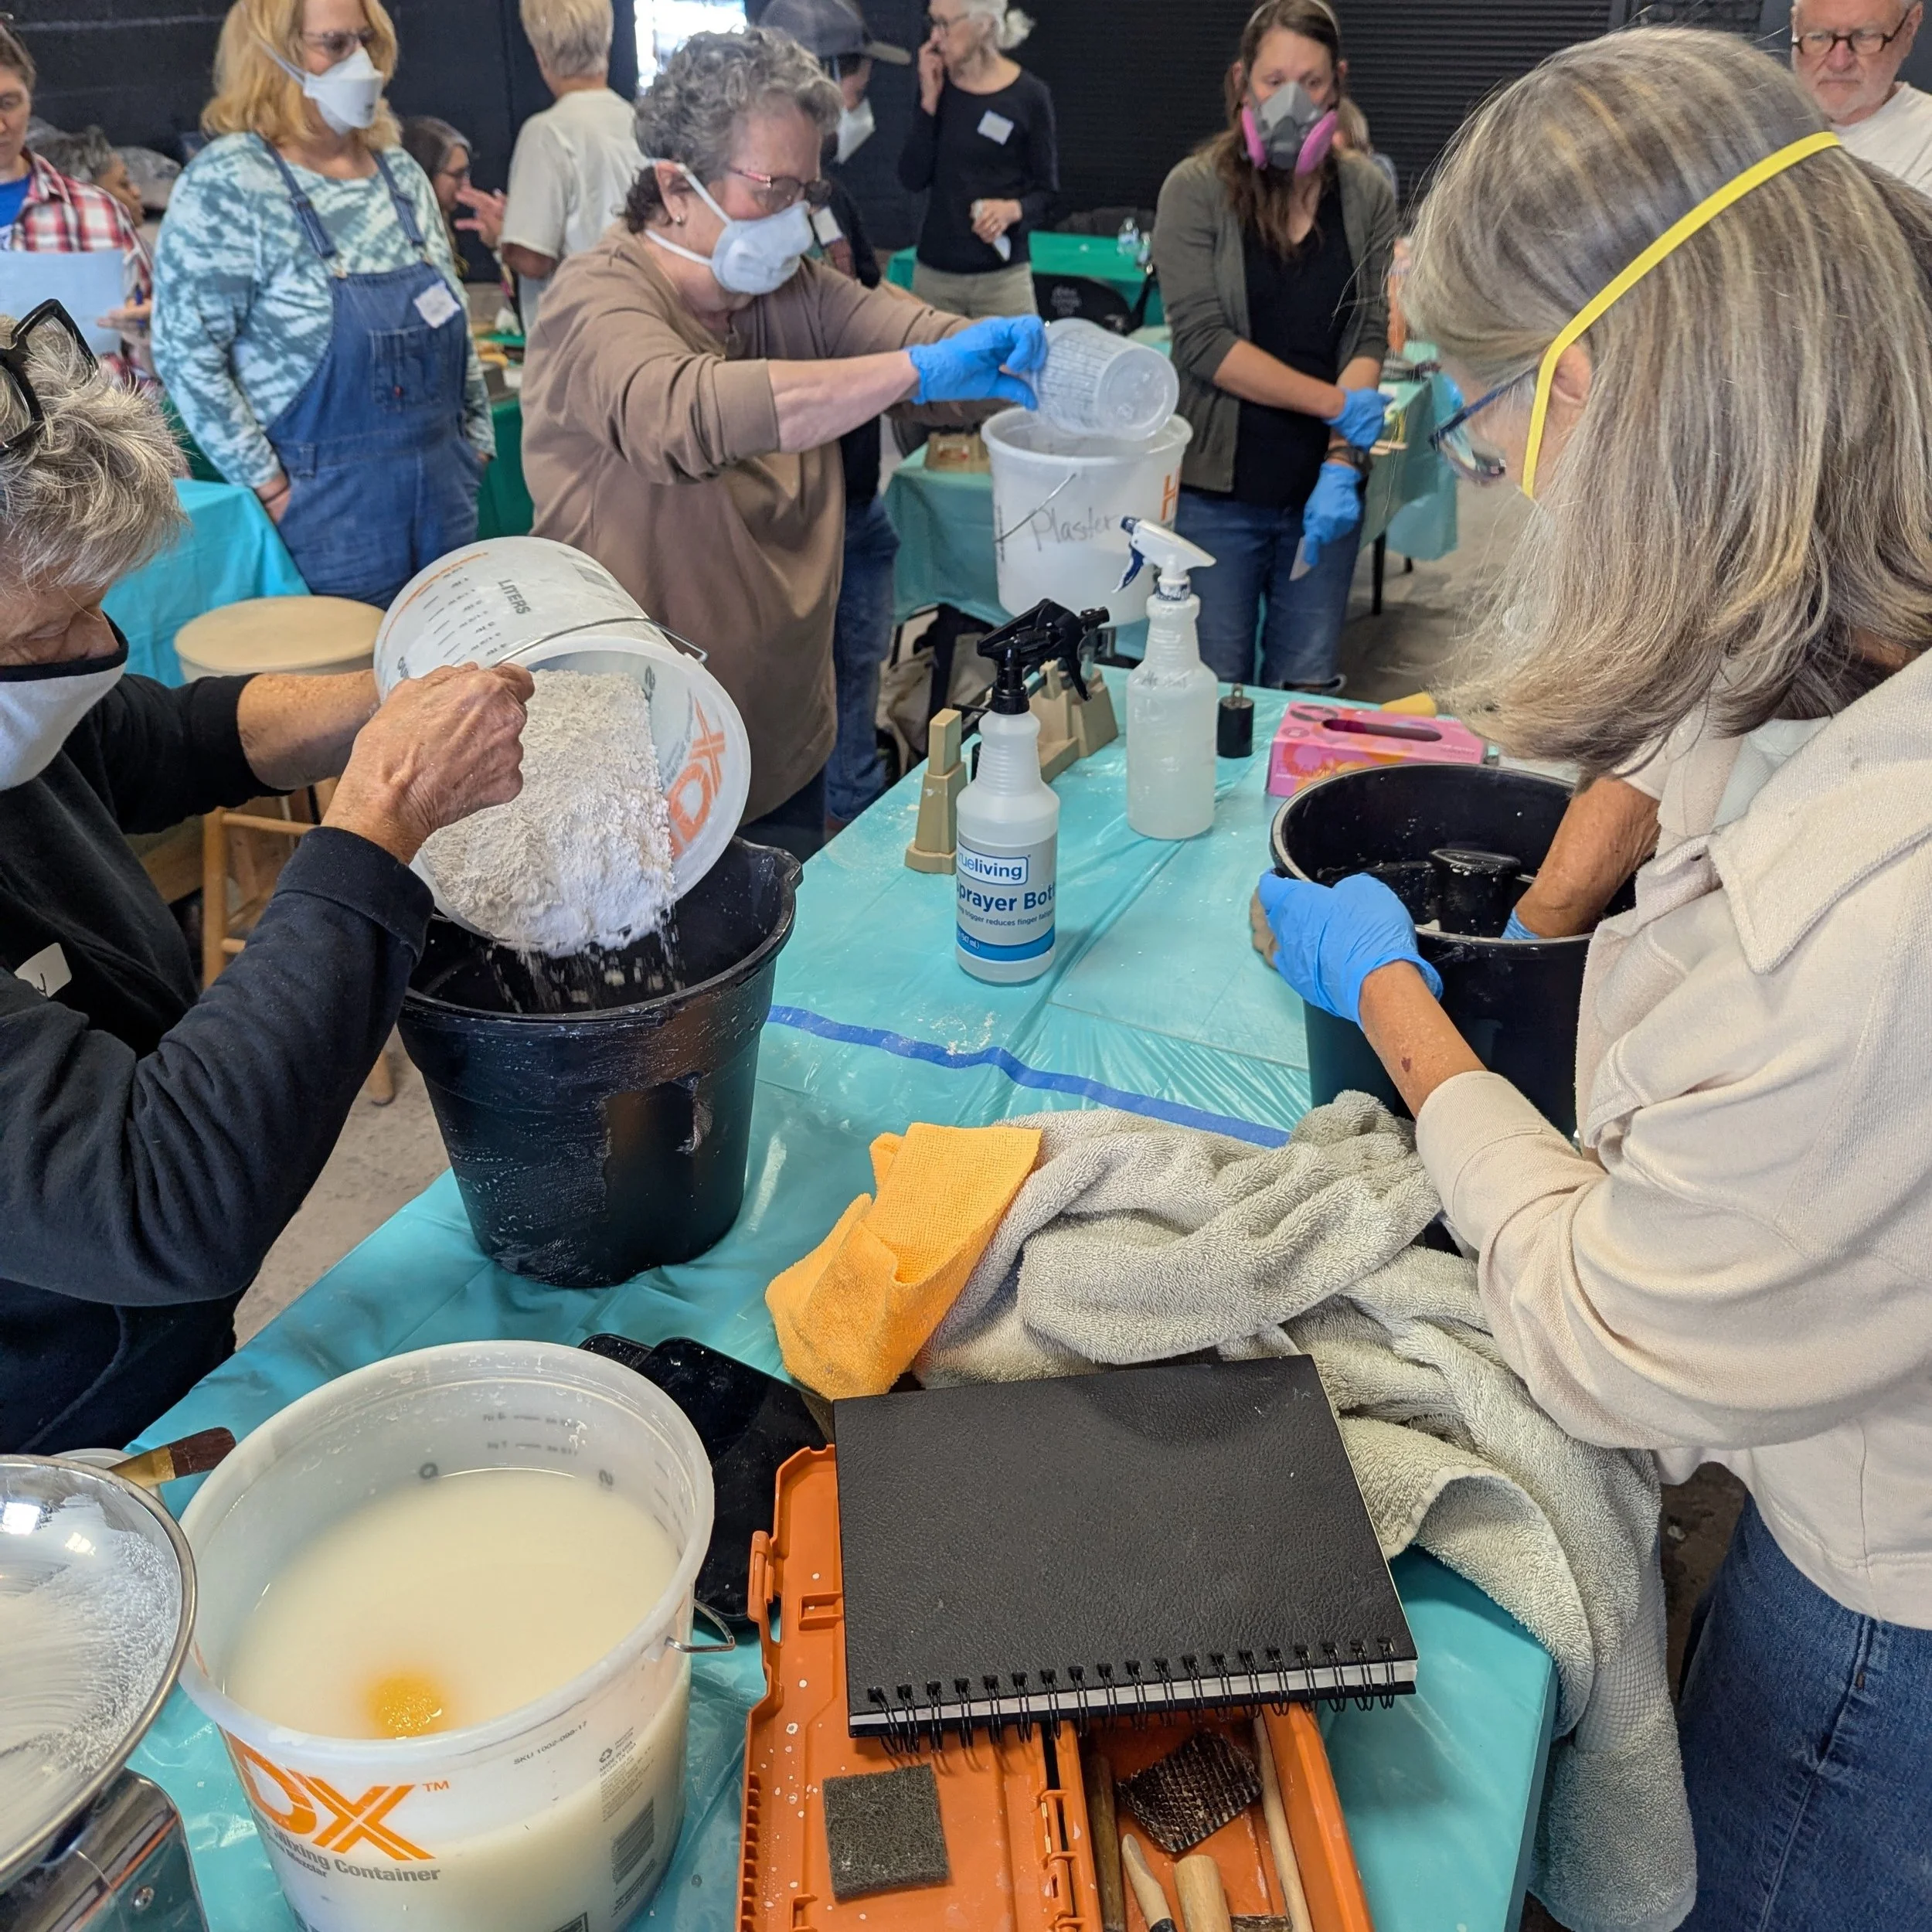
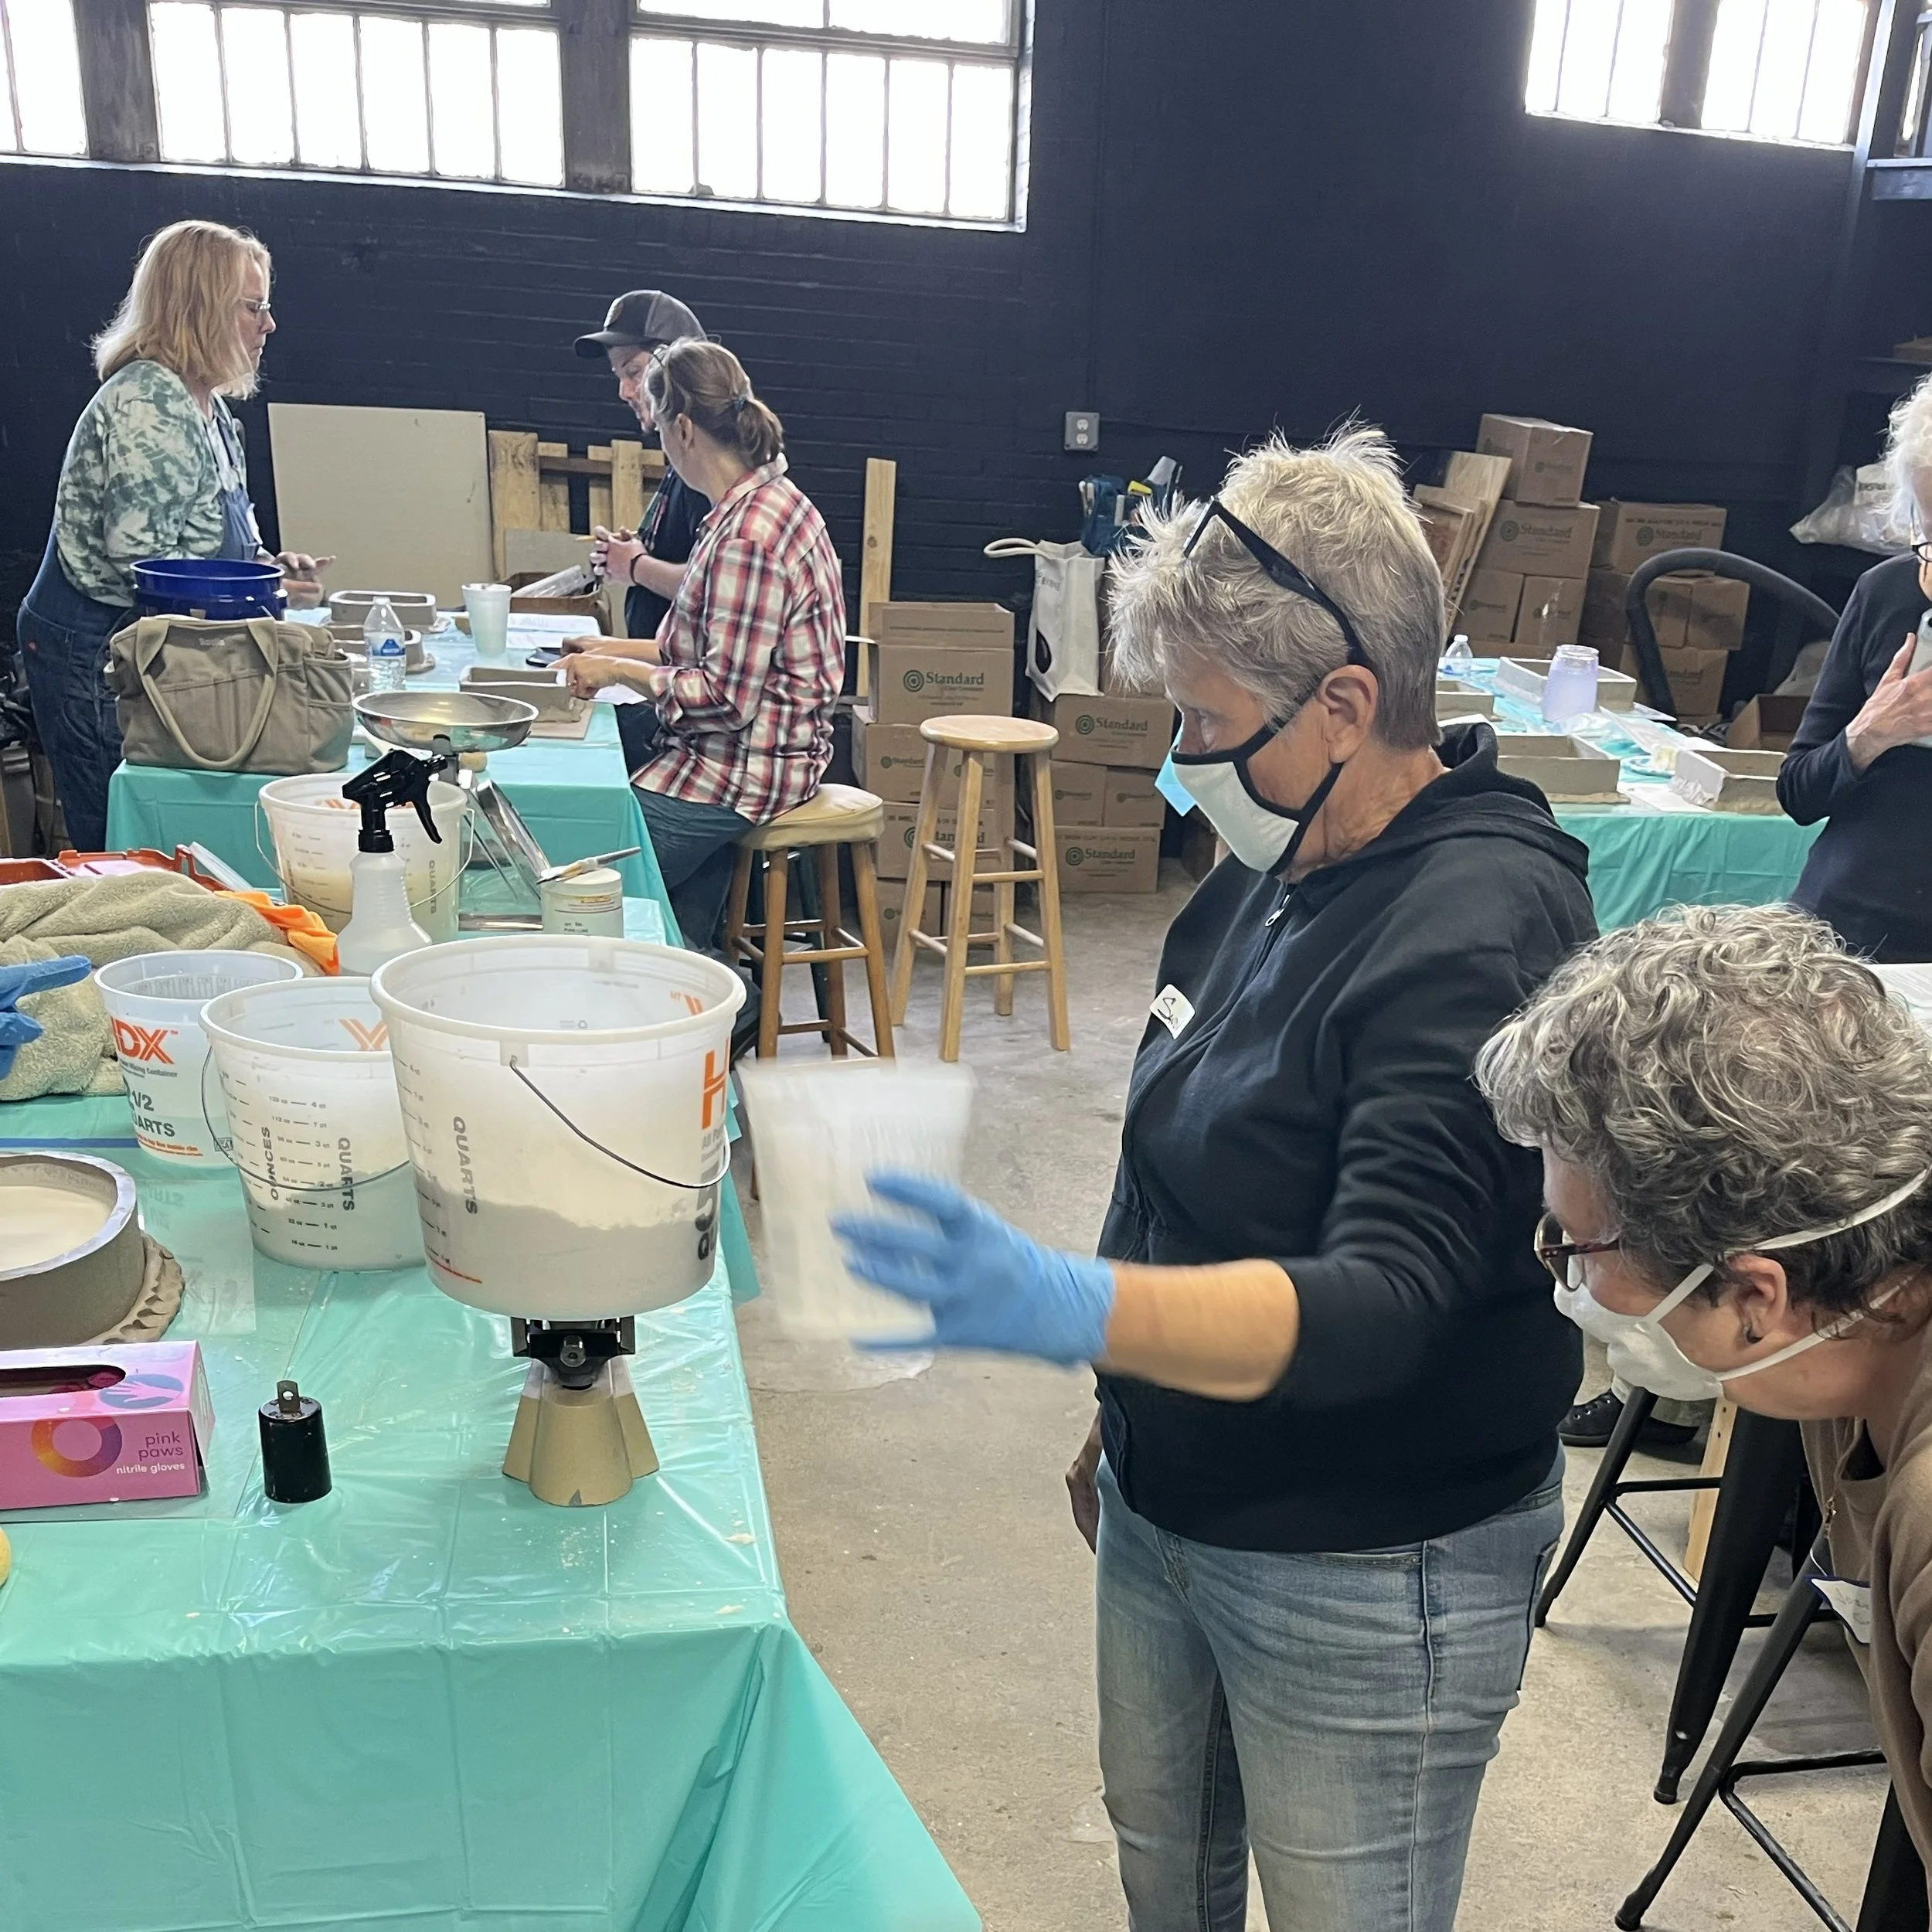
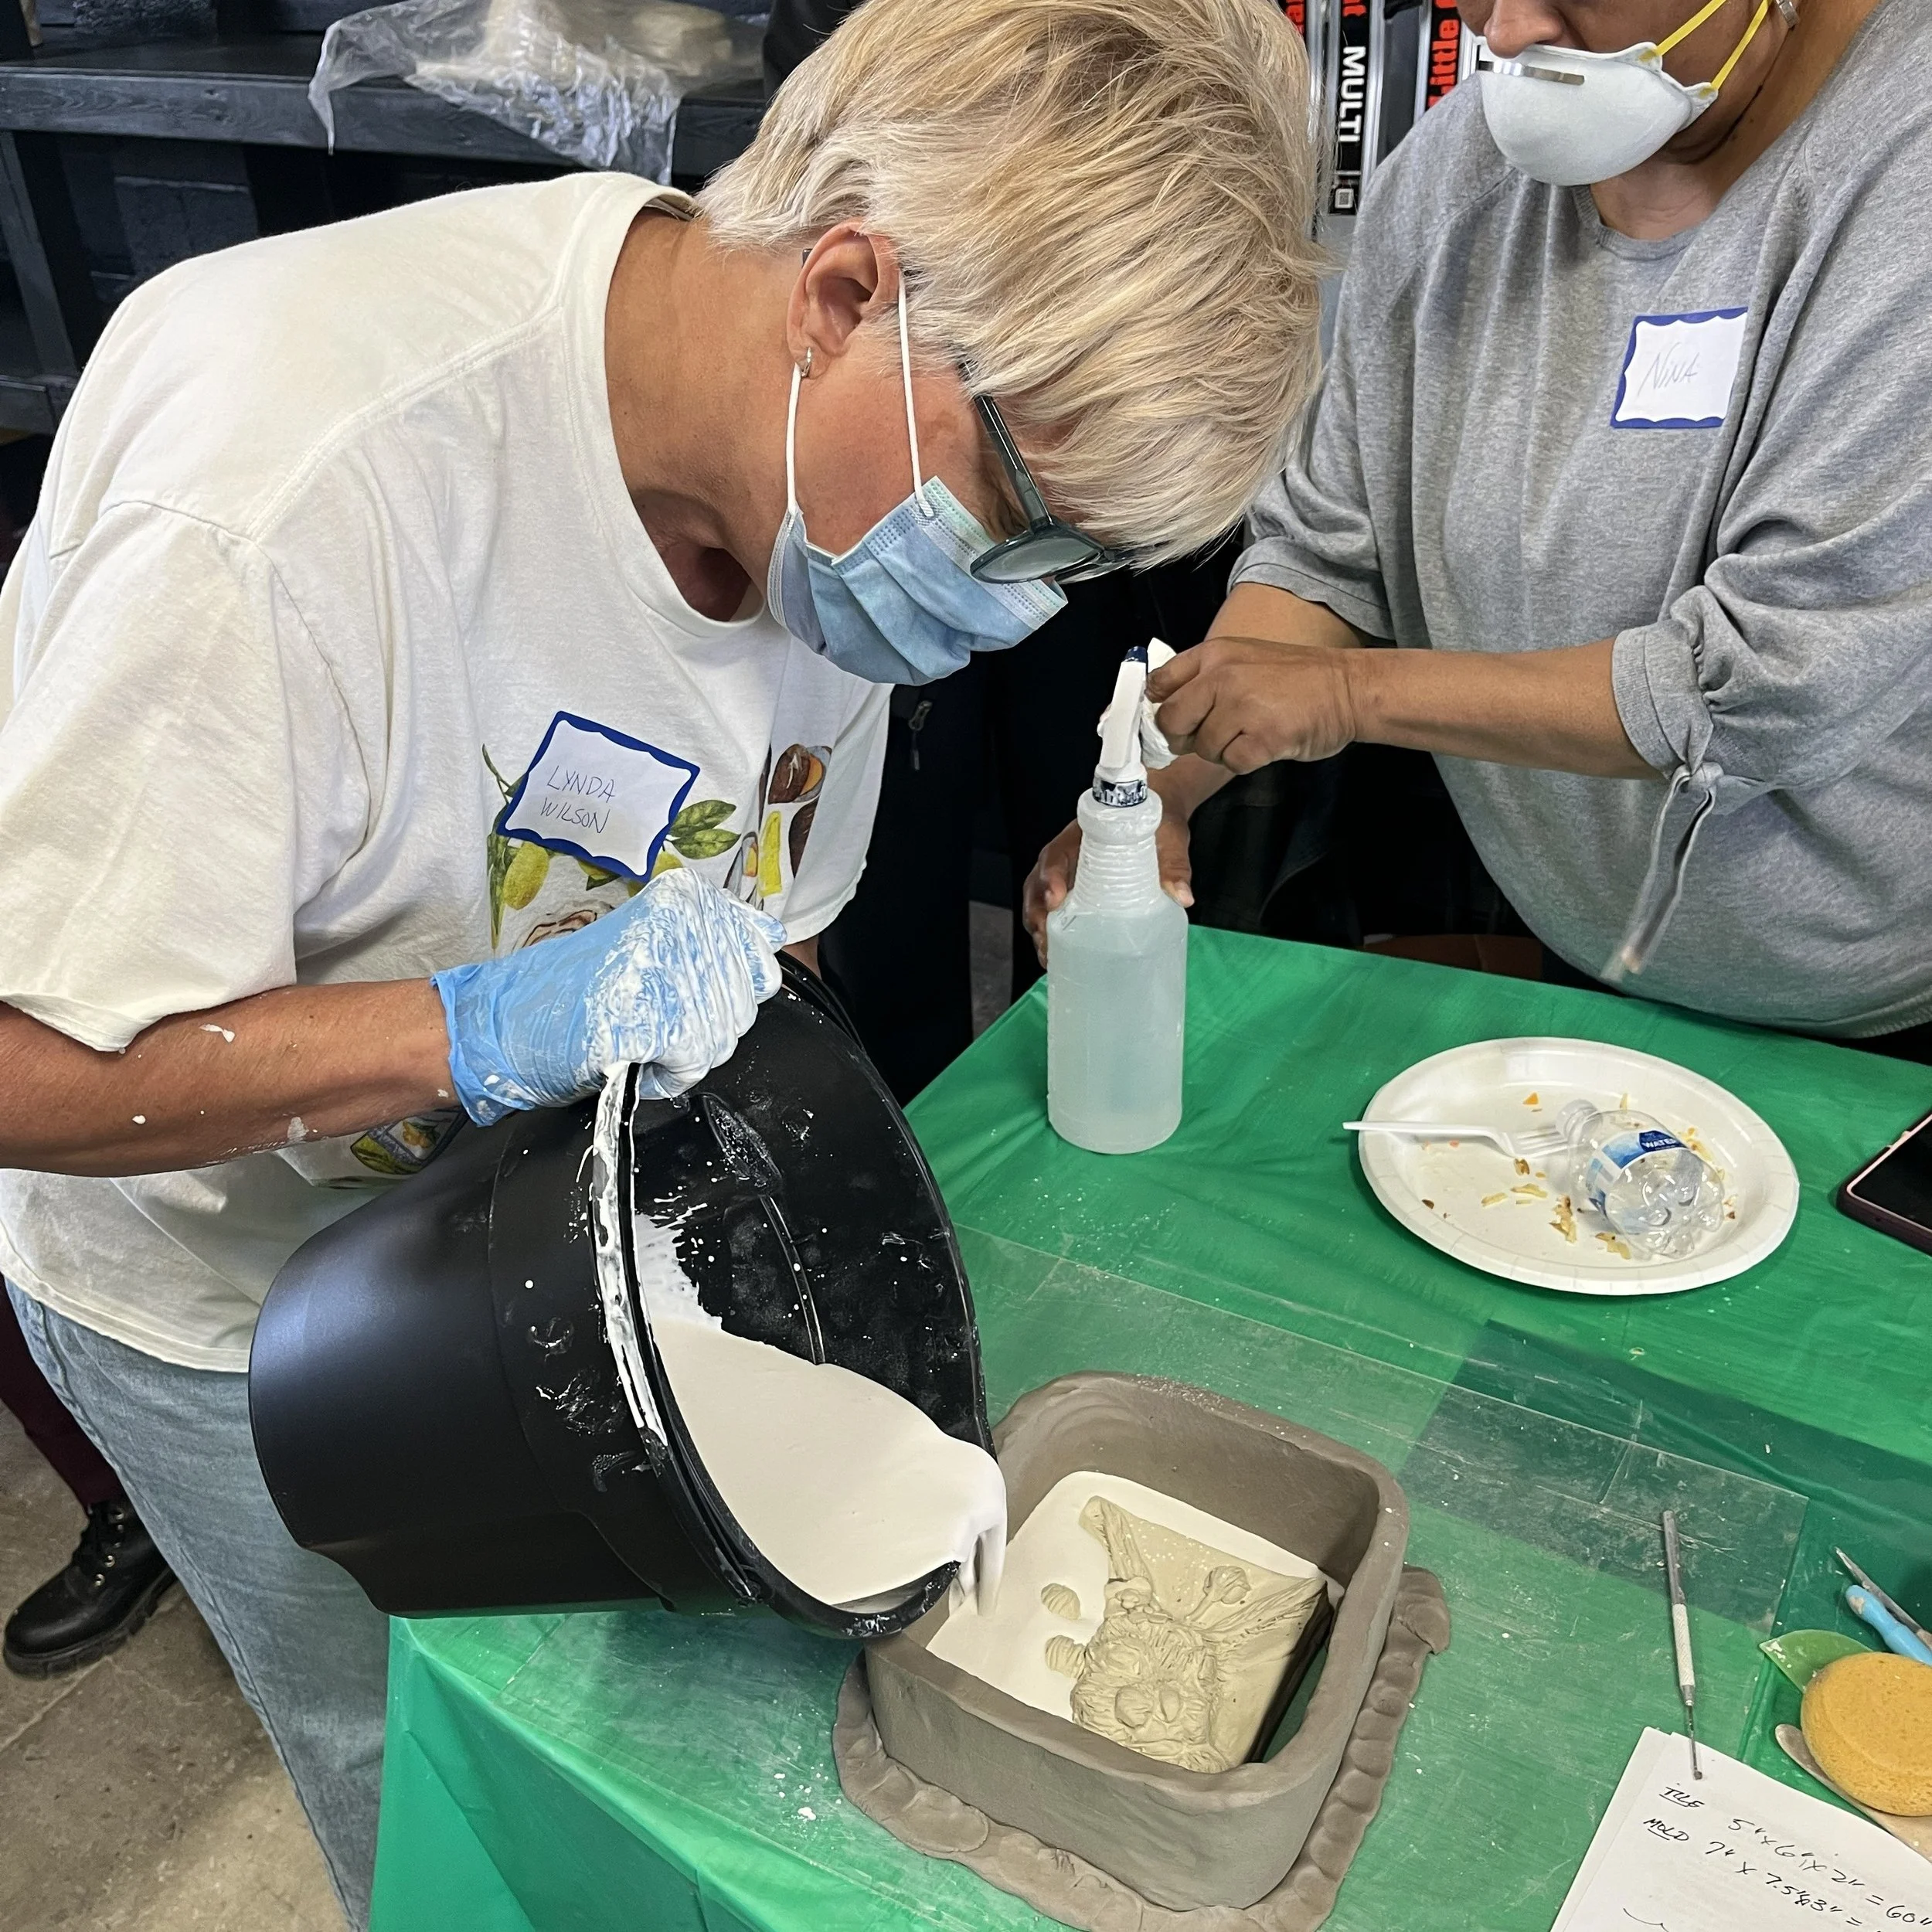
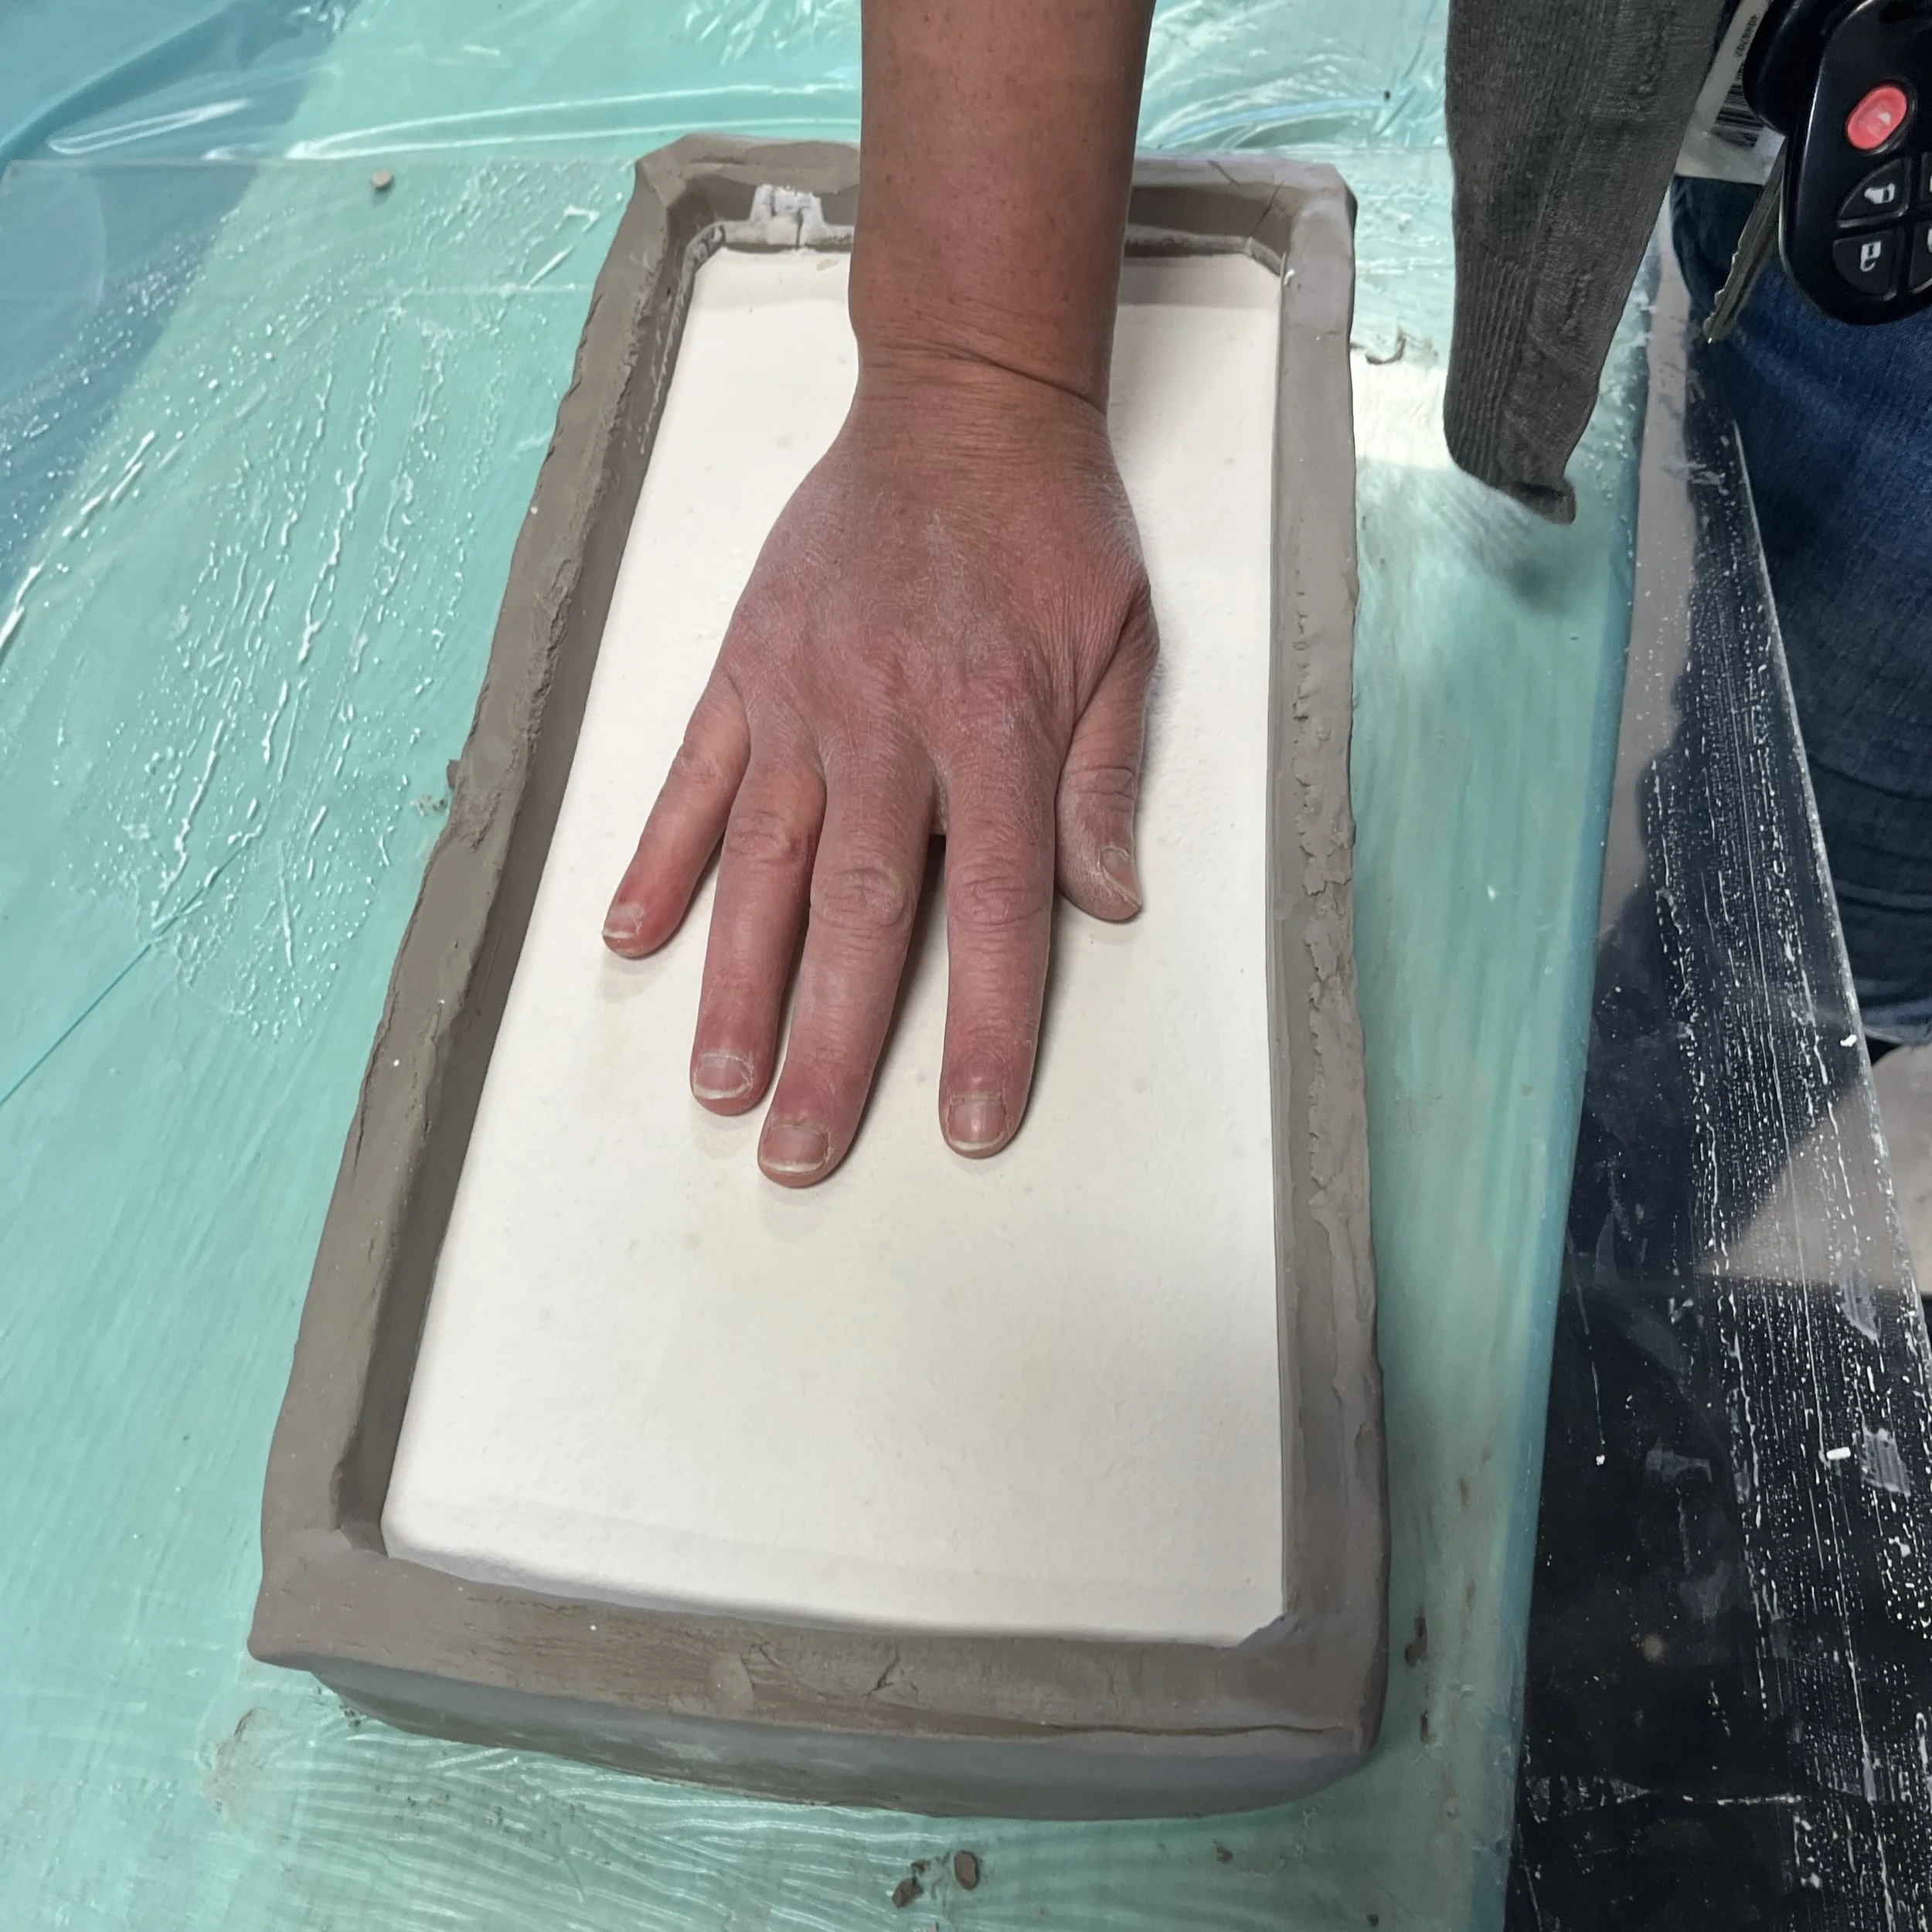
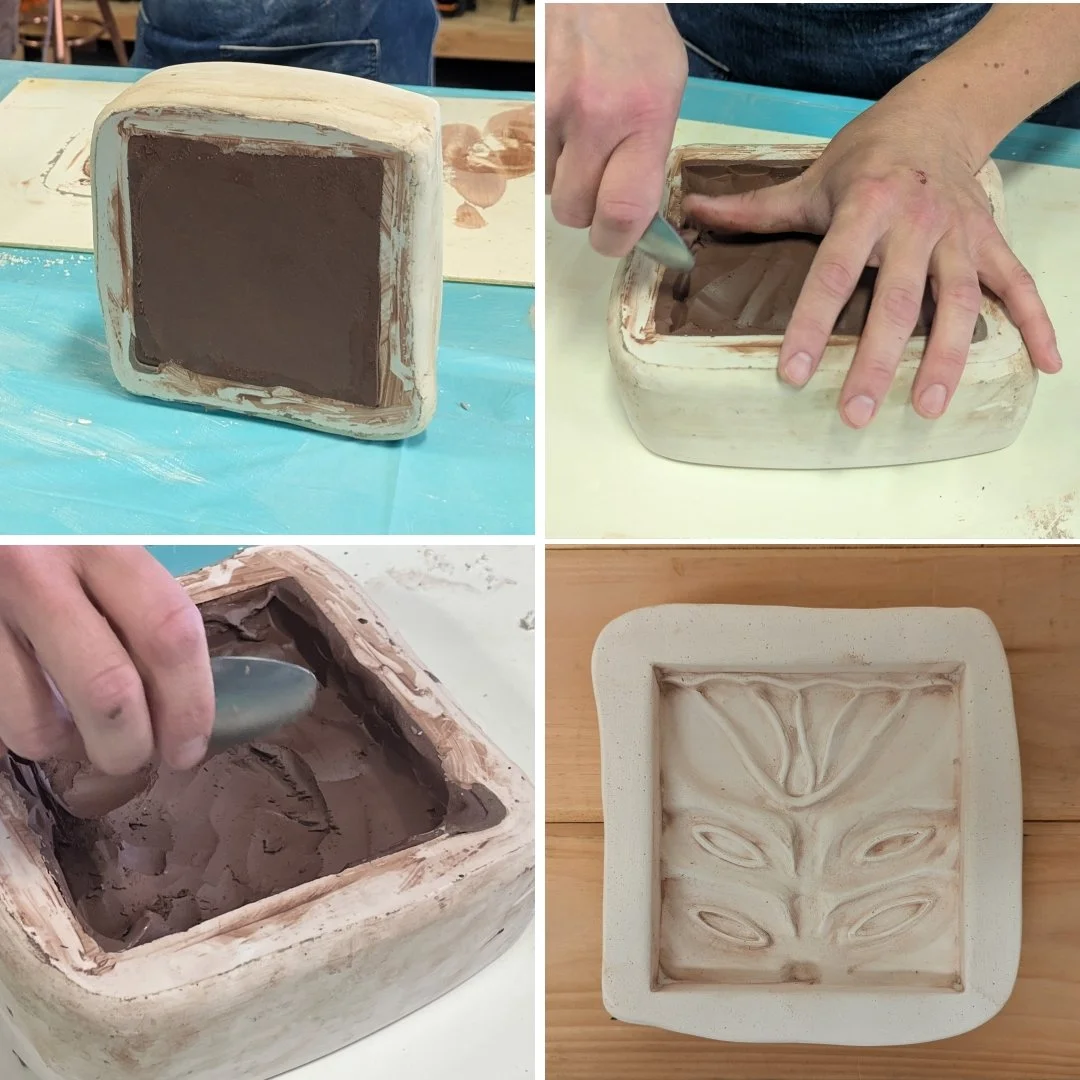
After about an hour, the plaster was set to a point that we could peel off the clay walls and scrape away the tile model. The tile needed to be scraped away carefully so as not to damage the underlying plaster. In many cases, after scraping down a corner of clay the rest of the tile could be gently peeled away. For silicone models, lightly spraying the surface with a releasing agent prior to pouring the plaster can be helpful. Once the clay was removed, cleaning up the mold was a matter of personal preference. As mentioned above, surform tools and scrubby pads were used to smooth the outer walls, and additional carving could be added to the interior design. A soft sponge can help smooth the design.
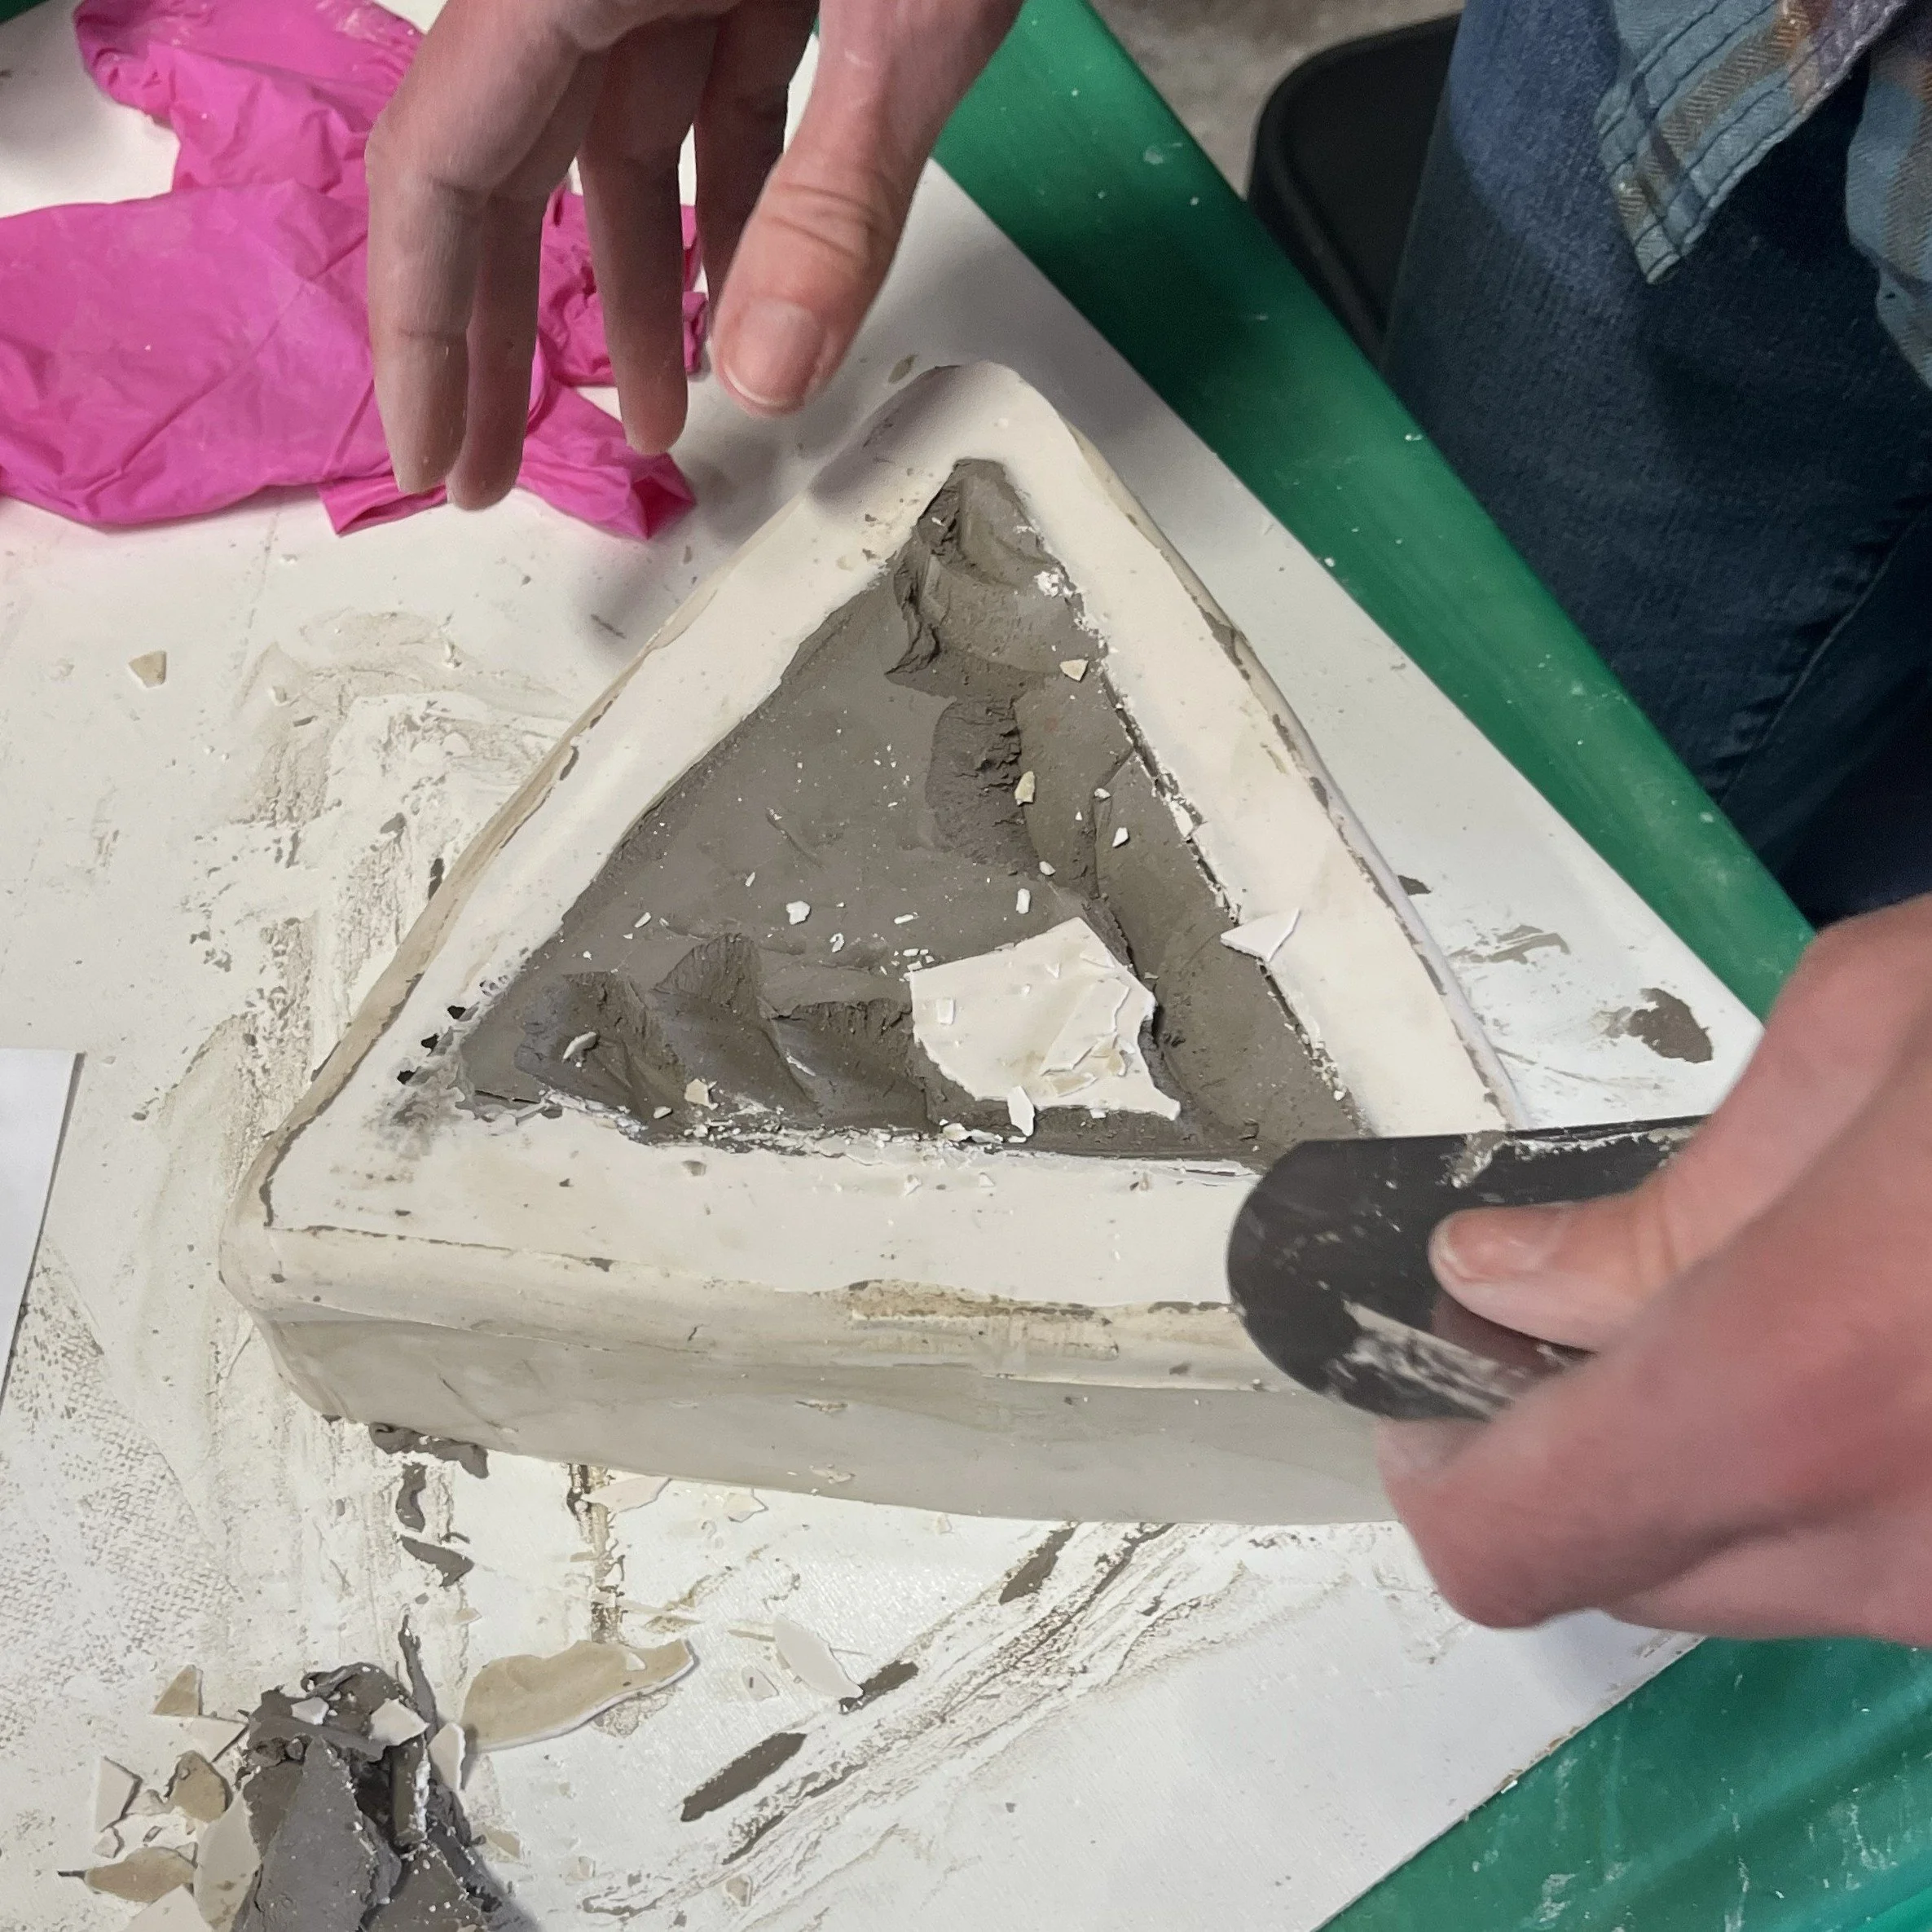
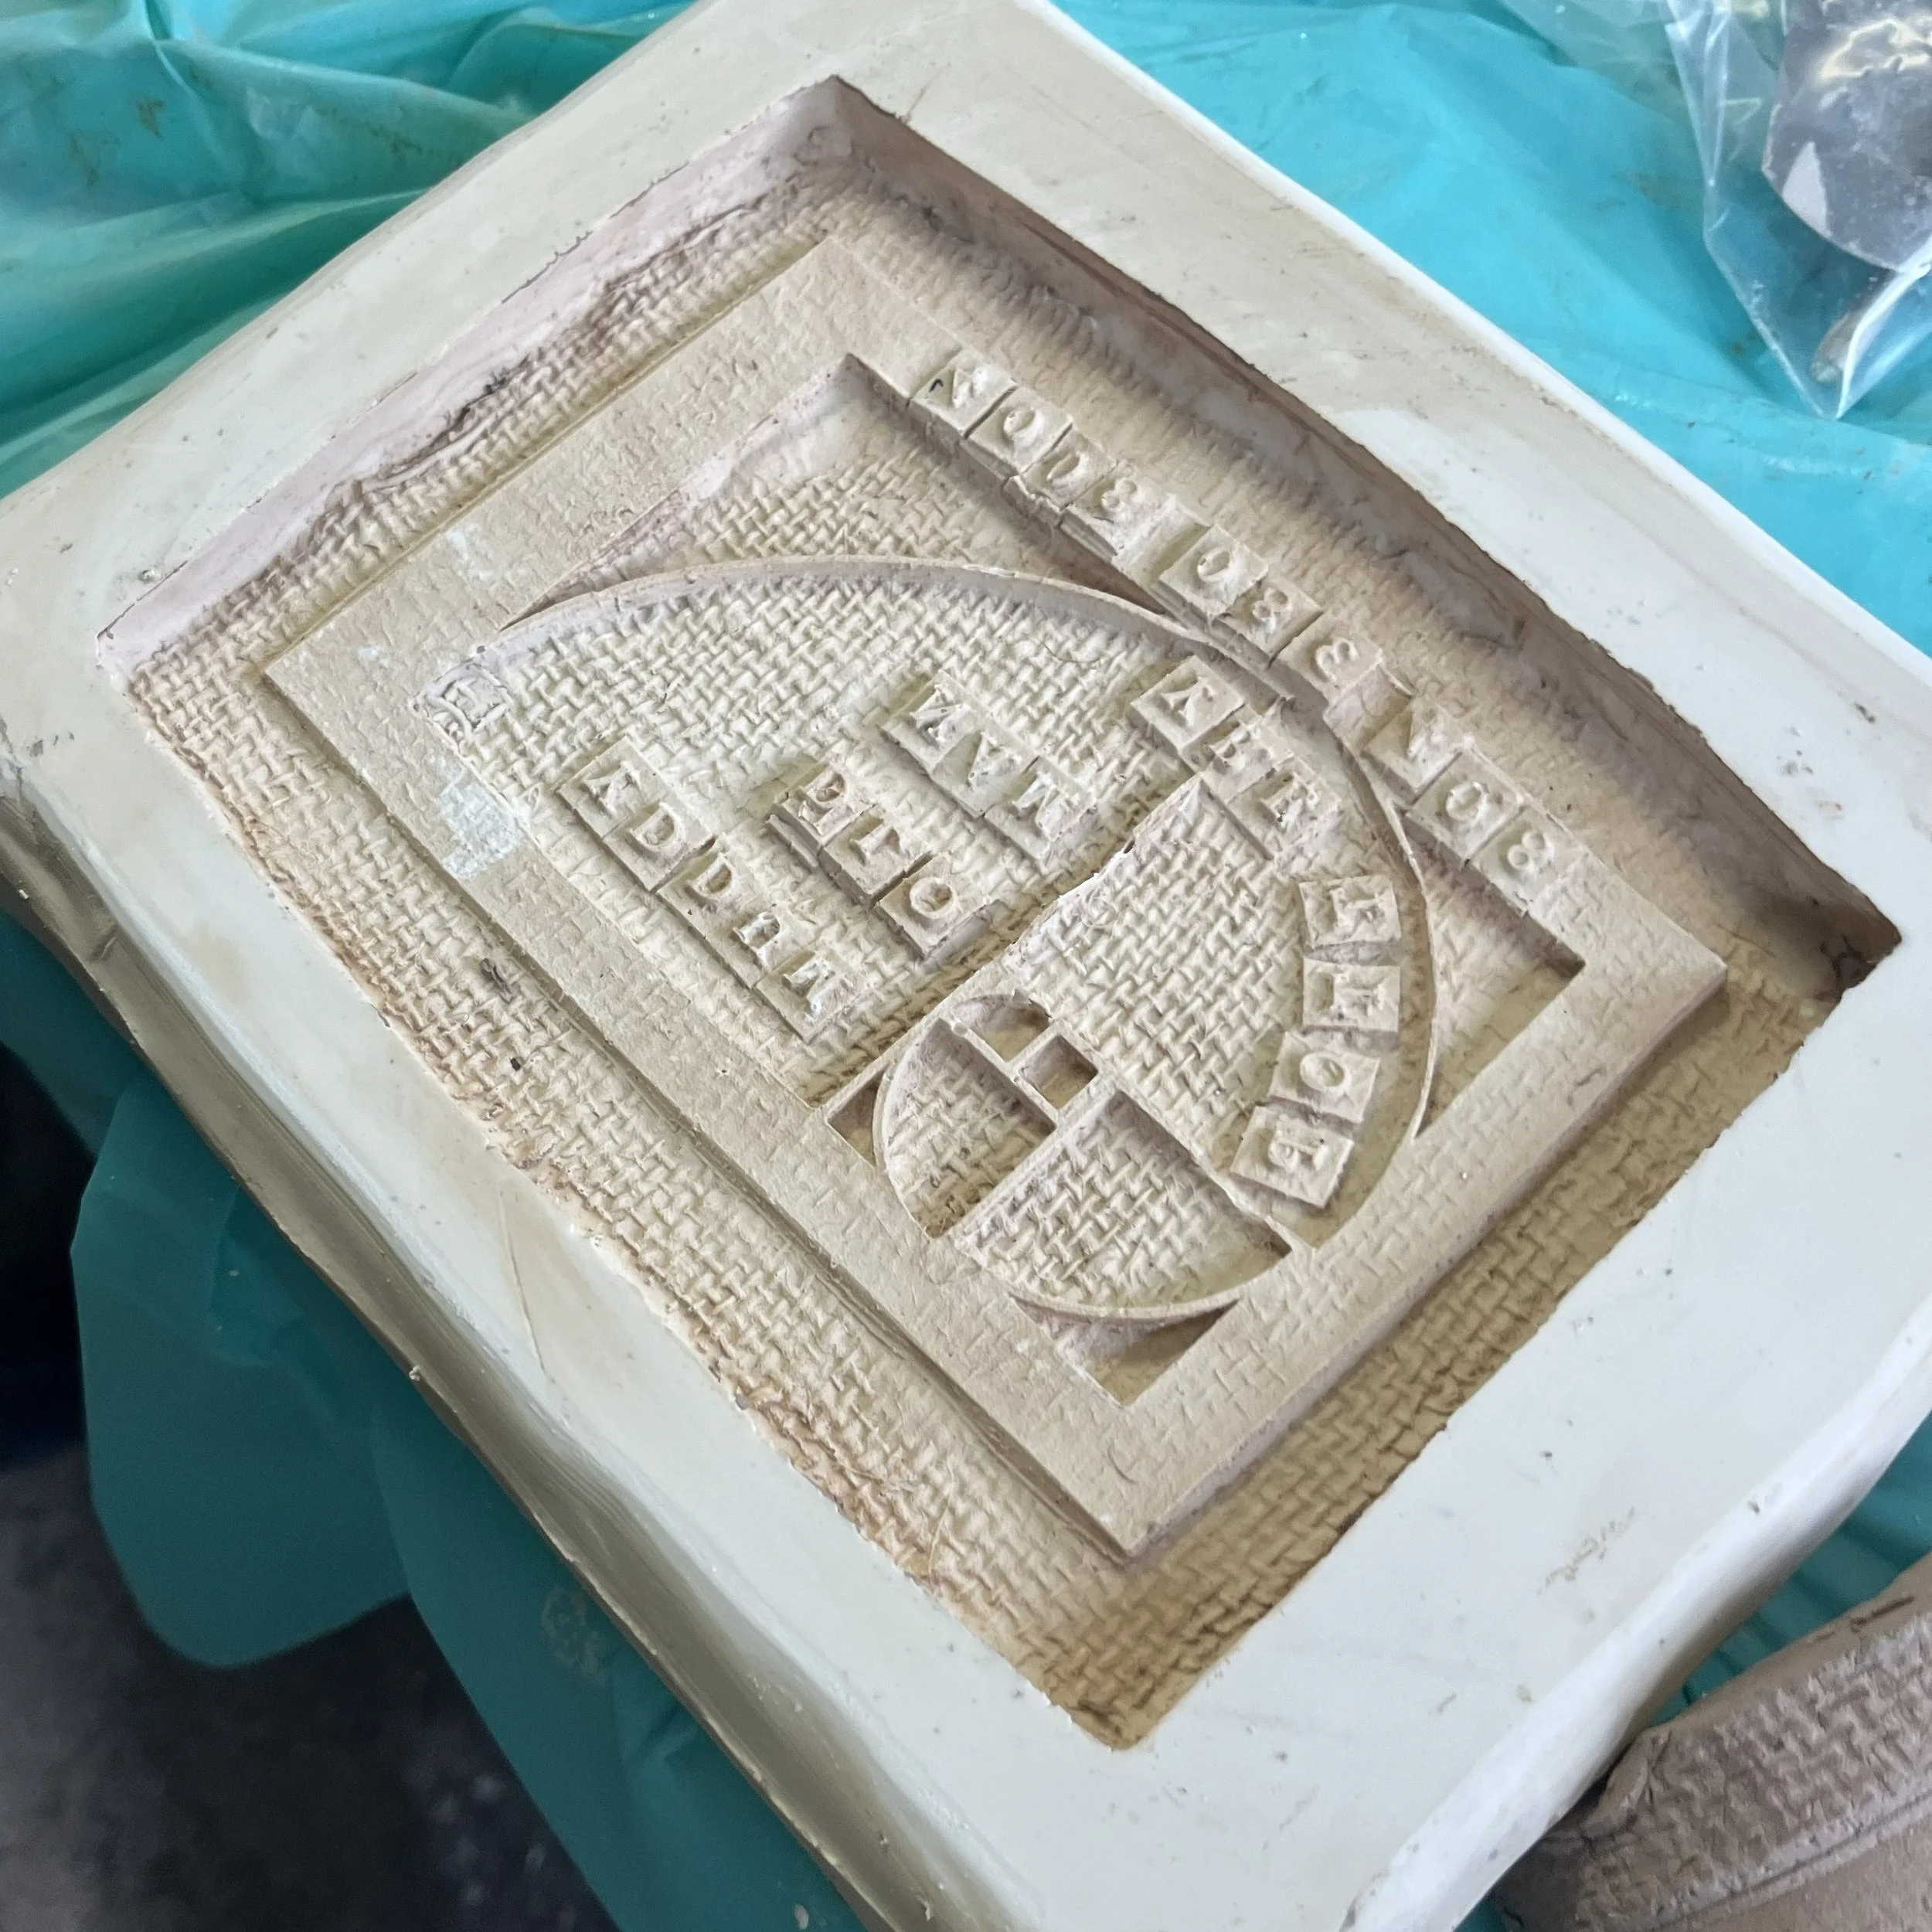
Throughout the workshop, Dara emphasized the importance of keeping clay tools separated from plaster tools to prevent “lime popping” in fired pieces. If plaster is mixed in with clay, it will dehydrate during firing. After firing, the dehydrated material can absorb water from the atmosphere and the subsequent swelling can cause a fired pot to crack or burst apart. While many factors affect this process, it’s best to avoid the possibility entirely by keeping separate workspaces and tool sets for clay and plaster. The contaminated clay that was used for the walls and tile models can be reused for those same purposes, just make sure to keep it clearly labeled and away from your other clay!
Overall, this workshop was very fun and informative. Dara was a welcoming and knowledgeable instructor. Her demonstrations were clearly explained and easy to follow, and she readily answered all of our questions. Speaking as someone who mainly throws on a wheel, rarely makes matching pots, and has never worked with plaster, I wasn’t sure what I’d get out of this workshop outside of a nice day with some potter friends. I enjoy learning new techniques, but was dubious this was something I’d add to my practice. I was pleasantly surprised to find that I really enjoyed the whole process, and my drive home was spent pondering a new world of projects.
-Zenah