
Tool Talk: Part 1
When I first started throwing pots I didn’t have ready access to a wide variety of tools. The local art store sold the standard beginner’s kit, the community studio offered little more beyond that, and internet shopping wasn’t really a thing. I’m sure there were benefits to the limited selection - probably helped me develop some good skills and encouraged creative repurposing of random objects into tools - but I sure do enjoy the abundance of pottery tools that exists these days. I’m someone who’s constantly experimenting and wanting to try new things so I keep an eye out for interesting offerings. Settling on favorite pottery tools is a personal process based on many factors. Is it useful for the type of work you make? Is it worth the cost? One person’s recommendations won’t suit everyone, but if you’re stuck in choice paralysis from the overwhelming options, trying to decide if an expensive purchase is worthwhile, or perhaps gift shopping for your favorite potter, maybe this will help. I’ve optimistically titled this Part 1 because there’s so much more to add, and I hope others will want to join in on sharing their favorite and essential tools.
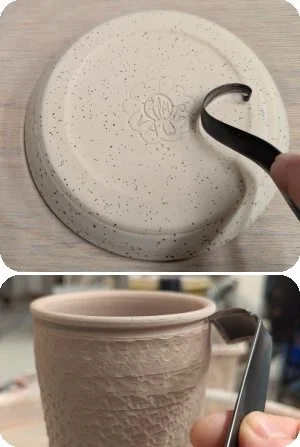
Mudtools Do-All Trim Tool
The Mudtools Do-All Trim Tool has become my go-to for basic trimming. One end is curved, ending in a small curl, while the other end is shaped like a small spade. Overall that means you have straight edges, sharp corners, and various size curves all in one tool. I like the curved end for trimming wide flat areas, like across the bottom of a pot or down the side walls. The spade end is good for trimming feet and sharp angles.
The edges can be sharpened, and Mudtools provides some how-to advice on their website. I’ve been using my Do-All for a few years now, but haven’t yet felt the need to sharpen it.
At $25 this is a little more expensive than a basic trimming tool, but quite affordable for a strong tool that offers multiple applications. I’ve tried only one fancy brand expensive trimming tool and it felt flimsy and less versatile compared to the Do-All.
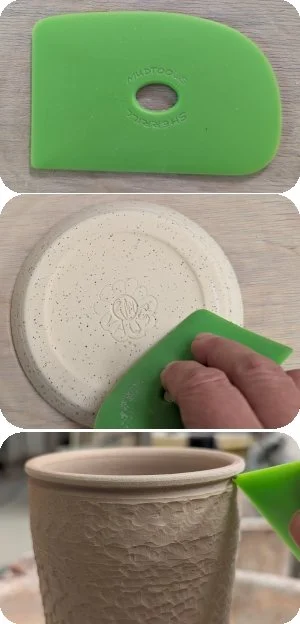
Mudtools Polymer Ribs
Mudtools also makes a fantastic selection of polymer ribs at reasonable prices, ranging from $9-20. They offer several different shapes, with each shape available in color-coded options for varying flexibility.
If I could choose only one it would be Shape 2 with medium flexibility (green) as shown here. Mudtools describes Shape 2 as “…a workhorse for throwing, smoothing and compressing” and it truly does all that. The size and variety of edges – straight and curved – are practical for working on a wide range or projects. I’m partial to the medium flexibility which allows just enough give without being too floppy.
This rib is not only great for shaping pots while throwing, but also while trimming. The edges are honed enough that when angled properly you can shave off a thin layer of clay, and the rib sides are smooth enough to be used for burnishing. After initial trimming, I’ll use the rib – gently shifting from edge to side - to refine the shape as needed and finish with a smooth surface. These pictures show how the rib would be used during trimming to smooth the bottom of a small plate along with the edge of the shallow foot, and to help shape and smooth the sharp edge of a beaded rim.
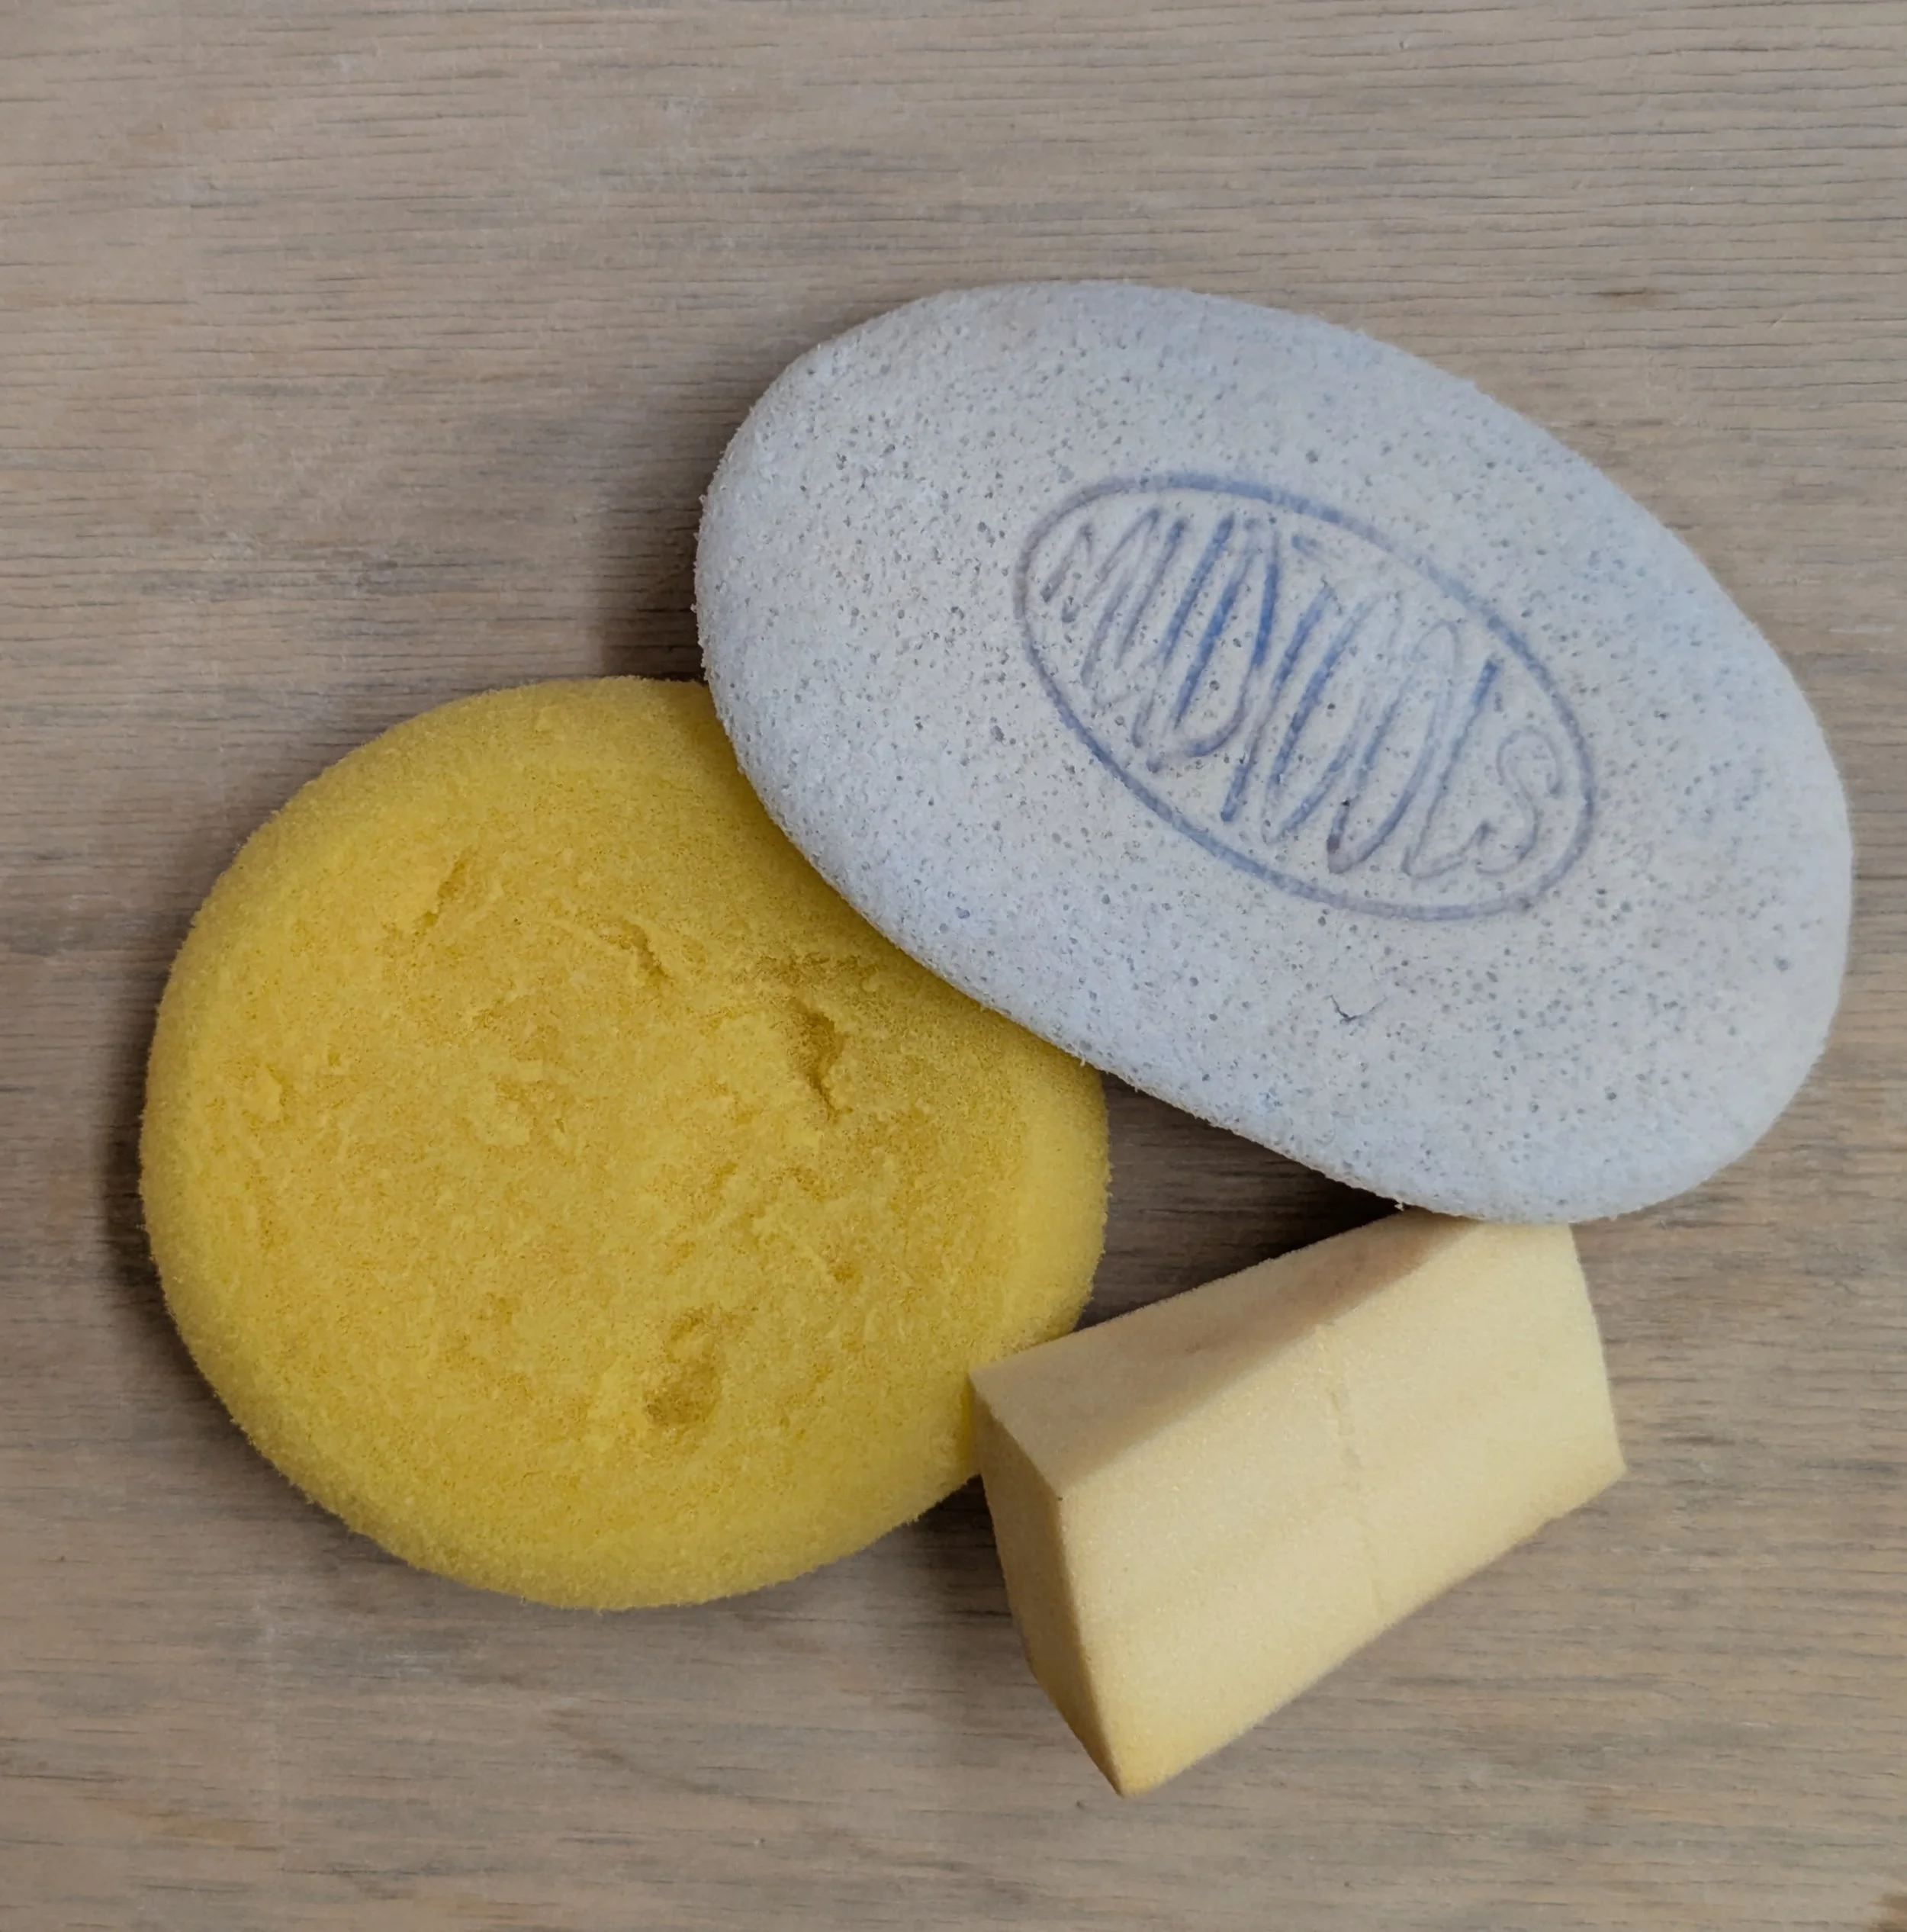
Sponges
For the most part I’m perfectly content using a classic round yellow sponge, they’re adequate and inexpensive. I use them for throwing, applying wax, applying glaze, wiping off glaze - pretty much if I need a sponge that’s what I’m using. I also use small make-up wedges specifically for handle joins. Their shape and texture make them great for cleaning up slip and leaving a smooth surface. Until recently I didn’t understood why anyone would pay several dollars for a single sponge, but then a potter friend prodded me into buying a Mudtools Mudsponge and now I get it! There are certain applications where the Mudsponge is so much more effective.
I do a lot of design work that involves wiping excess glaze off bisque or glaze drips off wax resist. In both cases this usually requires multiple passes with the yellow sponge. With the Mudsponge, one or two swipes and I’m done - less work for a better result, which also means less likelihood of messing up the designs due to repeatedly wiping over the piece. I’m happy with how well it’s held up for the amount it’s been used, but I’m inclined to save it for when it really makes a difference. I’ll continue using my trusty yellow sponge for most purposes, and even prefer it for some things (like sponging on a light layer of glaze), but for $8 the Mudsponge was a welcome addition to my toolbox.
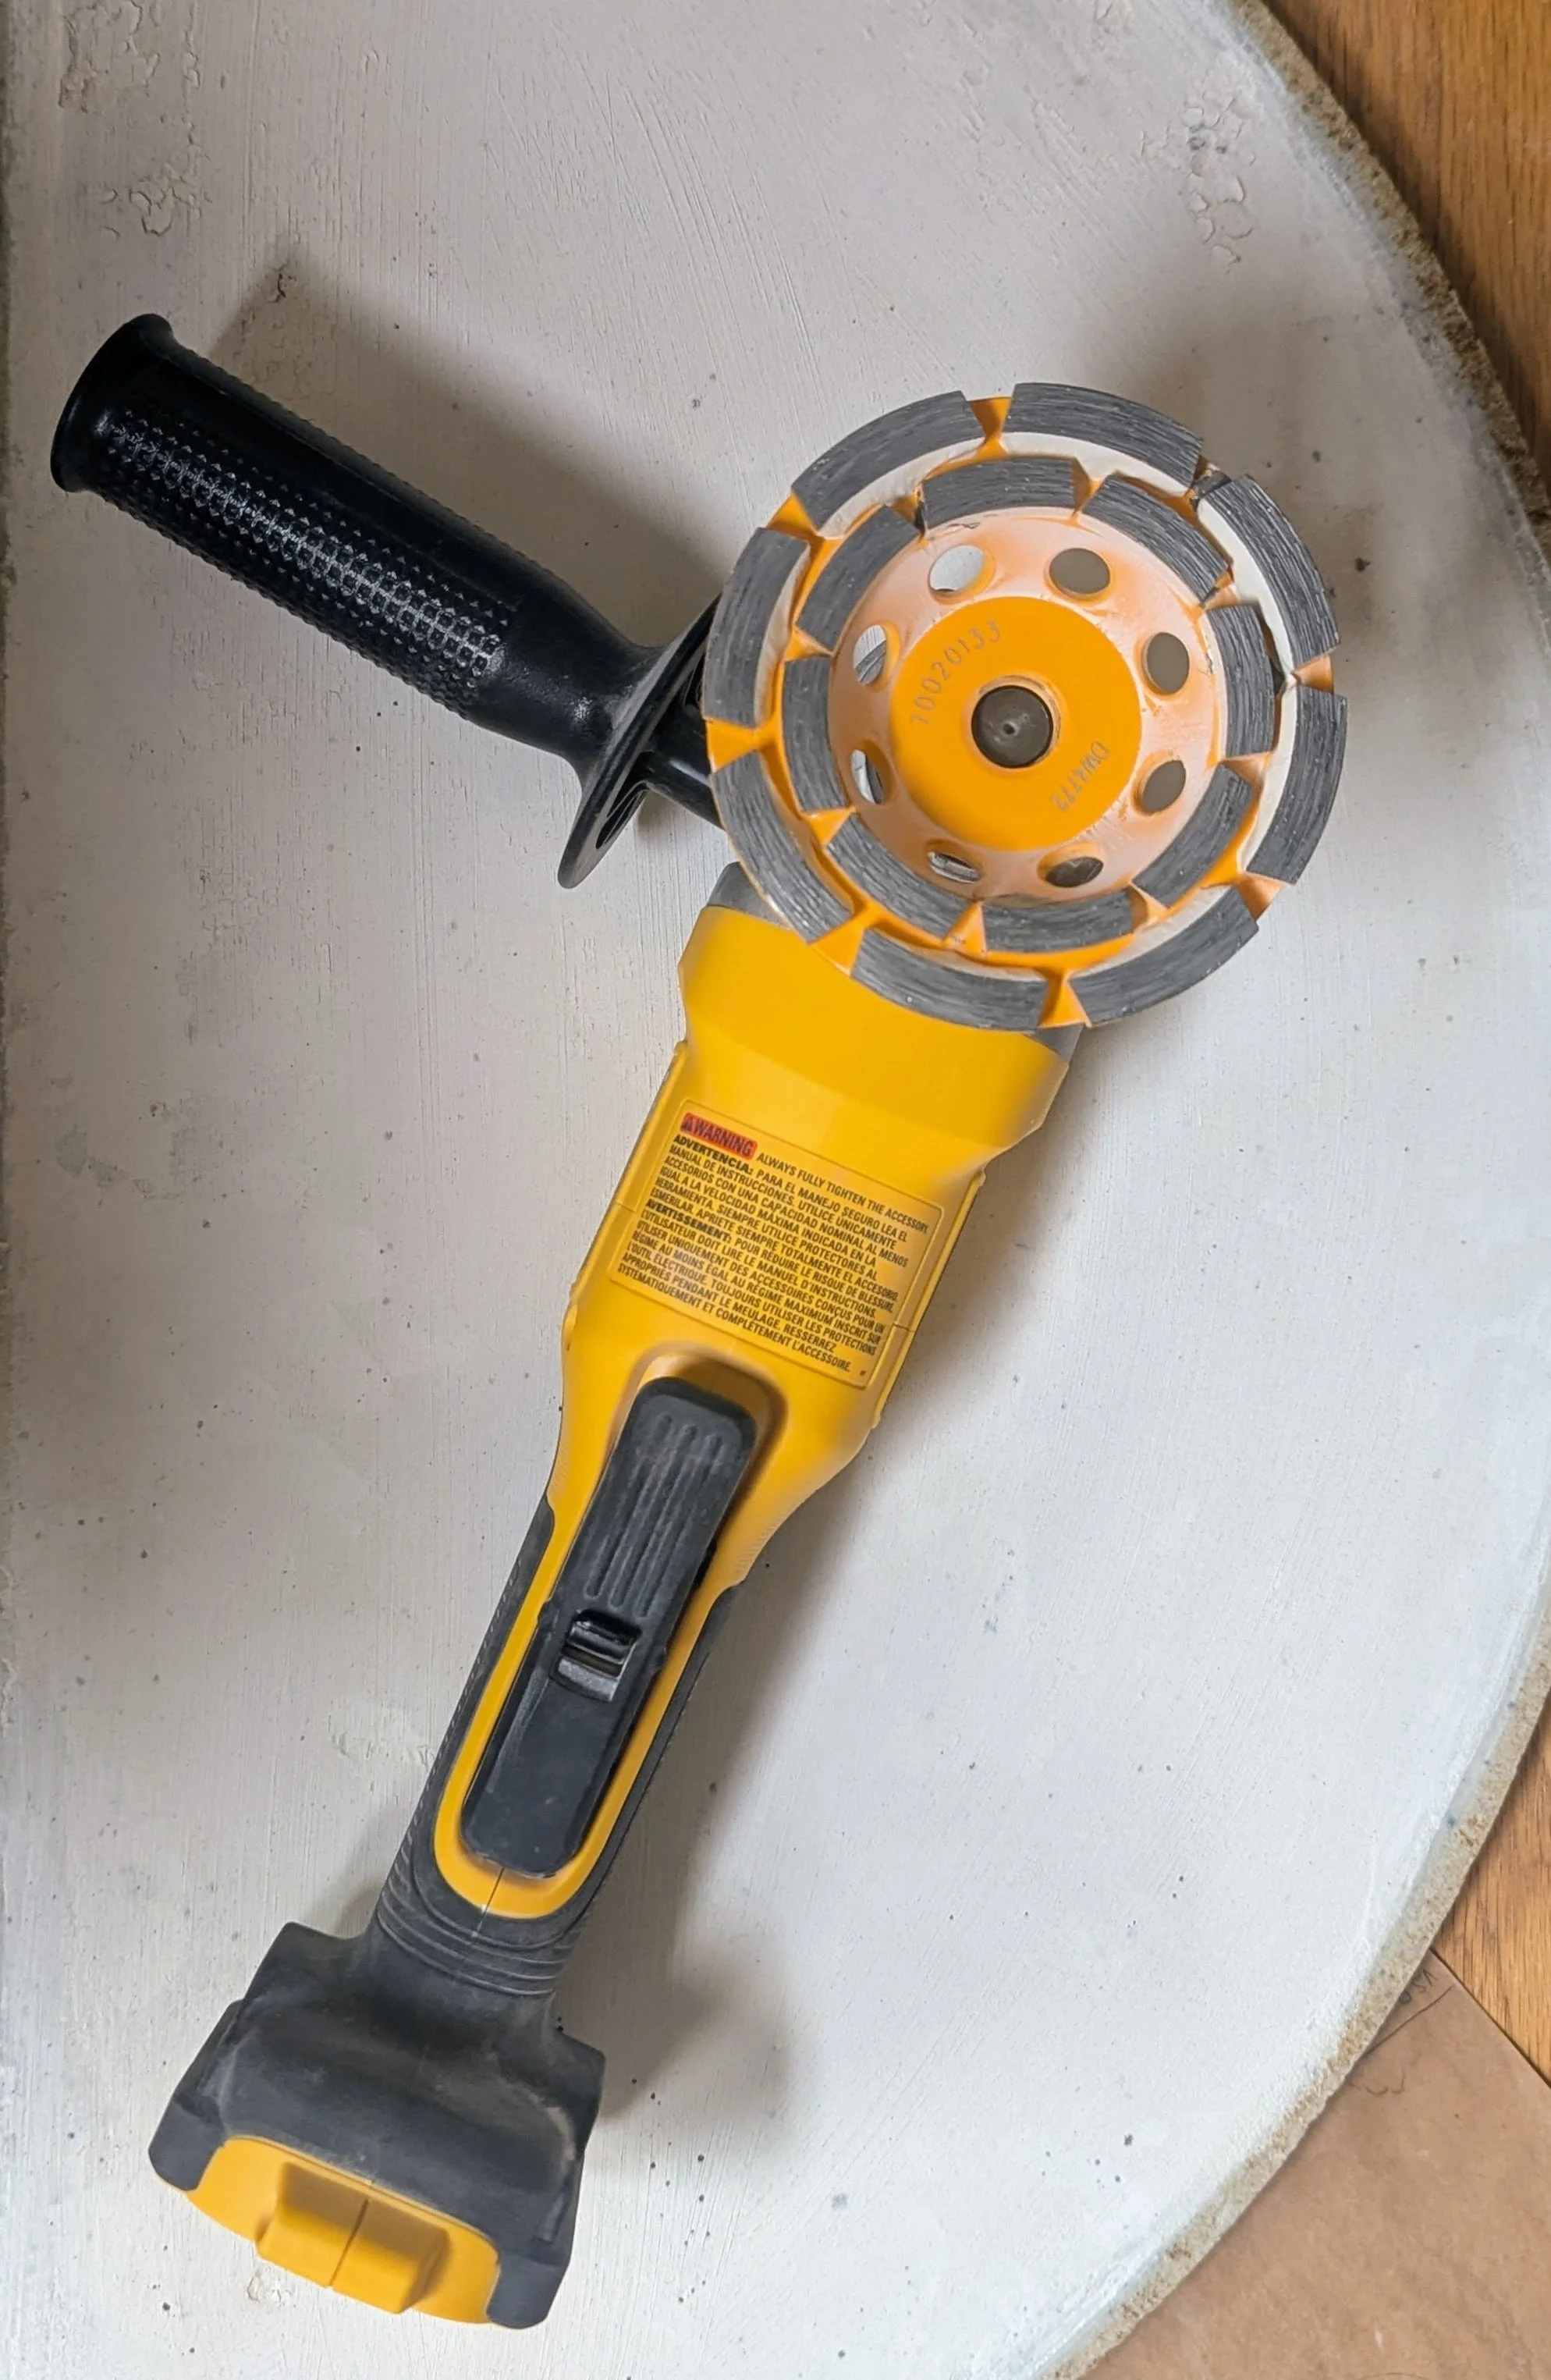
Angle Grinder
This is the tool I should have bought years ago. I regret the many hours I spent tediously scraping away at shelves because I was reluctant to spend the money on an angle grinder. Not to mention I should have cleaned my shelves more frequently, but it was so annoying and time-consuming I’d routinely procrastinate with “just one more firing”. This seems like an essential item if you own a kiln and use kiln wash on the shelves. I bought a DeWalt because it was on sale and we already had the rechargeable battery. I couldn’t find recommendations regarding the different diamond cup grinding wheels - double row (rough leveling) vs turbo (smooth finish) - so opted for a double-row cup and it’s been great. It took me about 1 hour to thoroughly clean 1 26” full shelf, 4 26” half shelves, and 3 16” full shelves. The angle grinder is aggressive and needs to be used carefully - you don’t want to hurt yourself or the shelves - but overall I was pleasantly surprised at how easy it is to use and how quickly it got the job done.
Kemper Wire Stylus
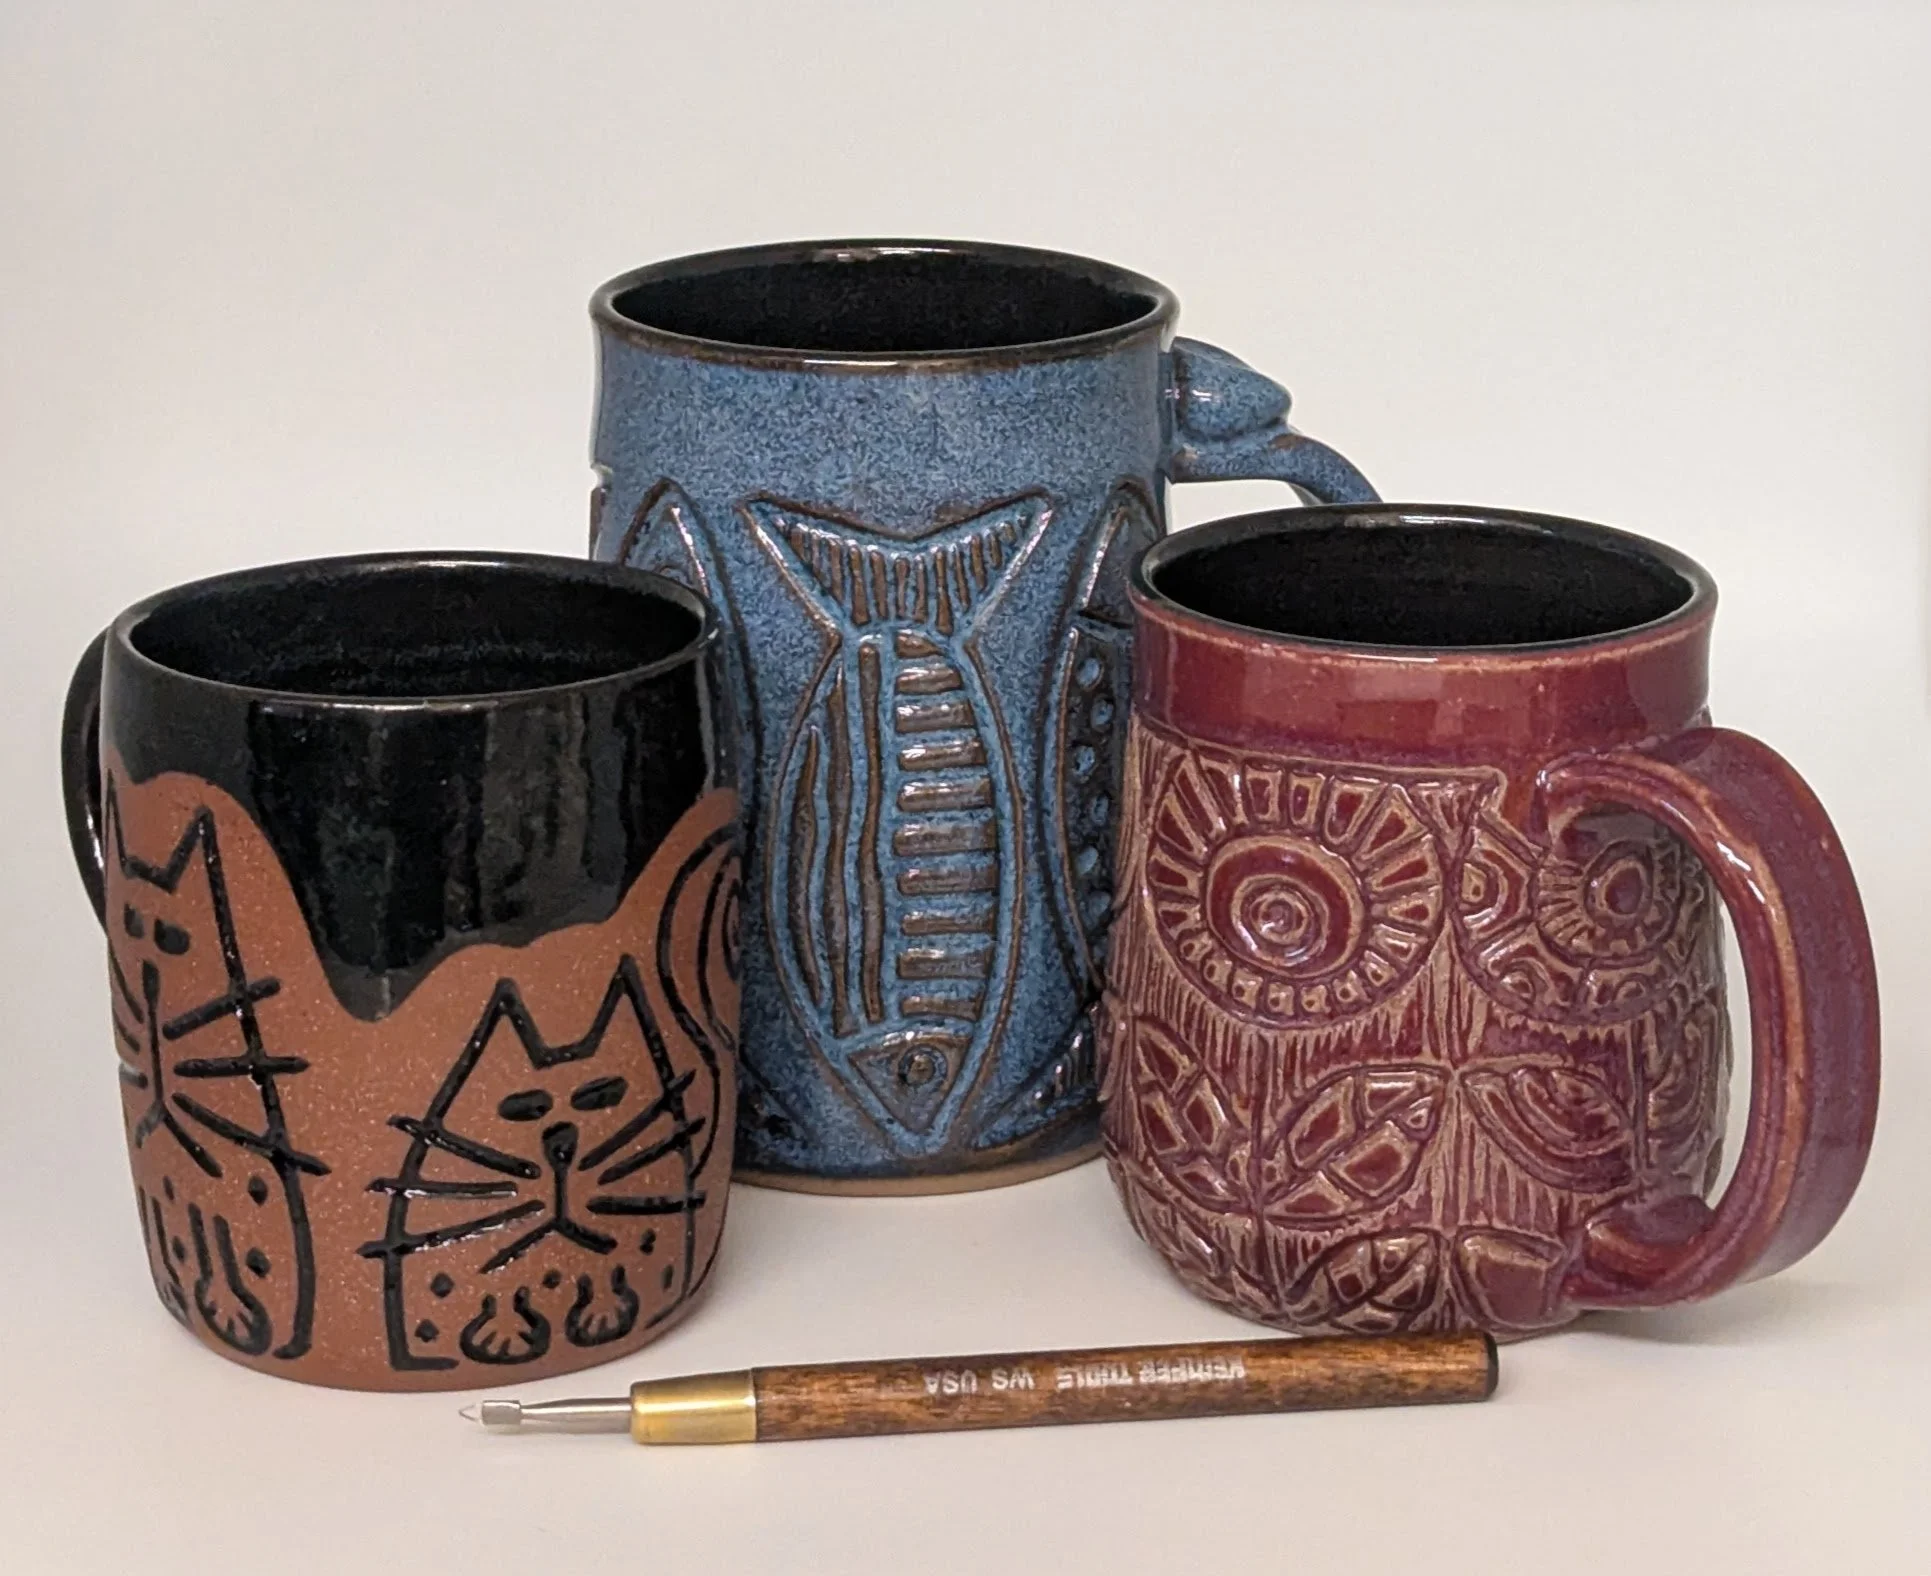
I’ve tried a lot of different carving tools which has been easy to justify since almost all of them get thoroughly put to use, and also I accept that discovering treasures means ending up with a few duds. I’ve tried some of the popular expensive brands, they’re nice, but I’ve found most of my work can be achieved just as well with basic carving tools that are not only a fraction of the price but also tend to hold up better. My most used carving tool is the Kemper wire stylus, as seen here with carvings created using this tool.
The thin wire loop is ~3 mm width at the base and ~2.5 mm length from base to pointed tip. It works great for precision carving on leather-hard clay, and is useful for other purposes like delicately scraping away glaze or wax for design touch-ups. The downside of having such a fine wire tip is that these have limited and variable lifespans. I’ve had a few break with little use, but most provide a good amount service for the price. I go through a couple a year, and can usually find them for about $5/piece. I’ll buy 5 - 10 at a time and think of it like a seed packet - a few aren’t going to sprout, but the ones that do provide a bountiful harvest. I’ve searched far and wide for a sturdier product, and have tried many alternatives, but so far have found no better replacement that’s as comfortable to use to achieve the same results.
DiamondCore Finger Brush
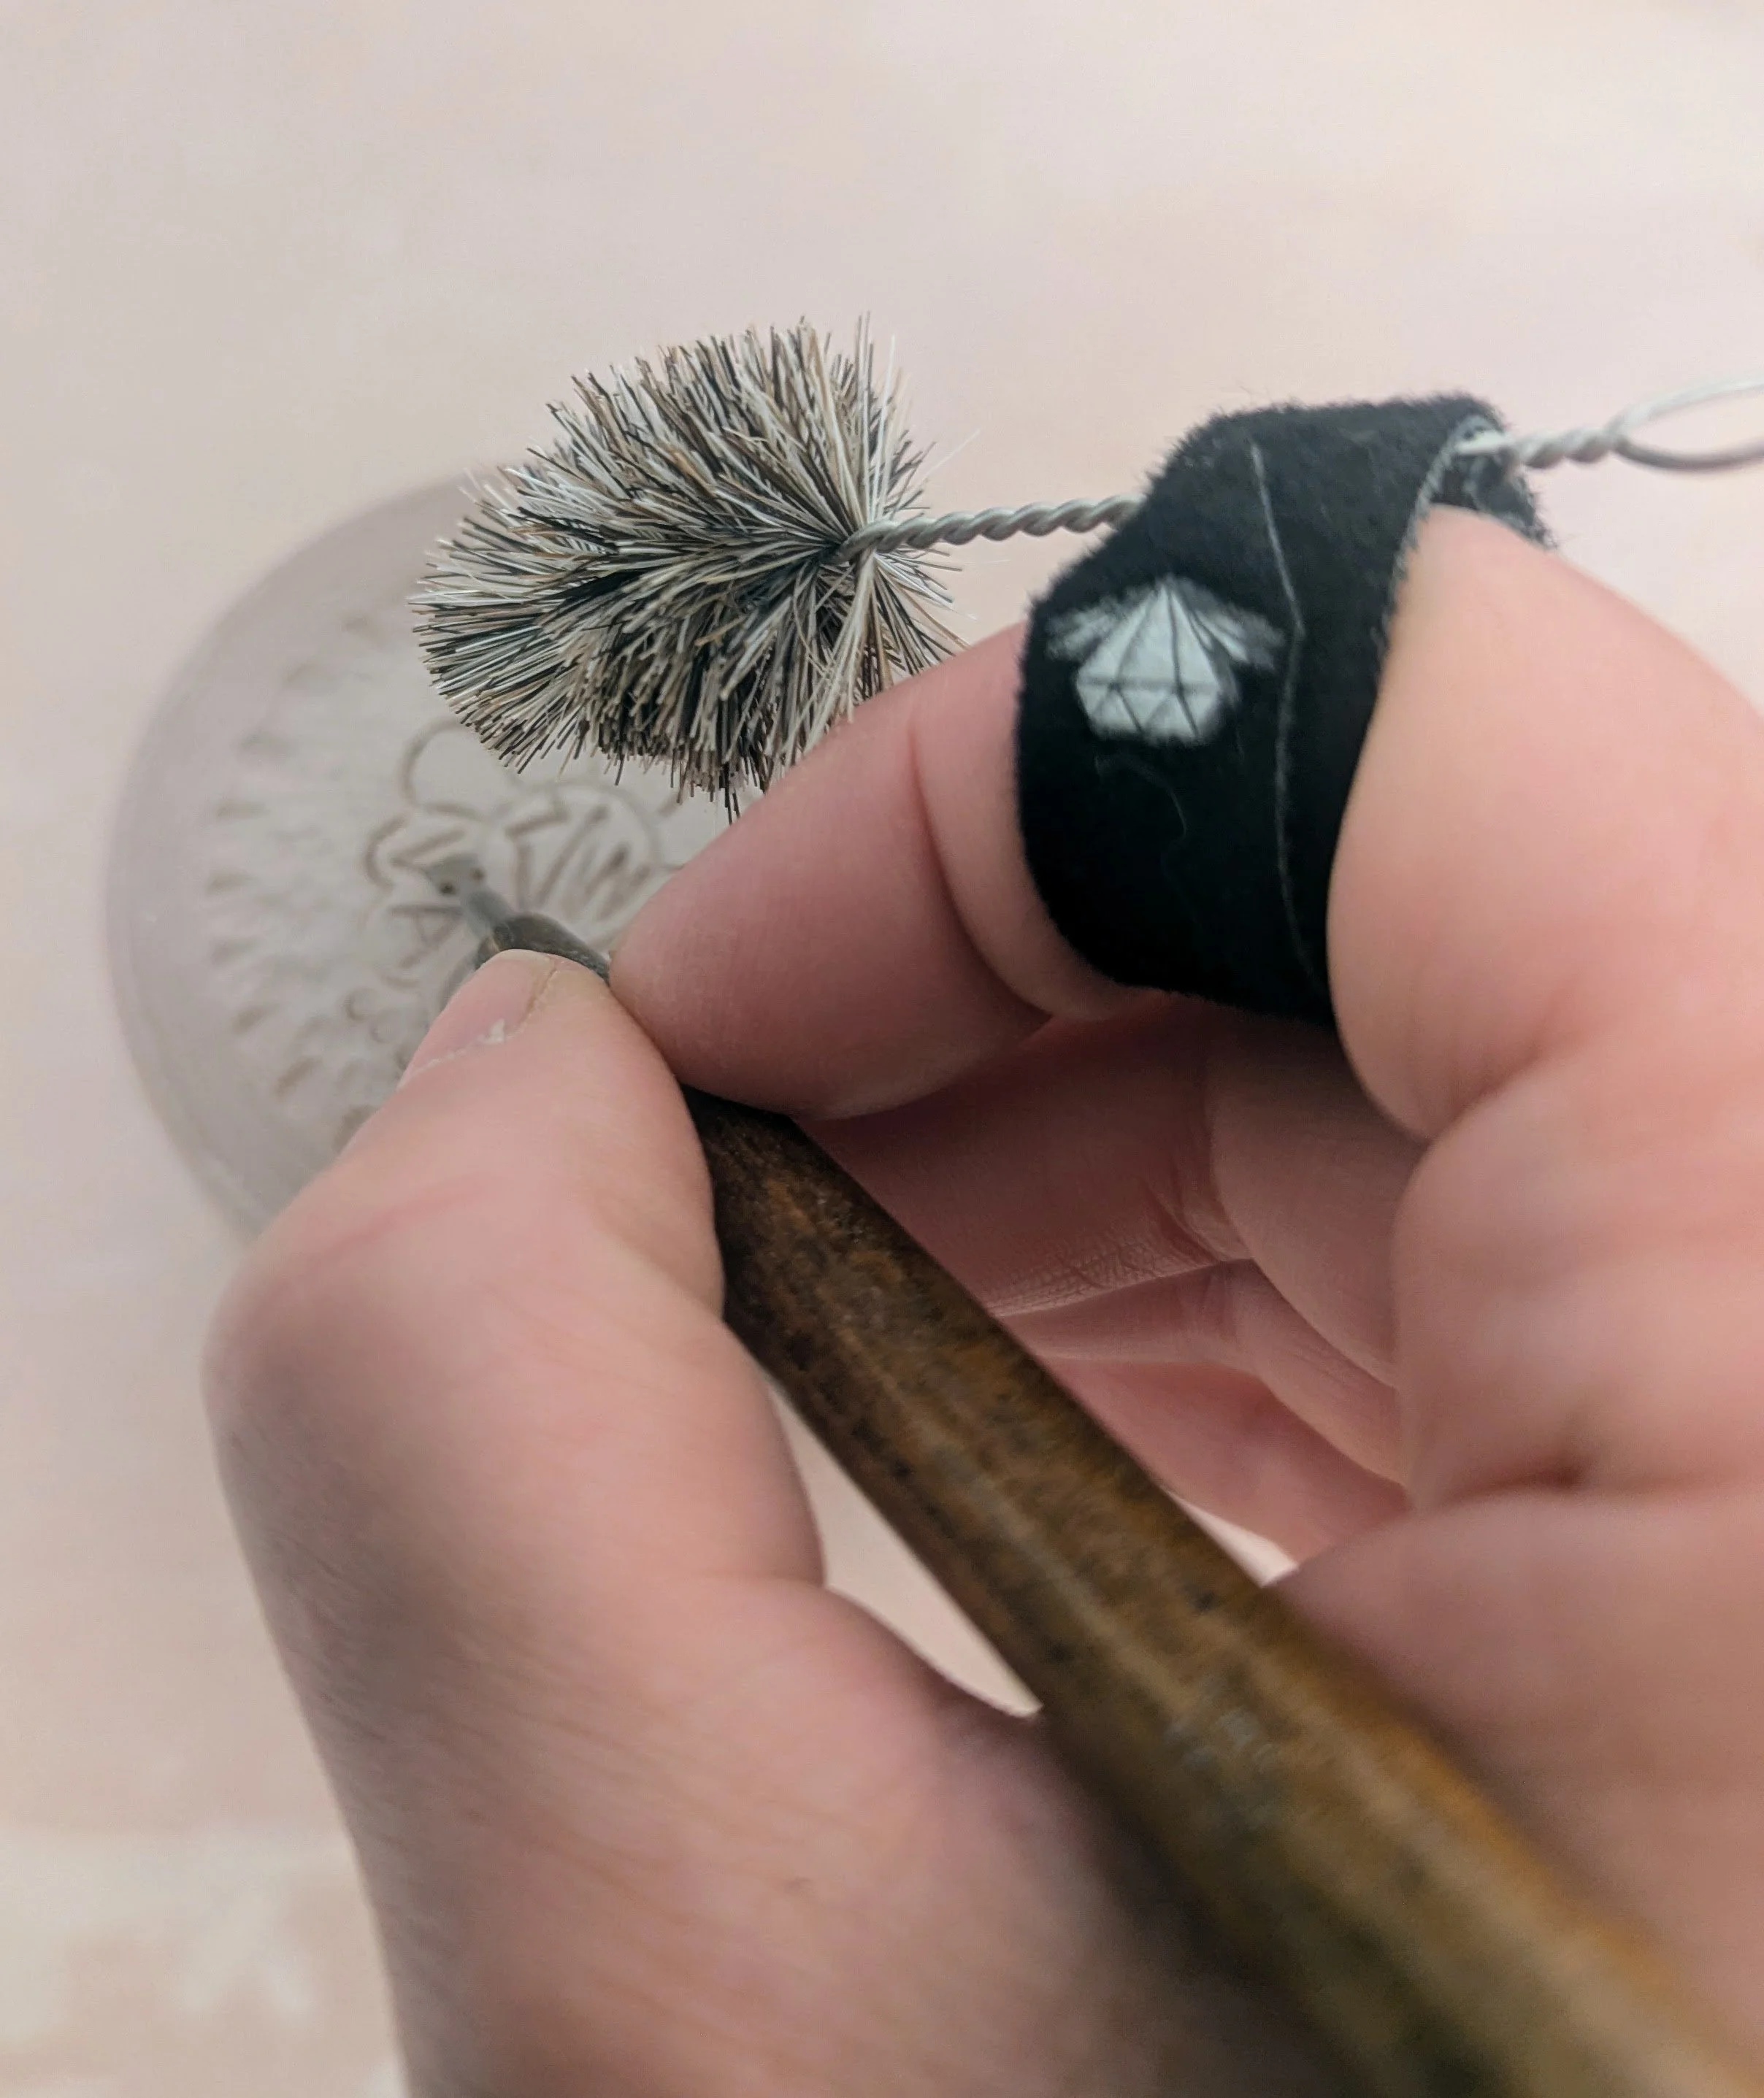
I usually turn away from products that look gimmicky, which was my initial reaction to the DiamondCore Finger Brush, but then I’d be carving a piece and I’d start thinking about how nice that little brush would be, poised for action, ready to sweep away clay crumbs and burrs, and I had to have one. I expect it would be easy enough to make, but my mental math concluded that by the time I found and purchased materials and assembled the brush I might as well buy it. I don’t expect I’ll need to replace them anytime soon so at $8/brush it’s a small expense for the long-haul. They offer three bristle options (rough, medium, and fine), with a small discount if you buy the set. I recommend the medium bristle as the best all-purpose option.
DiamondCore Sandpaper
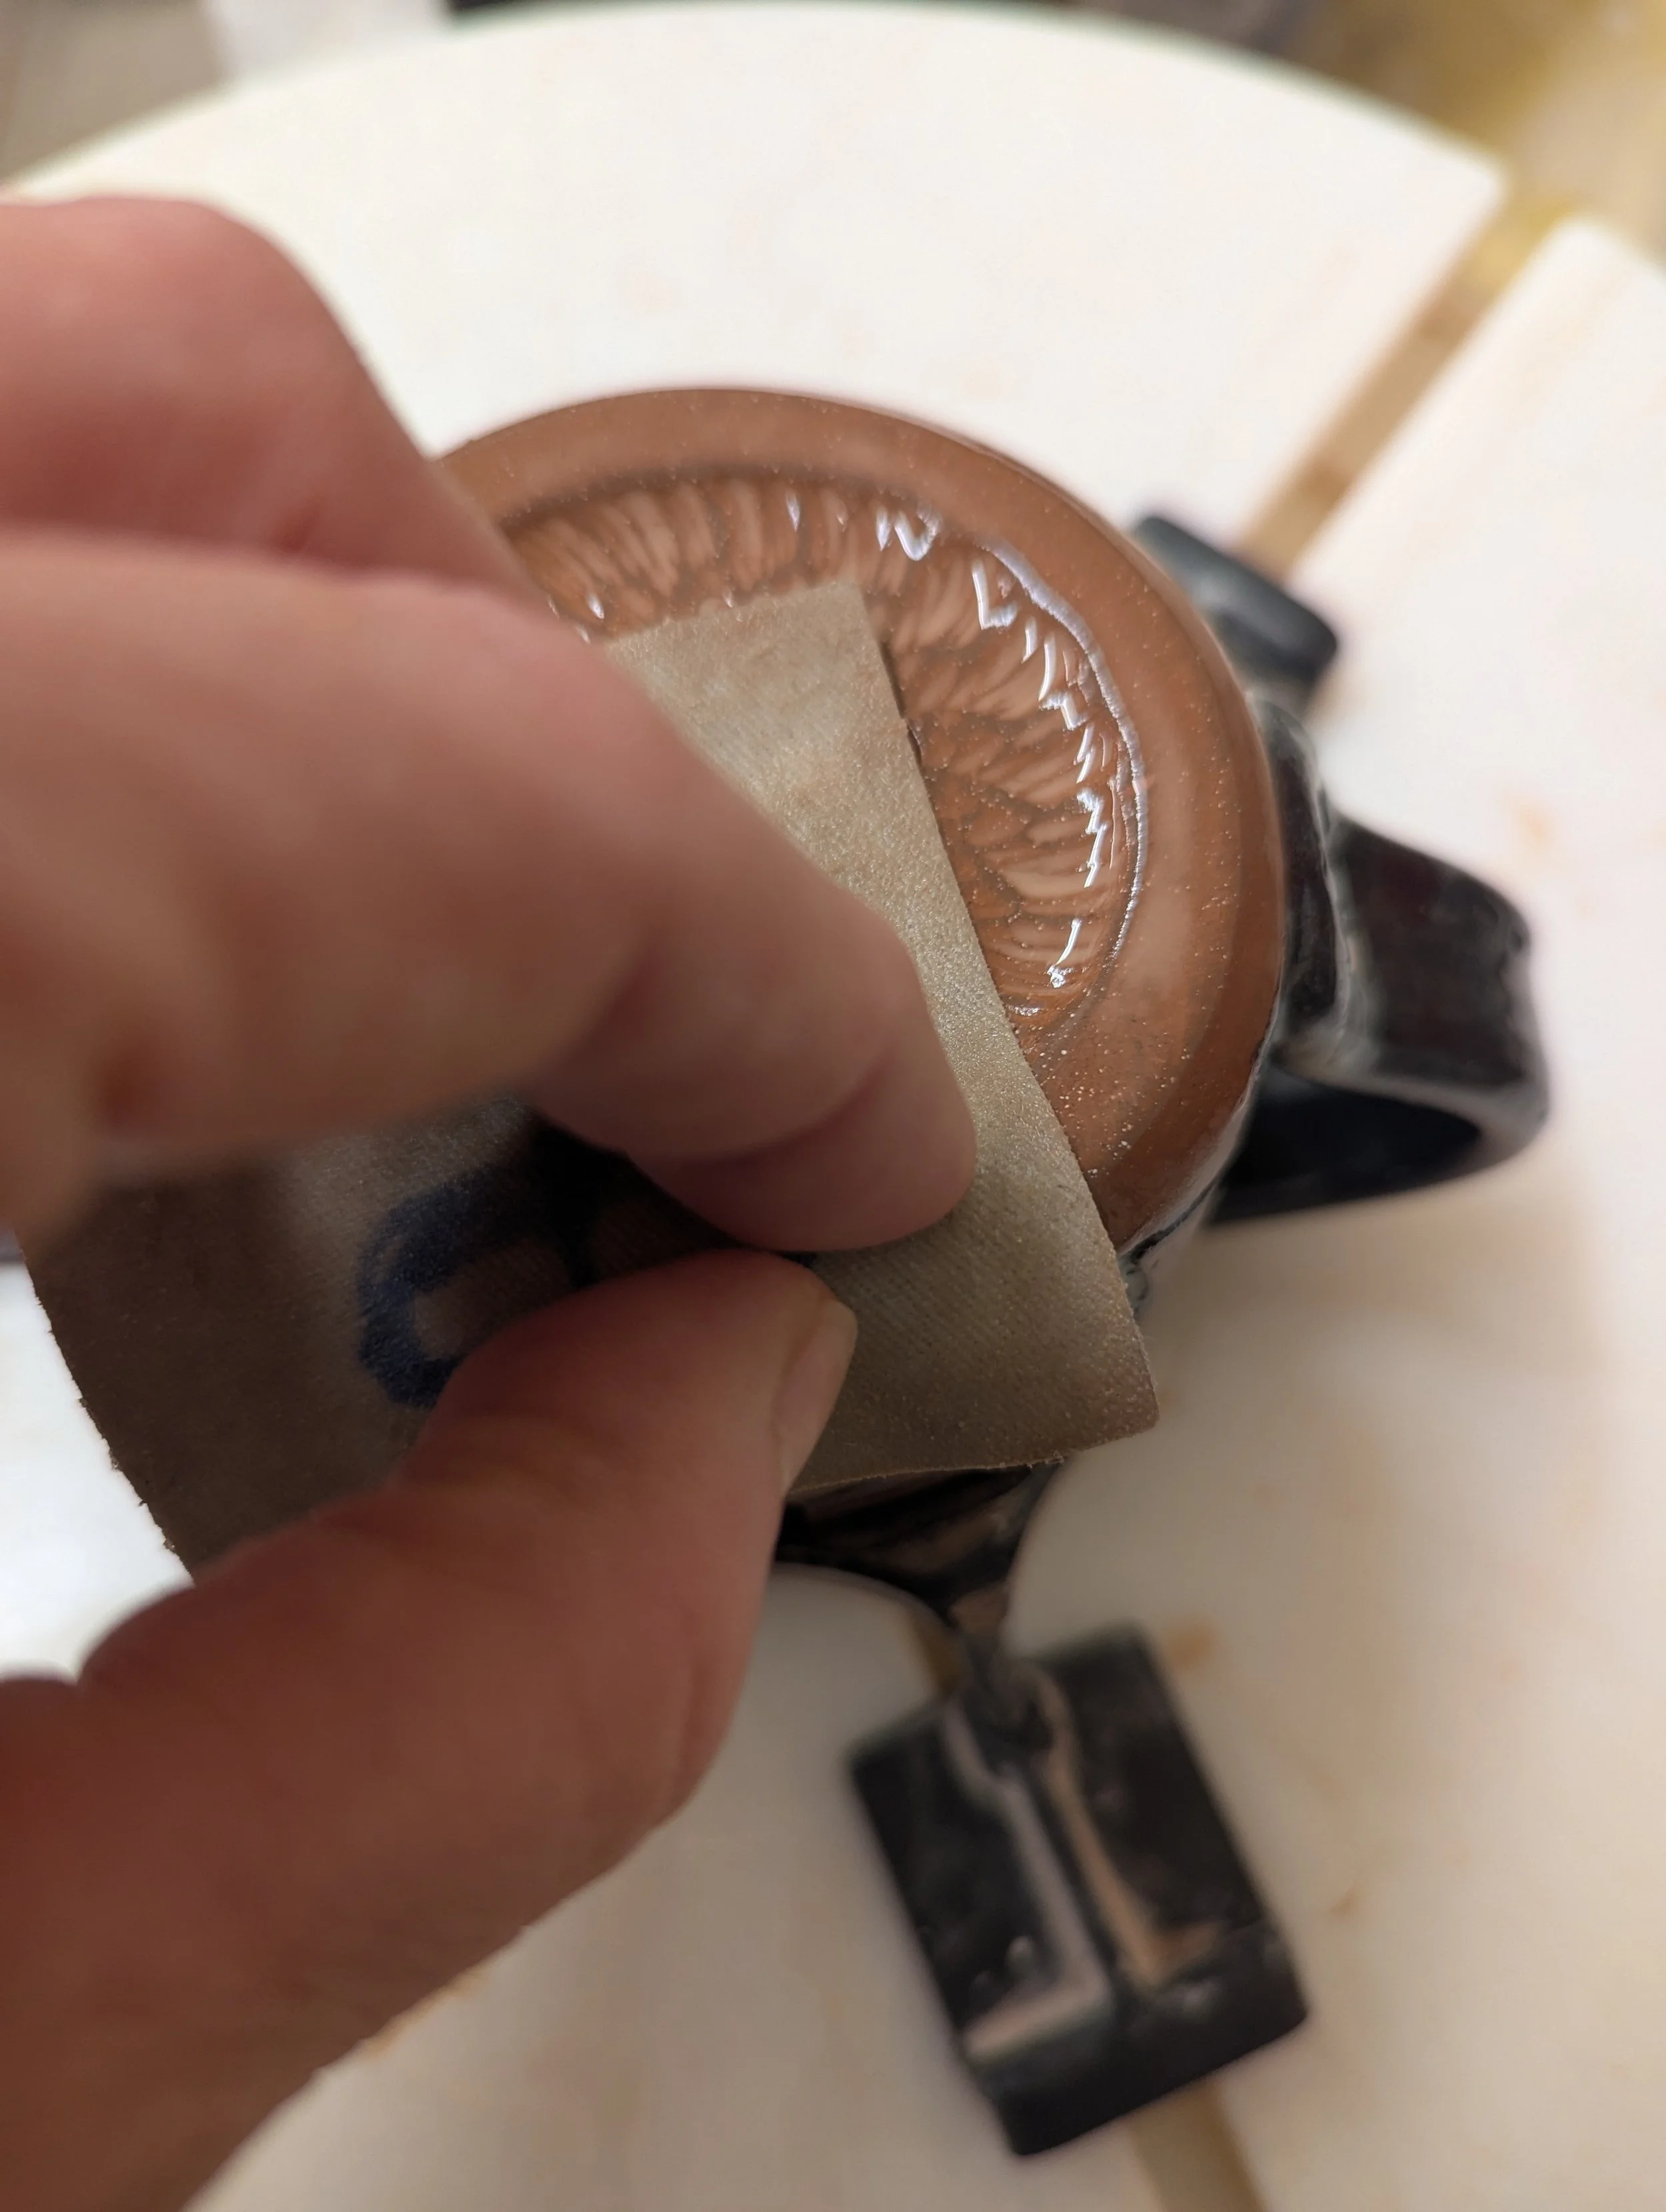
Several years ago I searched for diamond grit sandpaper options. I kept reading comments suggesting that less expensive options were out there, but after making a few returns on useless products I went ahead and purchased a set of DiamondCore Hand Pads (of course waiting for one of their BOGO sales). They work great and have held up well so I’ve had no need to search for or try other brands. If you know of other good options please tell us about them! The full set includes 60, 120, 200, 400, 800, and 1500 grit pads. I’ve settled on using the 120-800 grit pads in sequence for routine wet-sanding of pot bottoms. I secure the pot with a Giffen Grip and let the wheel do most of the work. The 60 grit comes in handy for issues like glaze drips, and I save the 1500 grit for the occasional extra-smooth finish. A mid-size grit works great for sanding away unwanted wax drips.
The pads have foam-backing to provide some stability, but with normal use they eventually peeled off from the sandpaper. It turned out I liked it better that way - just as easy to use, and now more versatile since it can be contoured around edges and folded to access nooks and crannies. If ordering again I’d skip the pads and go straight to the sandpaper. This is not a trivial purchase ($38/pad, with discount for full set) but it’s one that can make a huge difference for the feel of your finished products. I don’t mind the gritty feeling of raw clay, but informal polling would suggest that’s not a popular opinion, and it’s just as well that the work won’t be scratching up table tops.
Aftosa Colorful Wire Whip
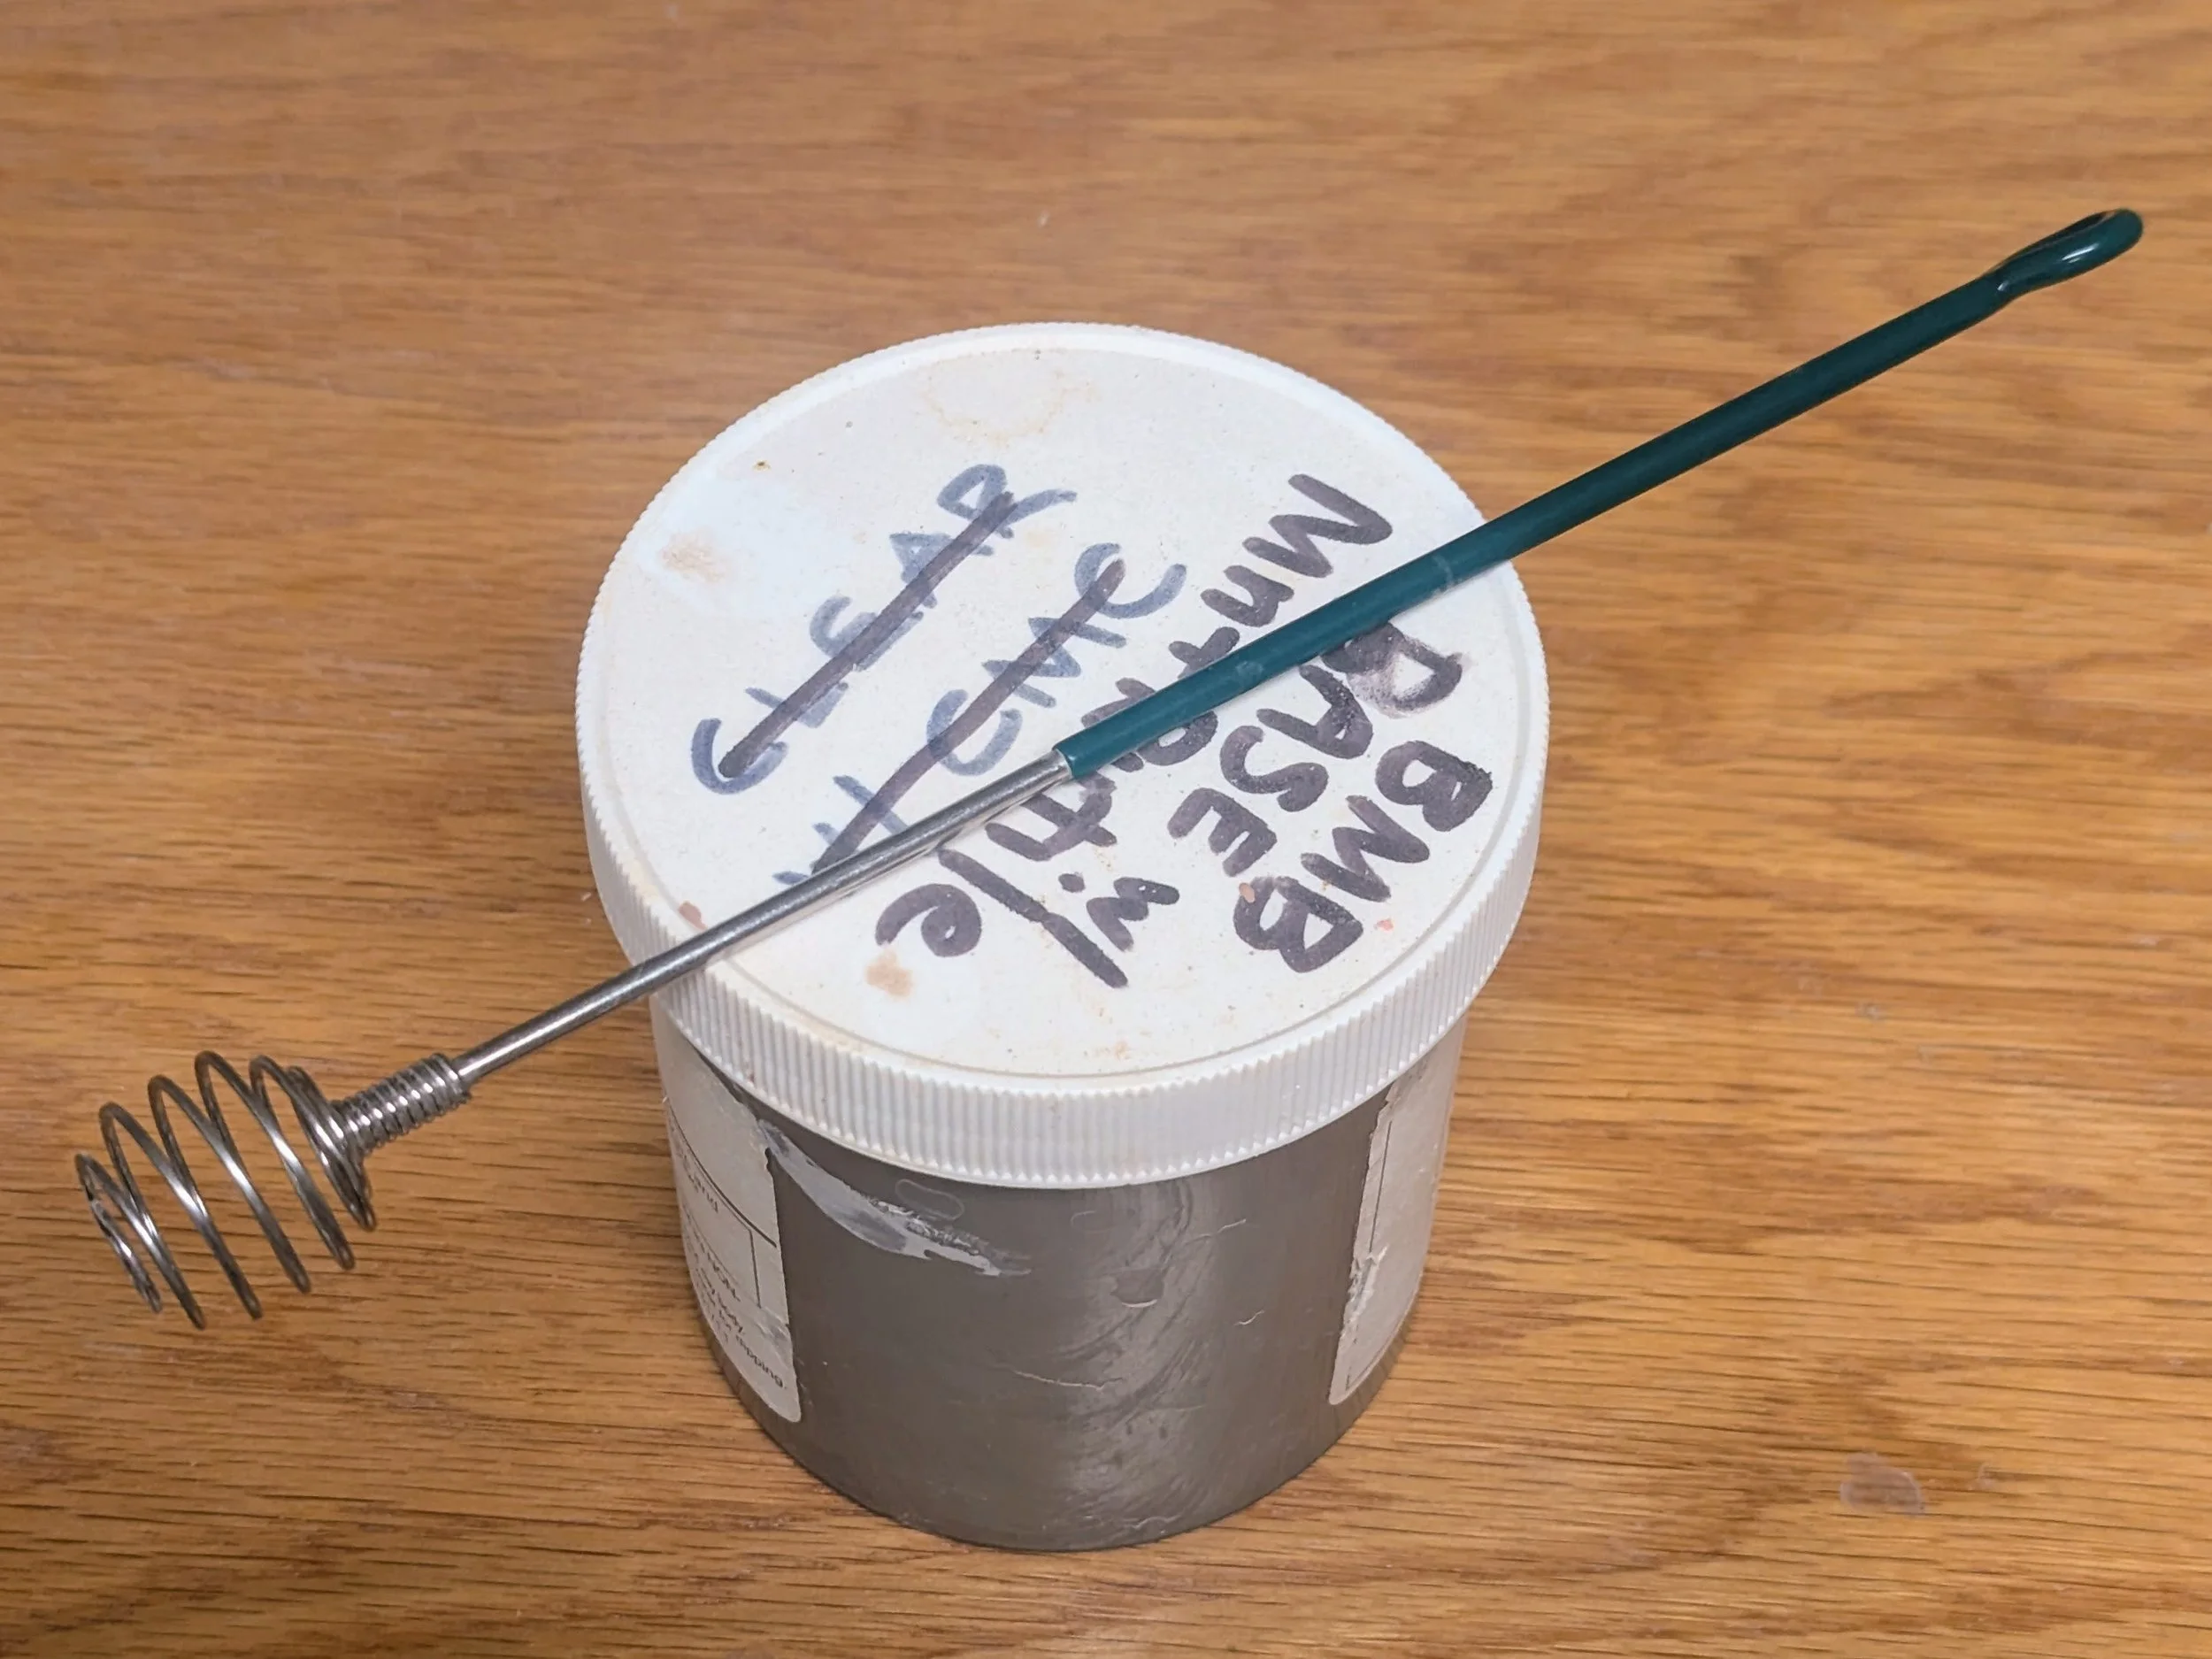
The Aftosa Colorful Wire Whip is a real treasure. I got this little whisk as a freebie and it’s turned out to be way more useful than I imagined. For small containers of glaze and slip (say about a cup to a gallon or so) it’s the perfect size and does a great job. I like it better than a standard whisk, and the wire swirl works better than using a small spoon or similar utensil. Depending on the vendor it sells for about $3-8.
If you have any questions about these products, or would like to tell us about your own favorite tools, please leave a comment!
-Zenah